The day started with Jared, Katie and I flying from Santiago to La Serena with another minor delay of about an hour. As we were driving up to the summit in the afternoon, the remote crew back in Tucson were in charge of aligning and prepping Alycia’s observations. Due to us three being in Chile the remote crew had the privilege to stay up the whole night to operate MagAO-X, which means ‘doble’ the red bulls according to Jay.

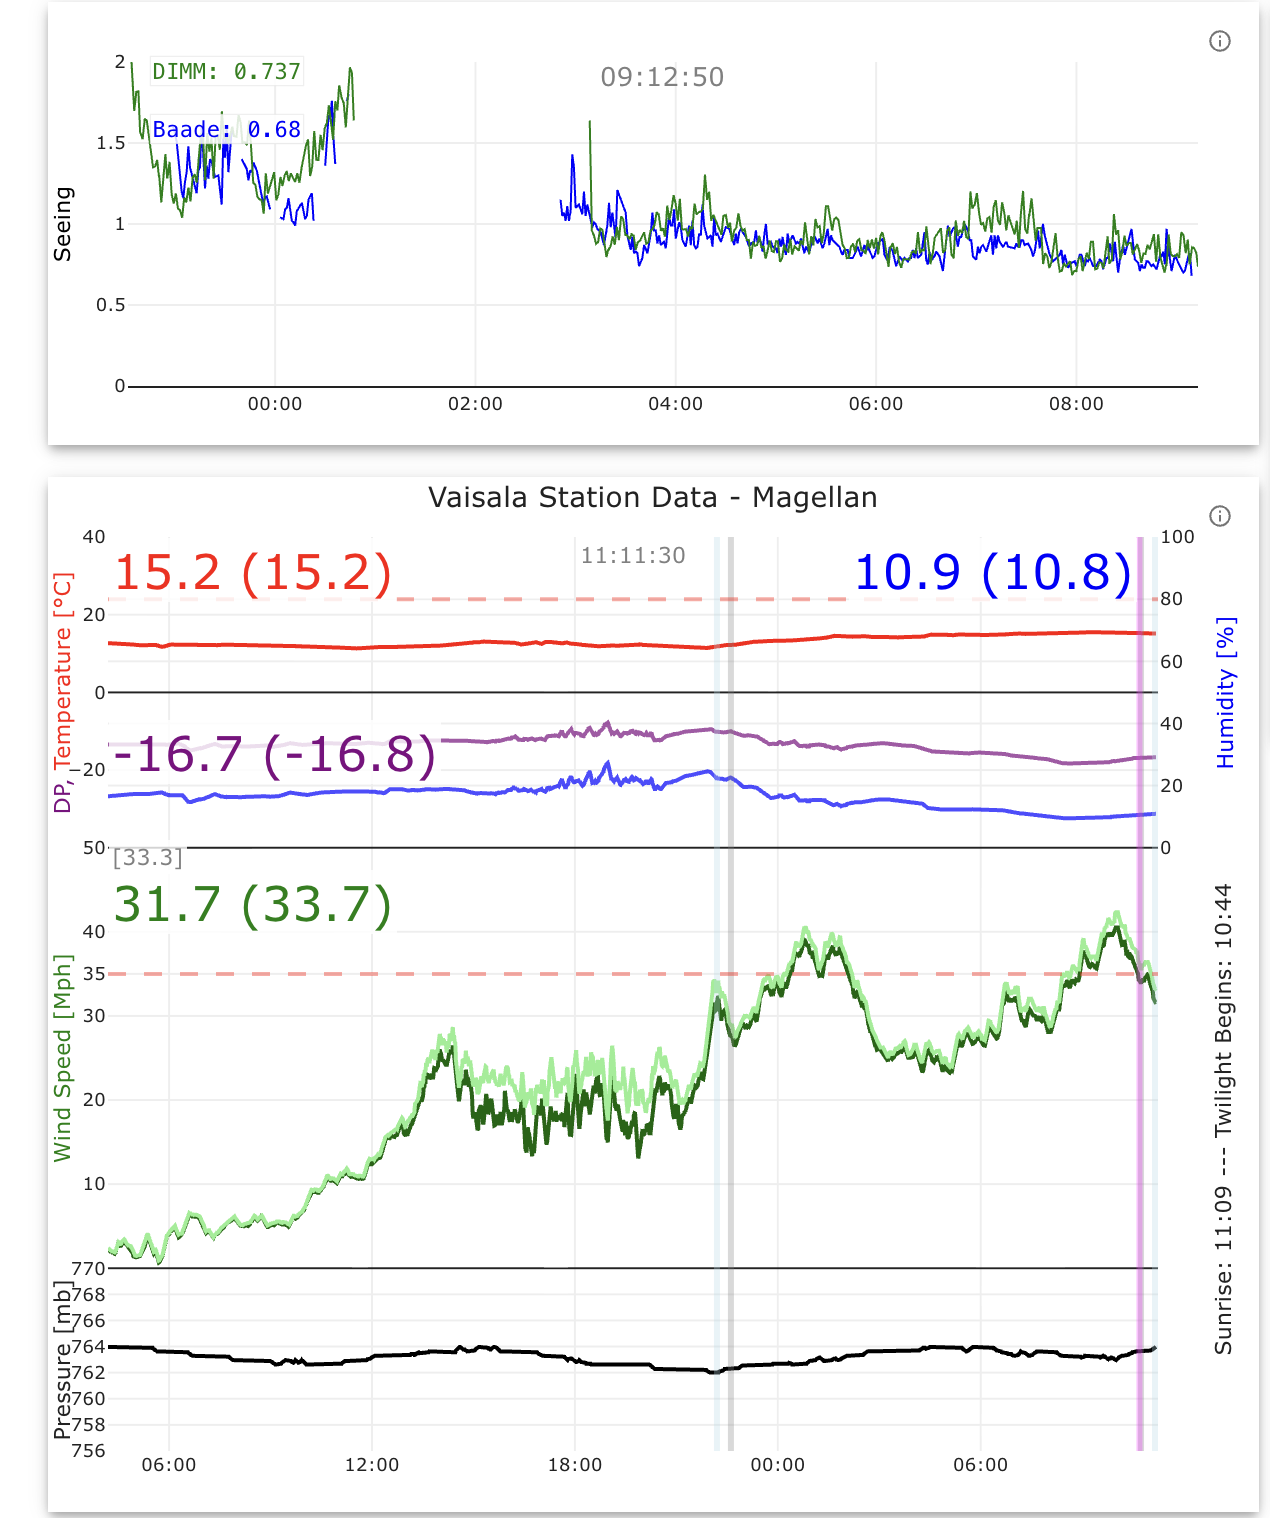
Unfortunately, it was a rather poor night for observations. The wind spiked halfway through the night to over the telescopes critical threshold. This means the telescope operator must close the dome when wind speeds exceed 35mph and must remain closed until there is 30 consecutive minutes of wind speeds under that threshold.
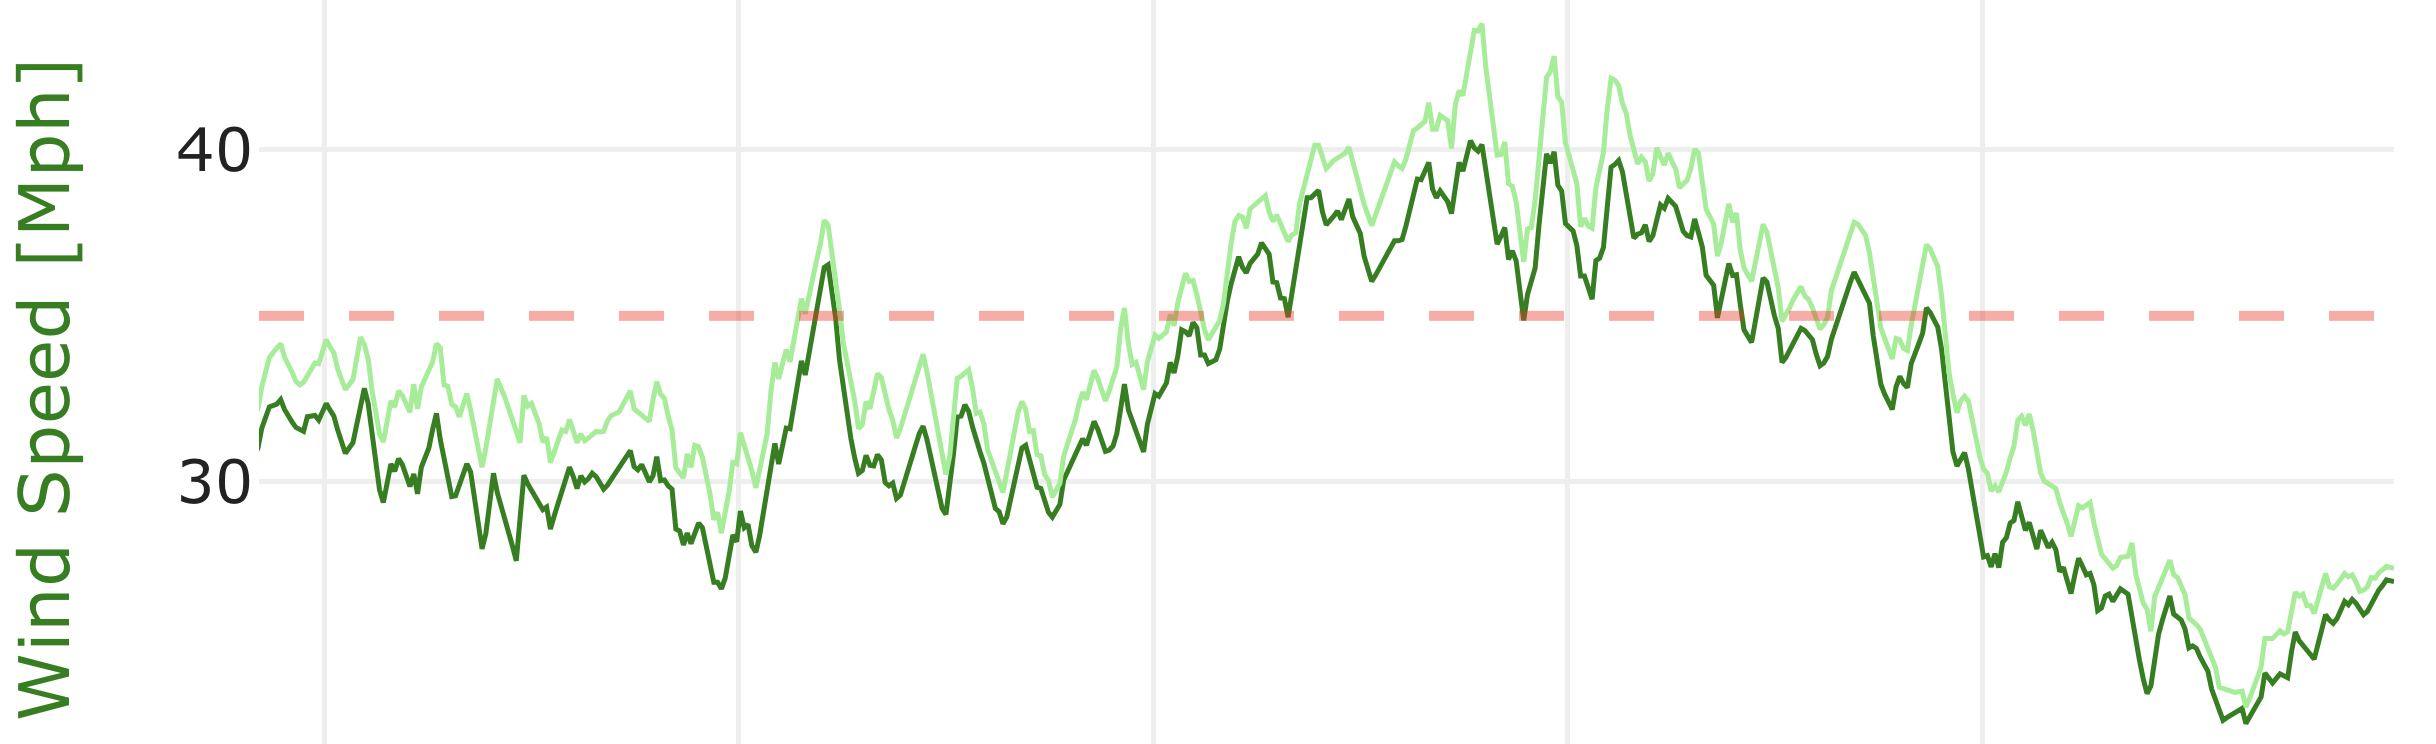
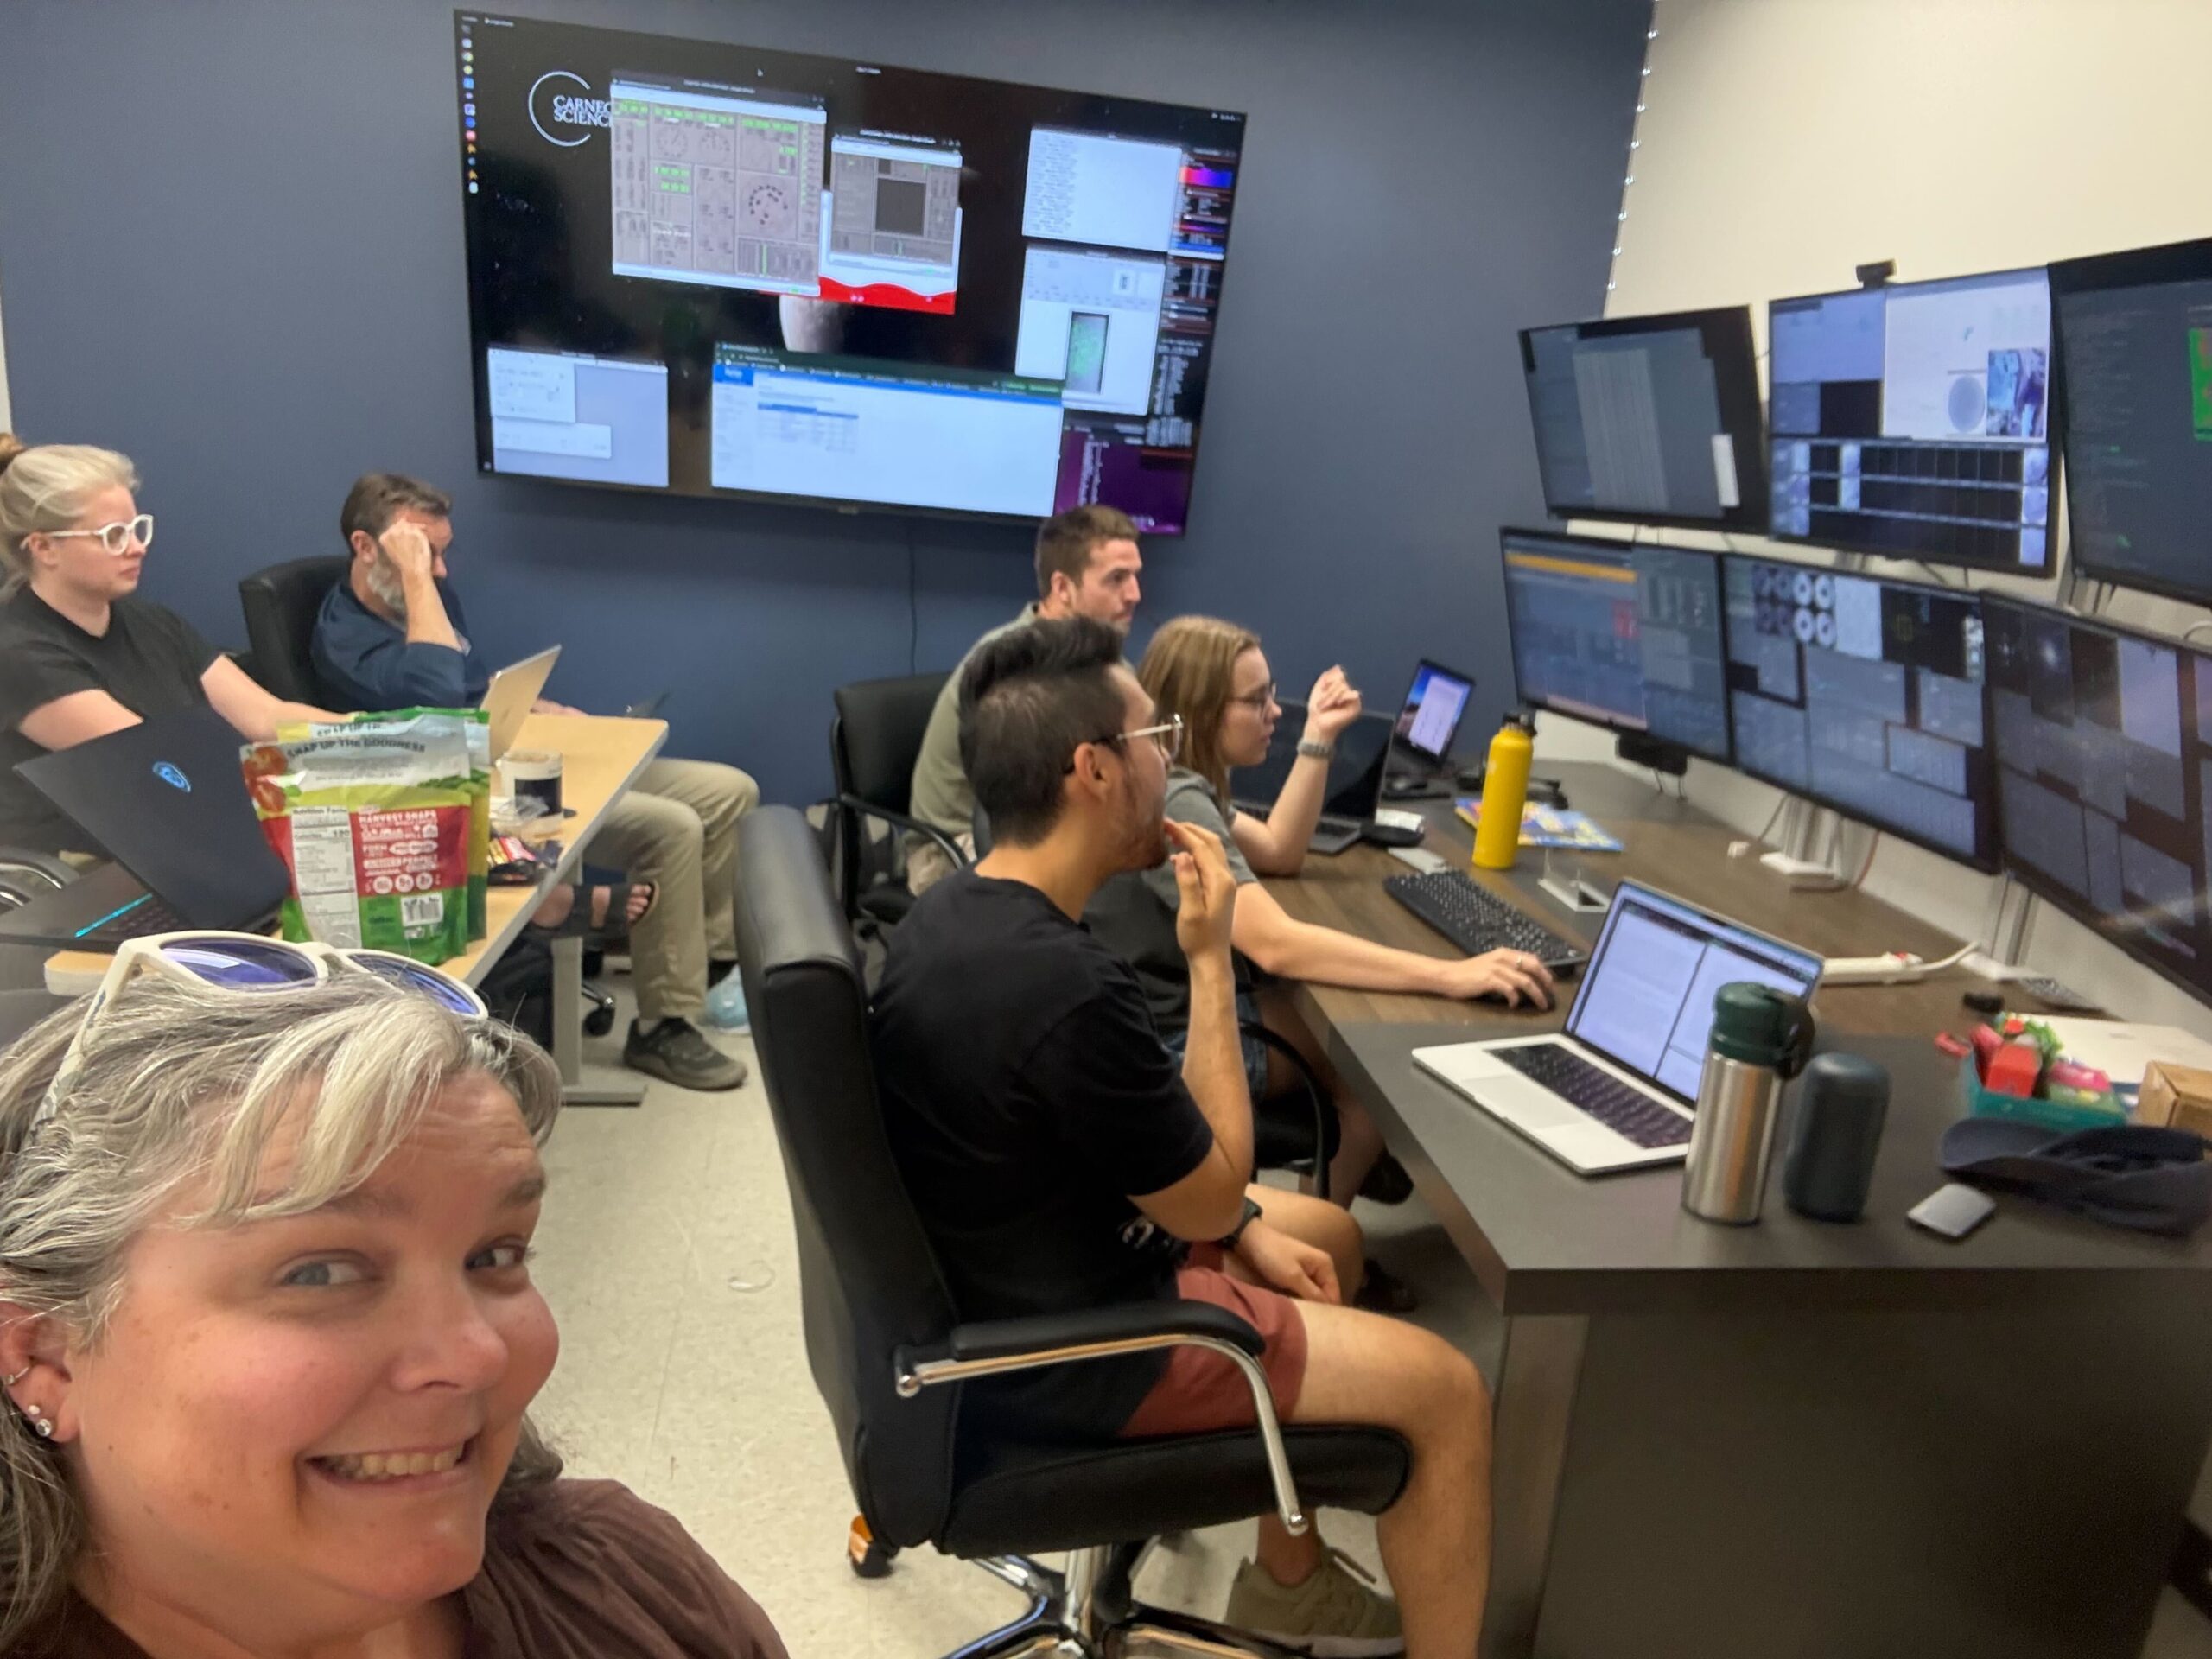
The telescope operator also informed us that if the wind speed exceeds 50mph, it is mandatory that we leave the control room and go back to the dorms for our safety. Despite the wind getting close to 50mph, there was still work to do if I wanted the opportunity to test predictive control using accelerometers, so the hard hat came out and we went to work.
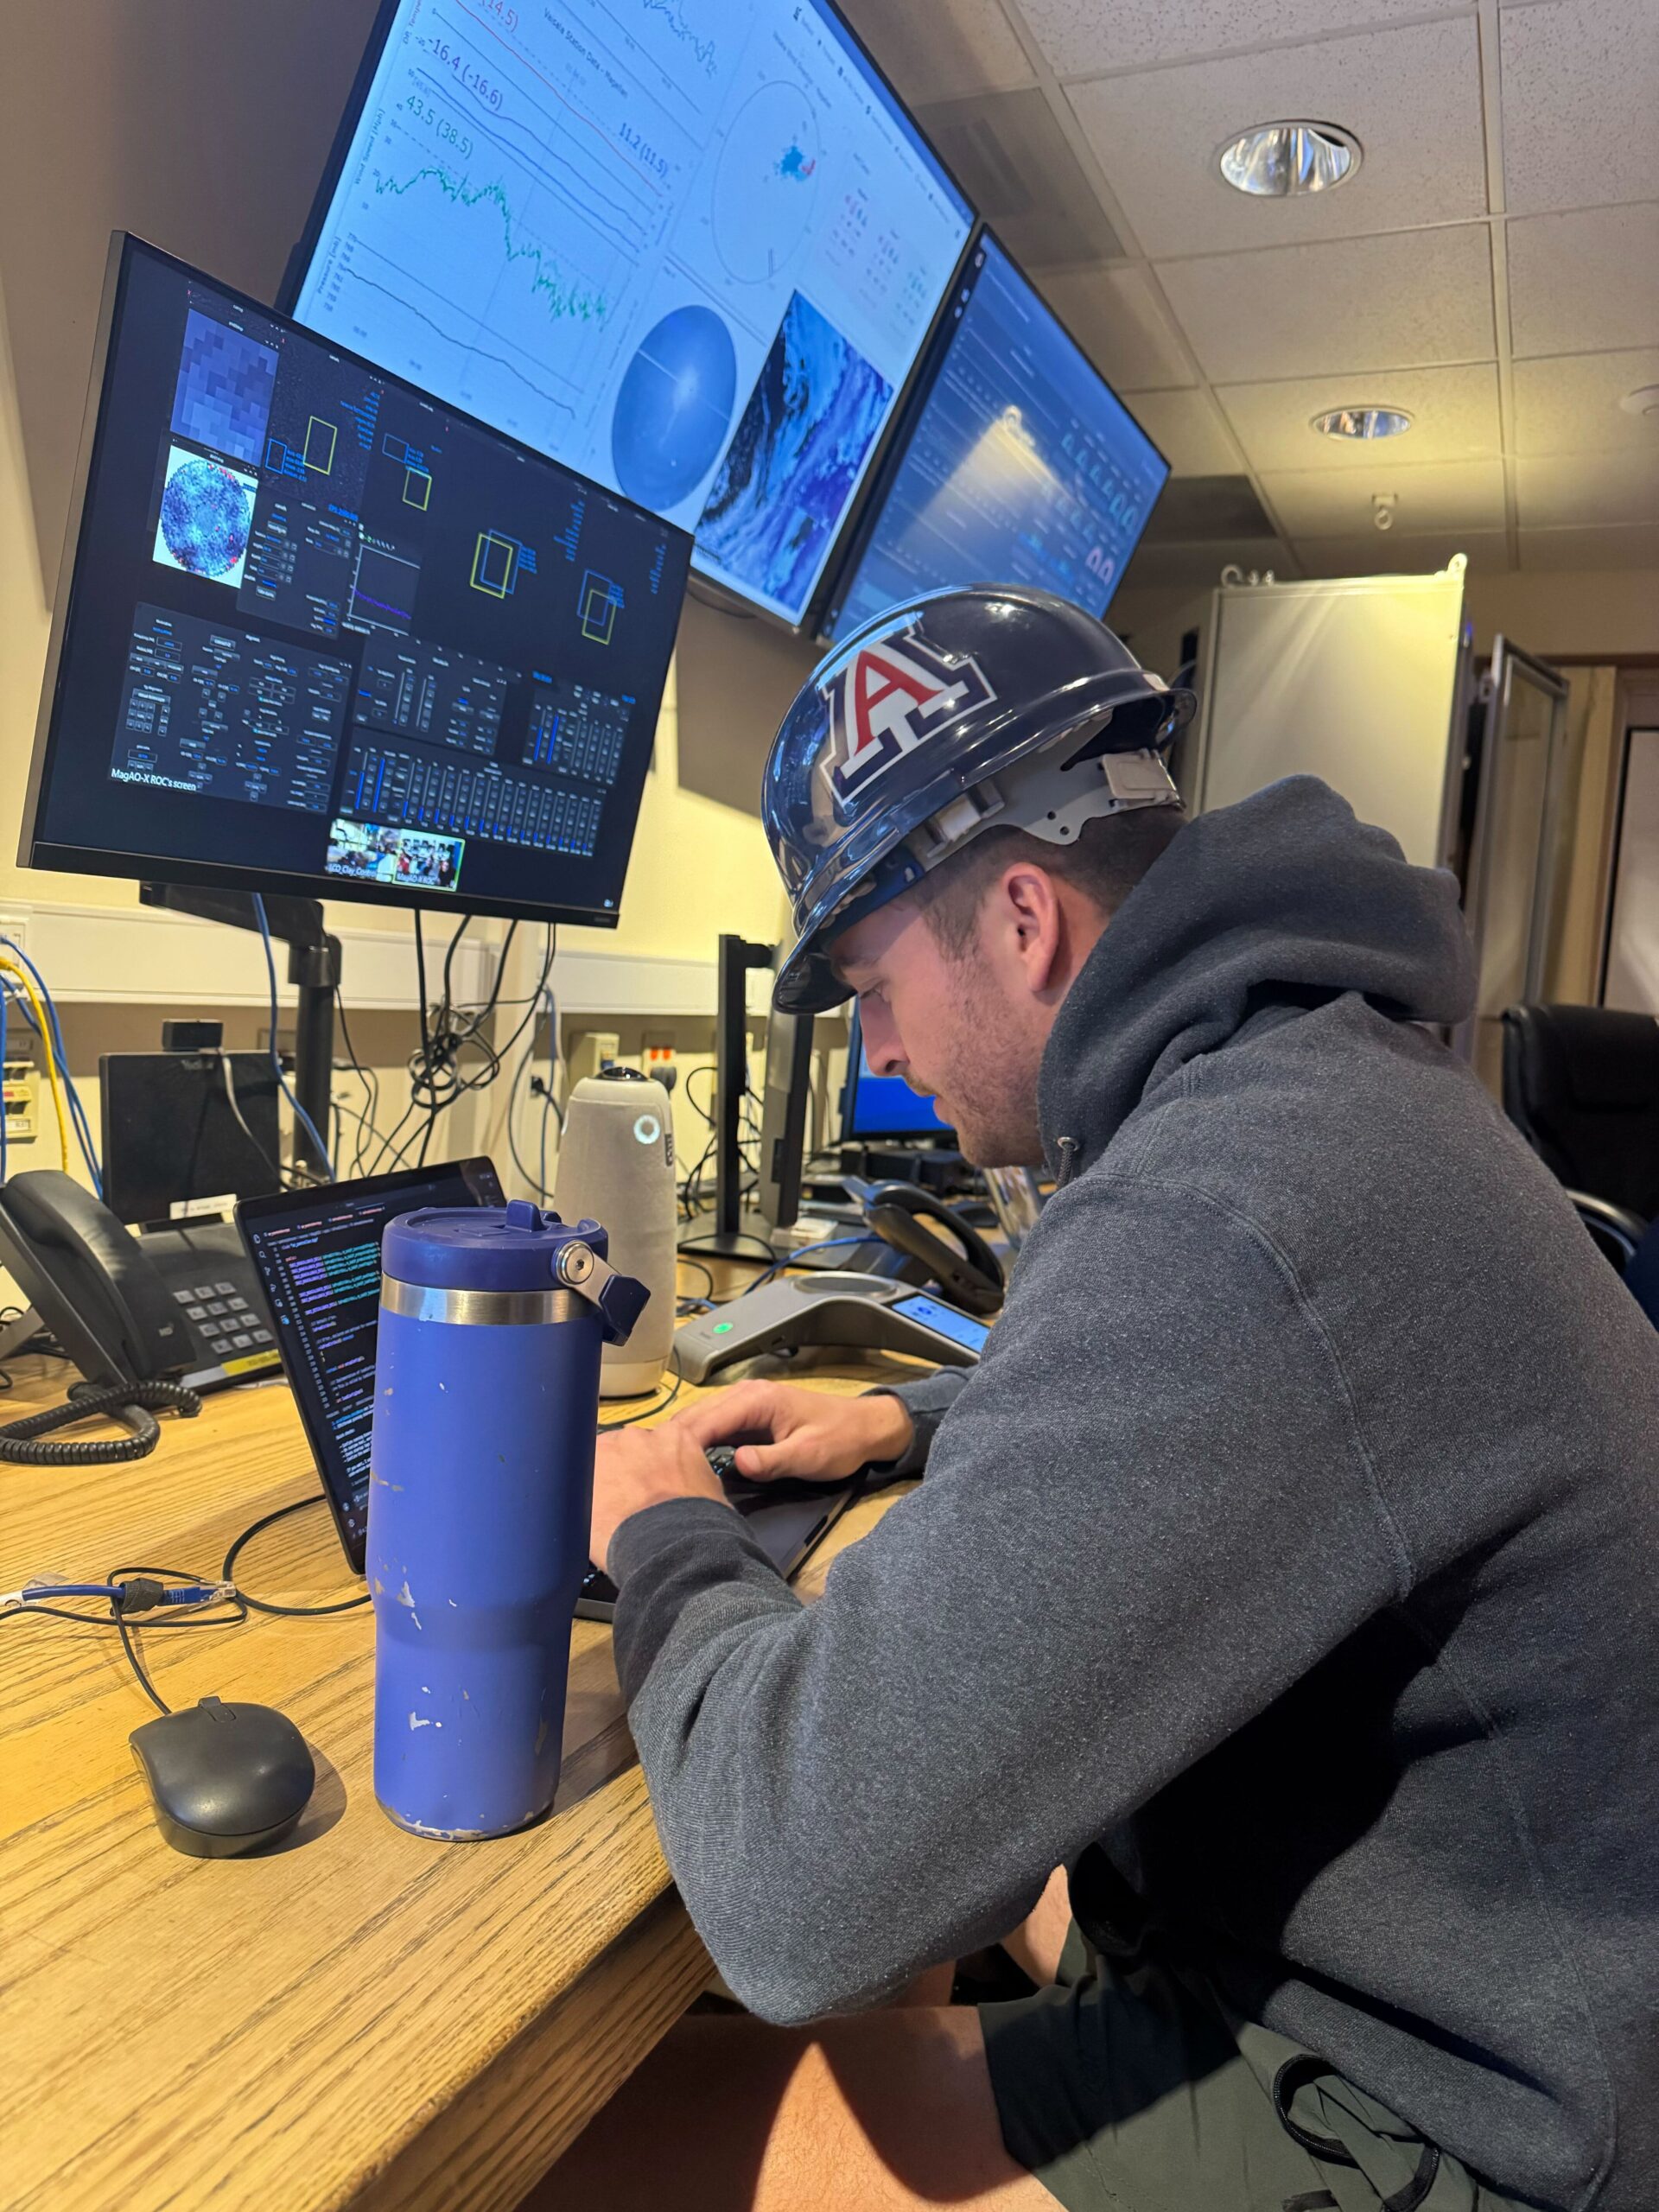
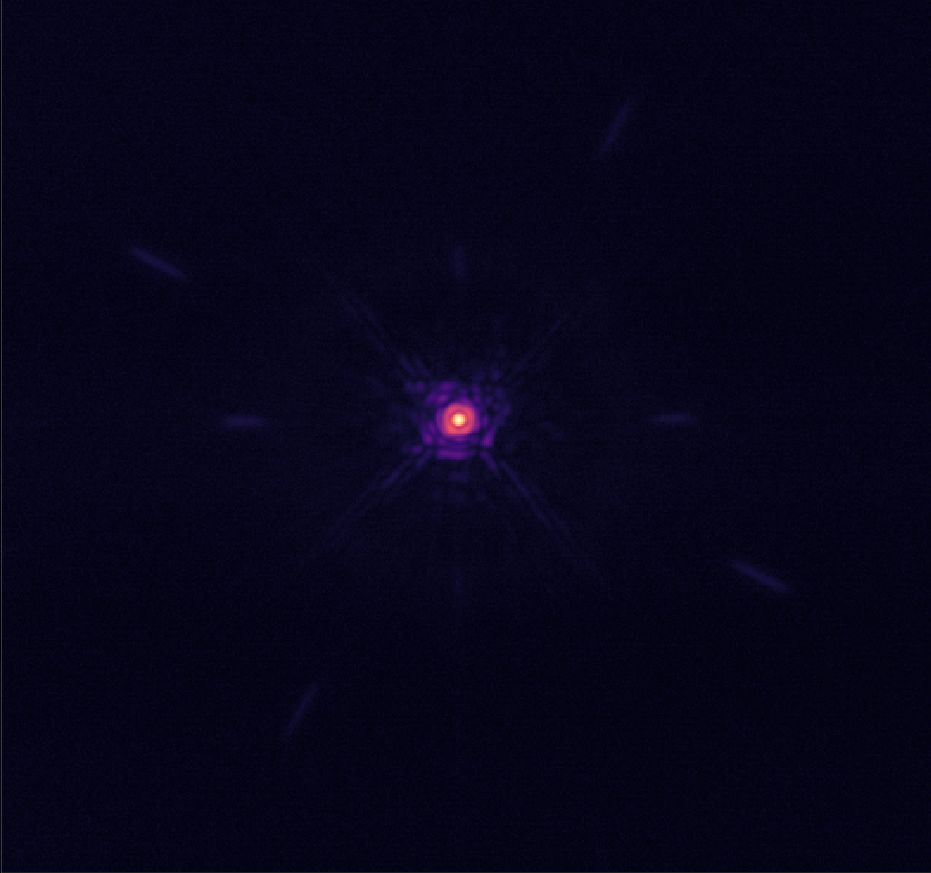
Alycia was able to salvage the end of the night after the wind calmed down and was able to observe another target. Sebastiaan also hoped back on Zoom at the very end of the night (and right before his lecture in Leiden) to take some predictive control vs integrator data and help me test the accelerometer predictive control.
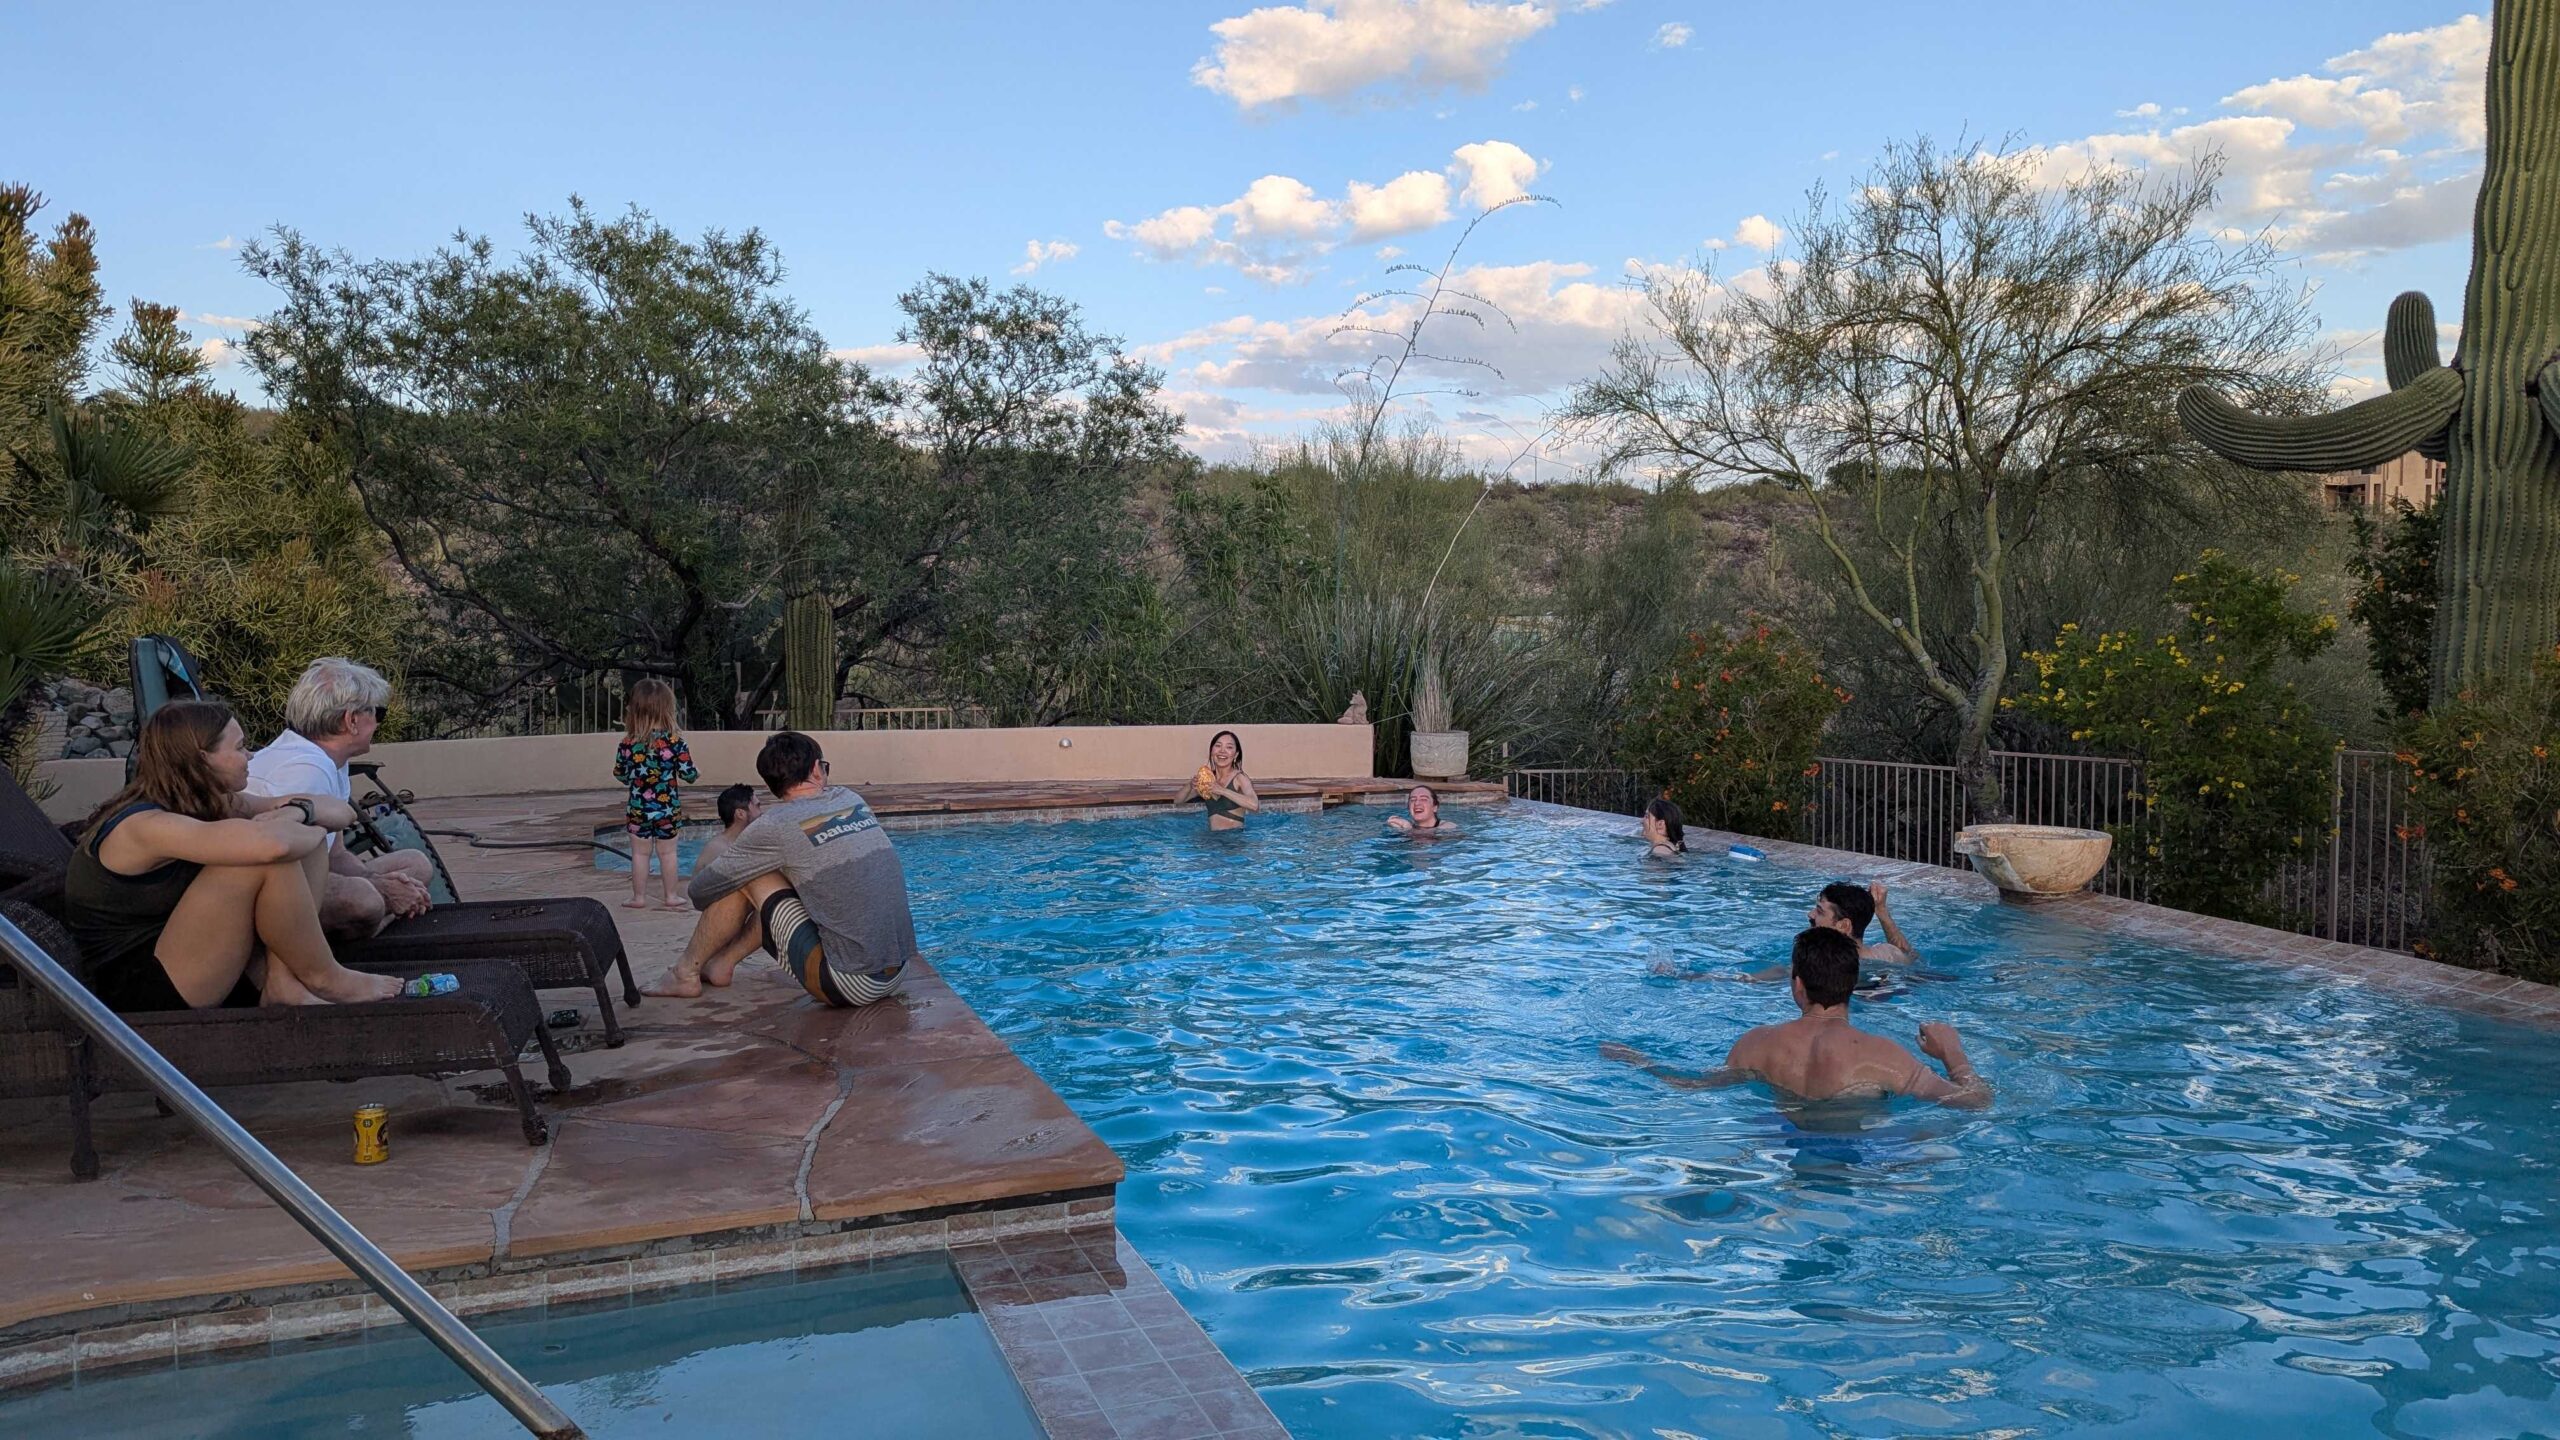
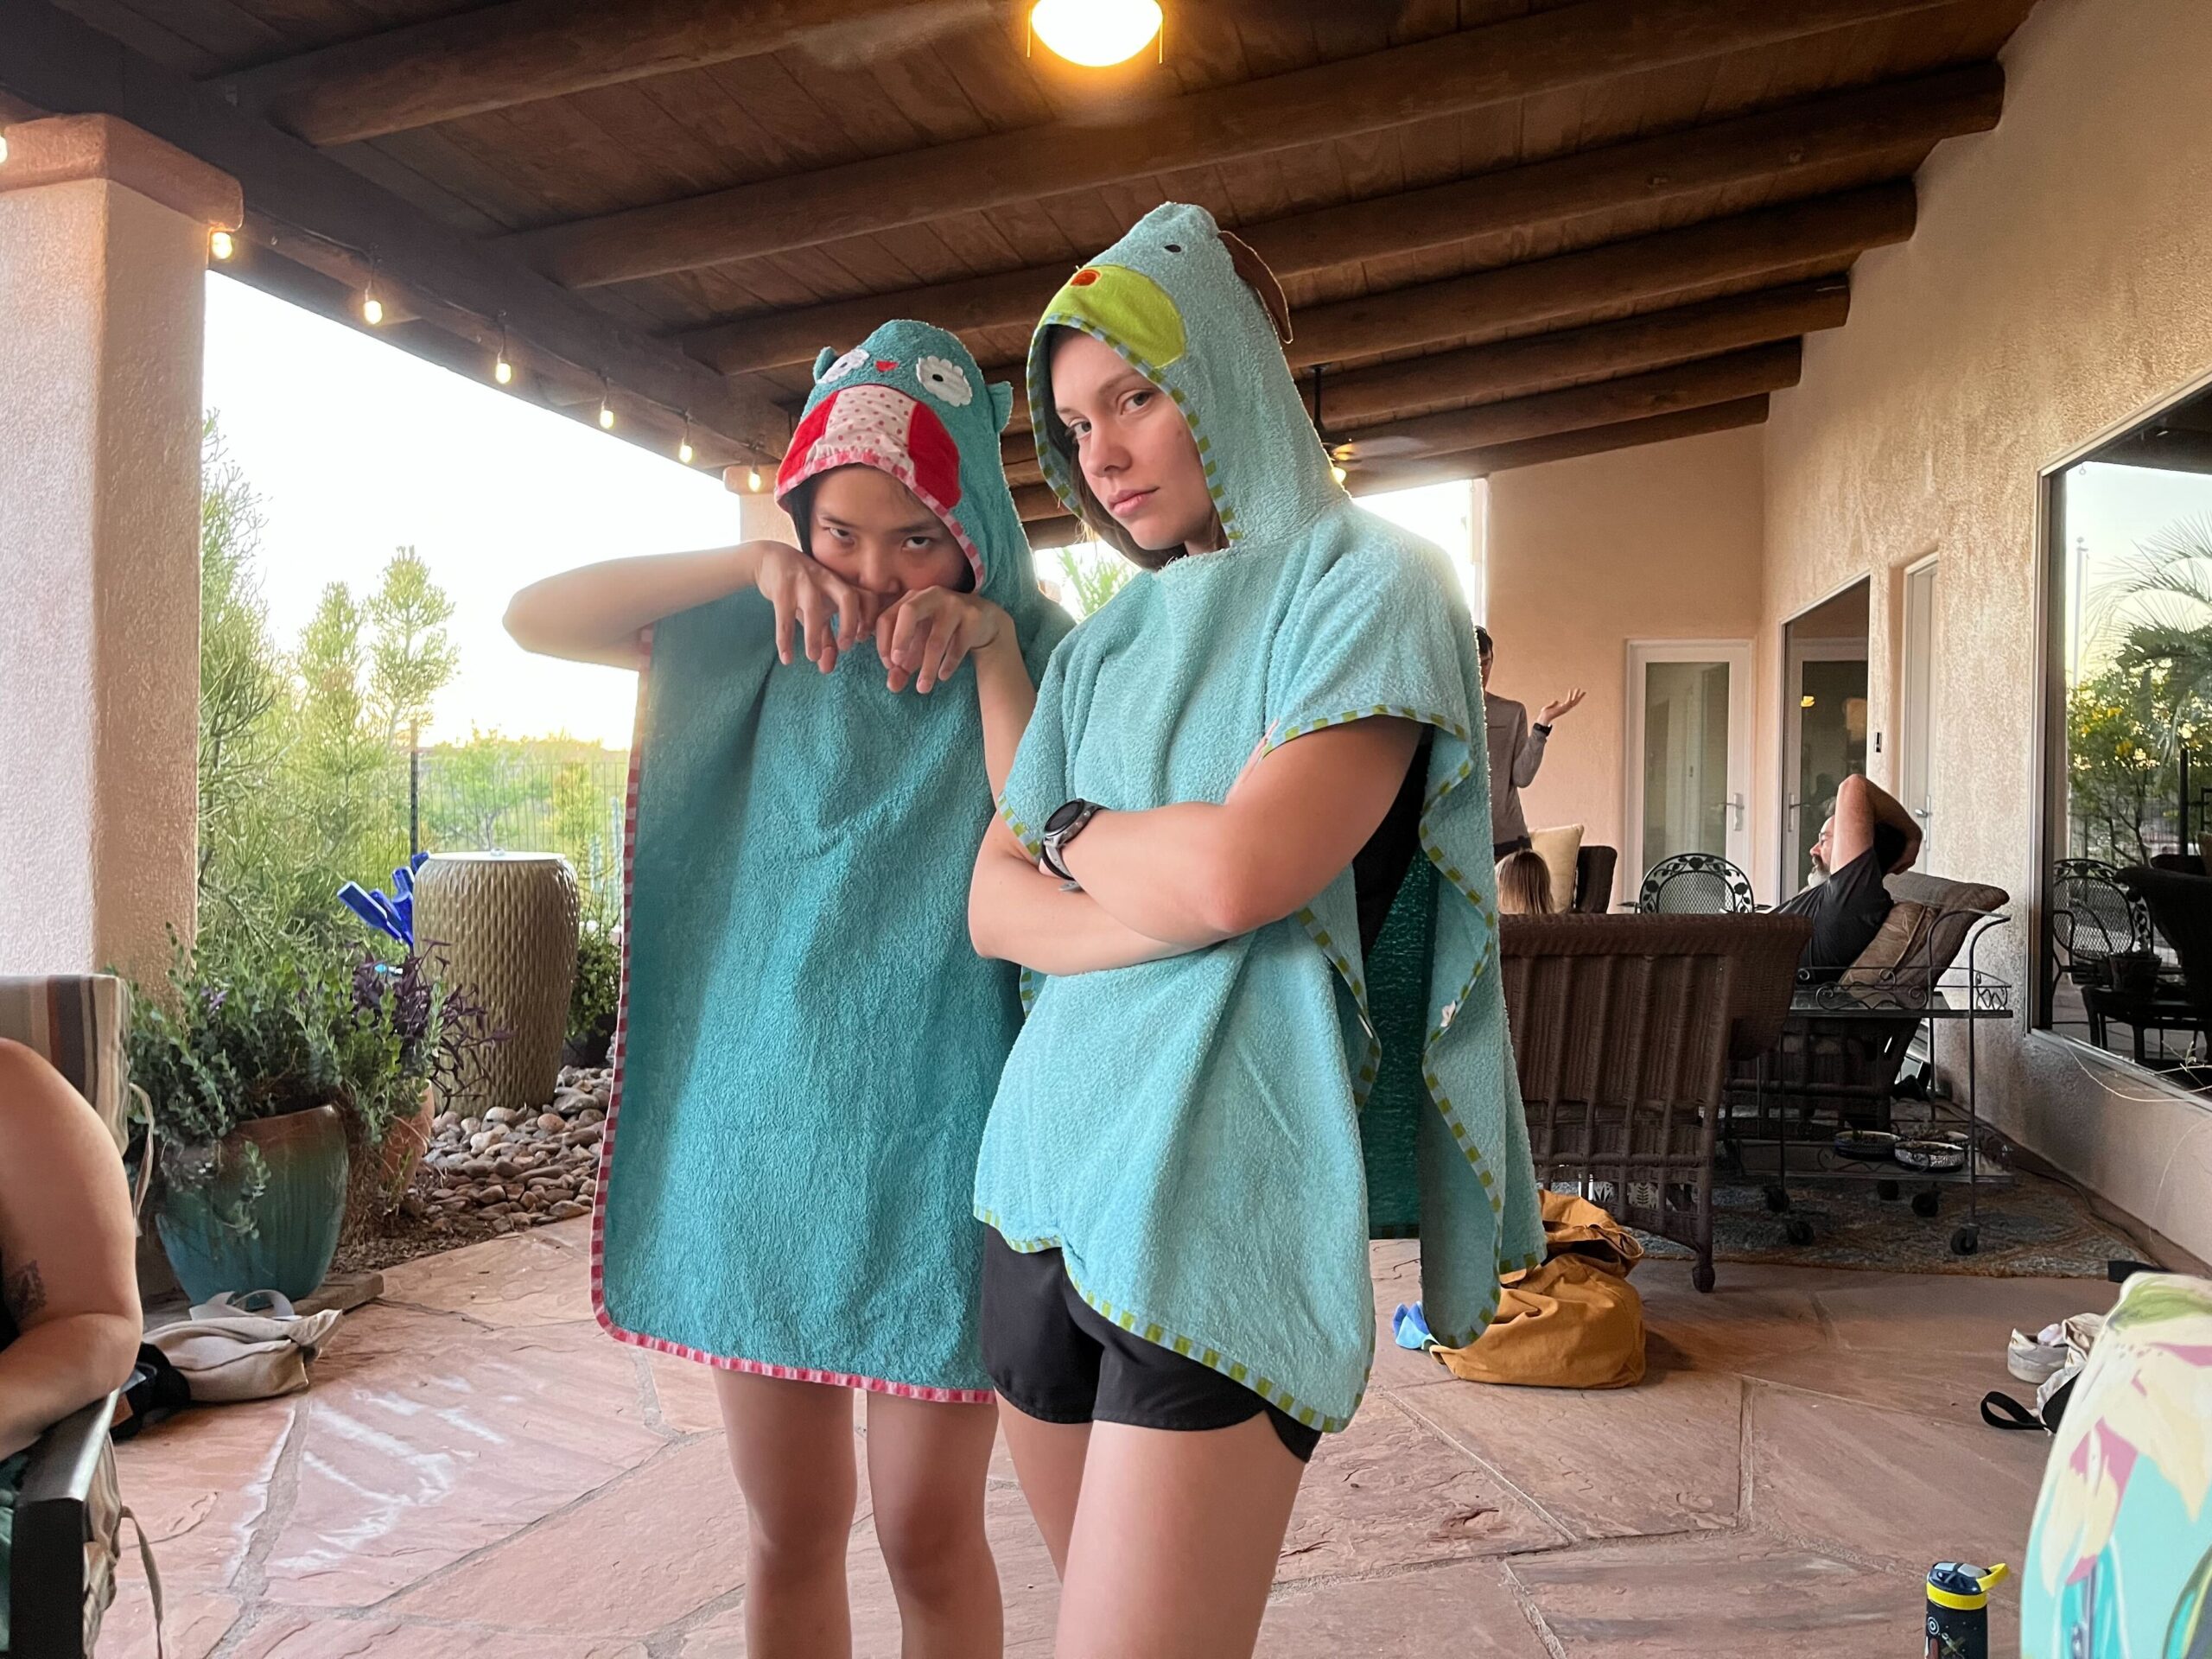
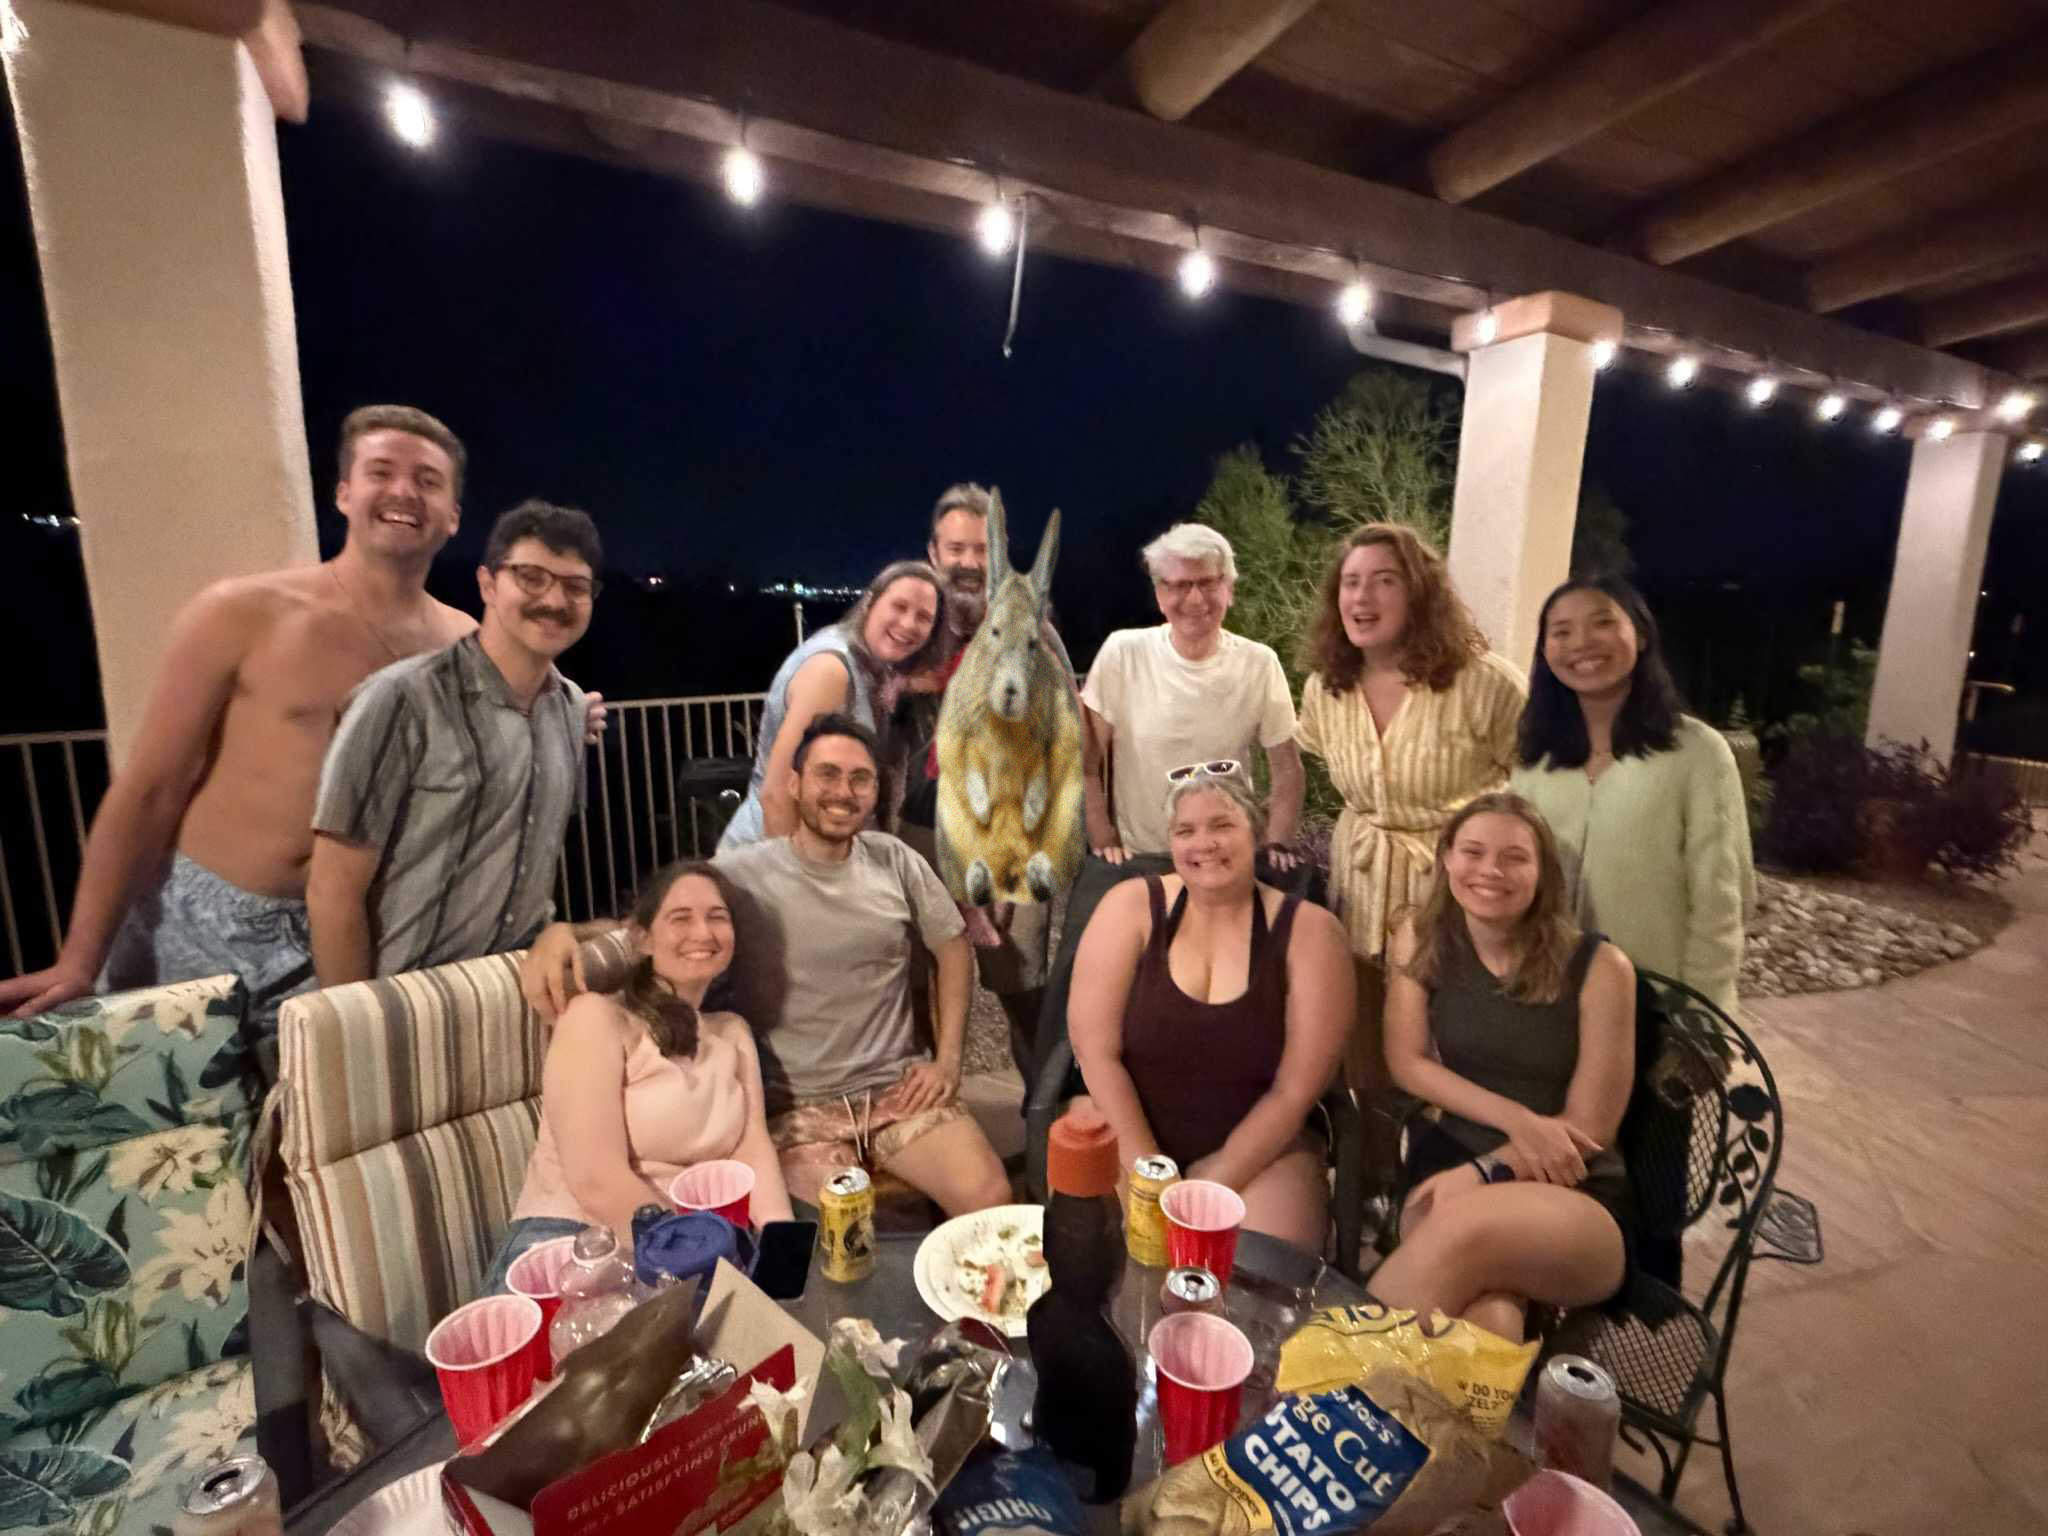
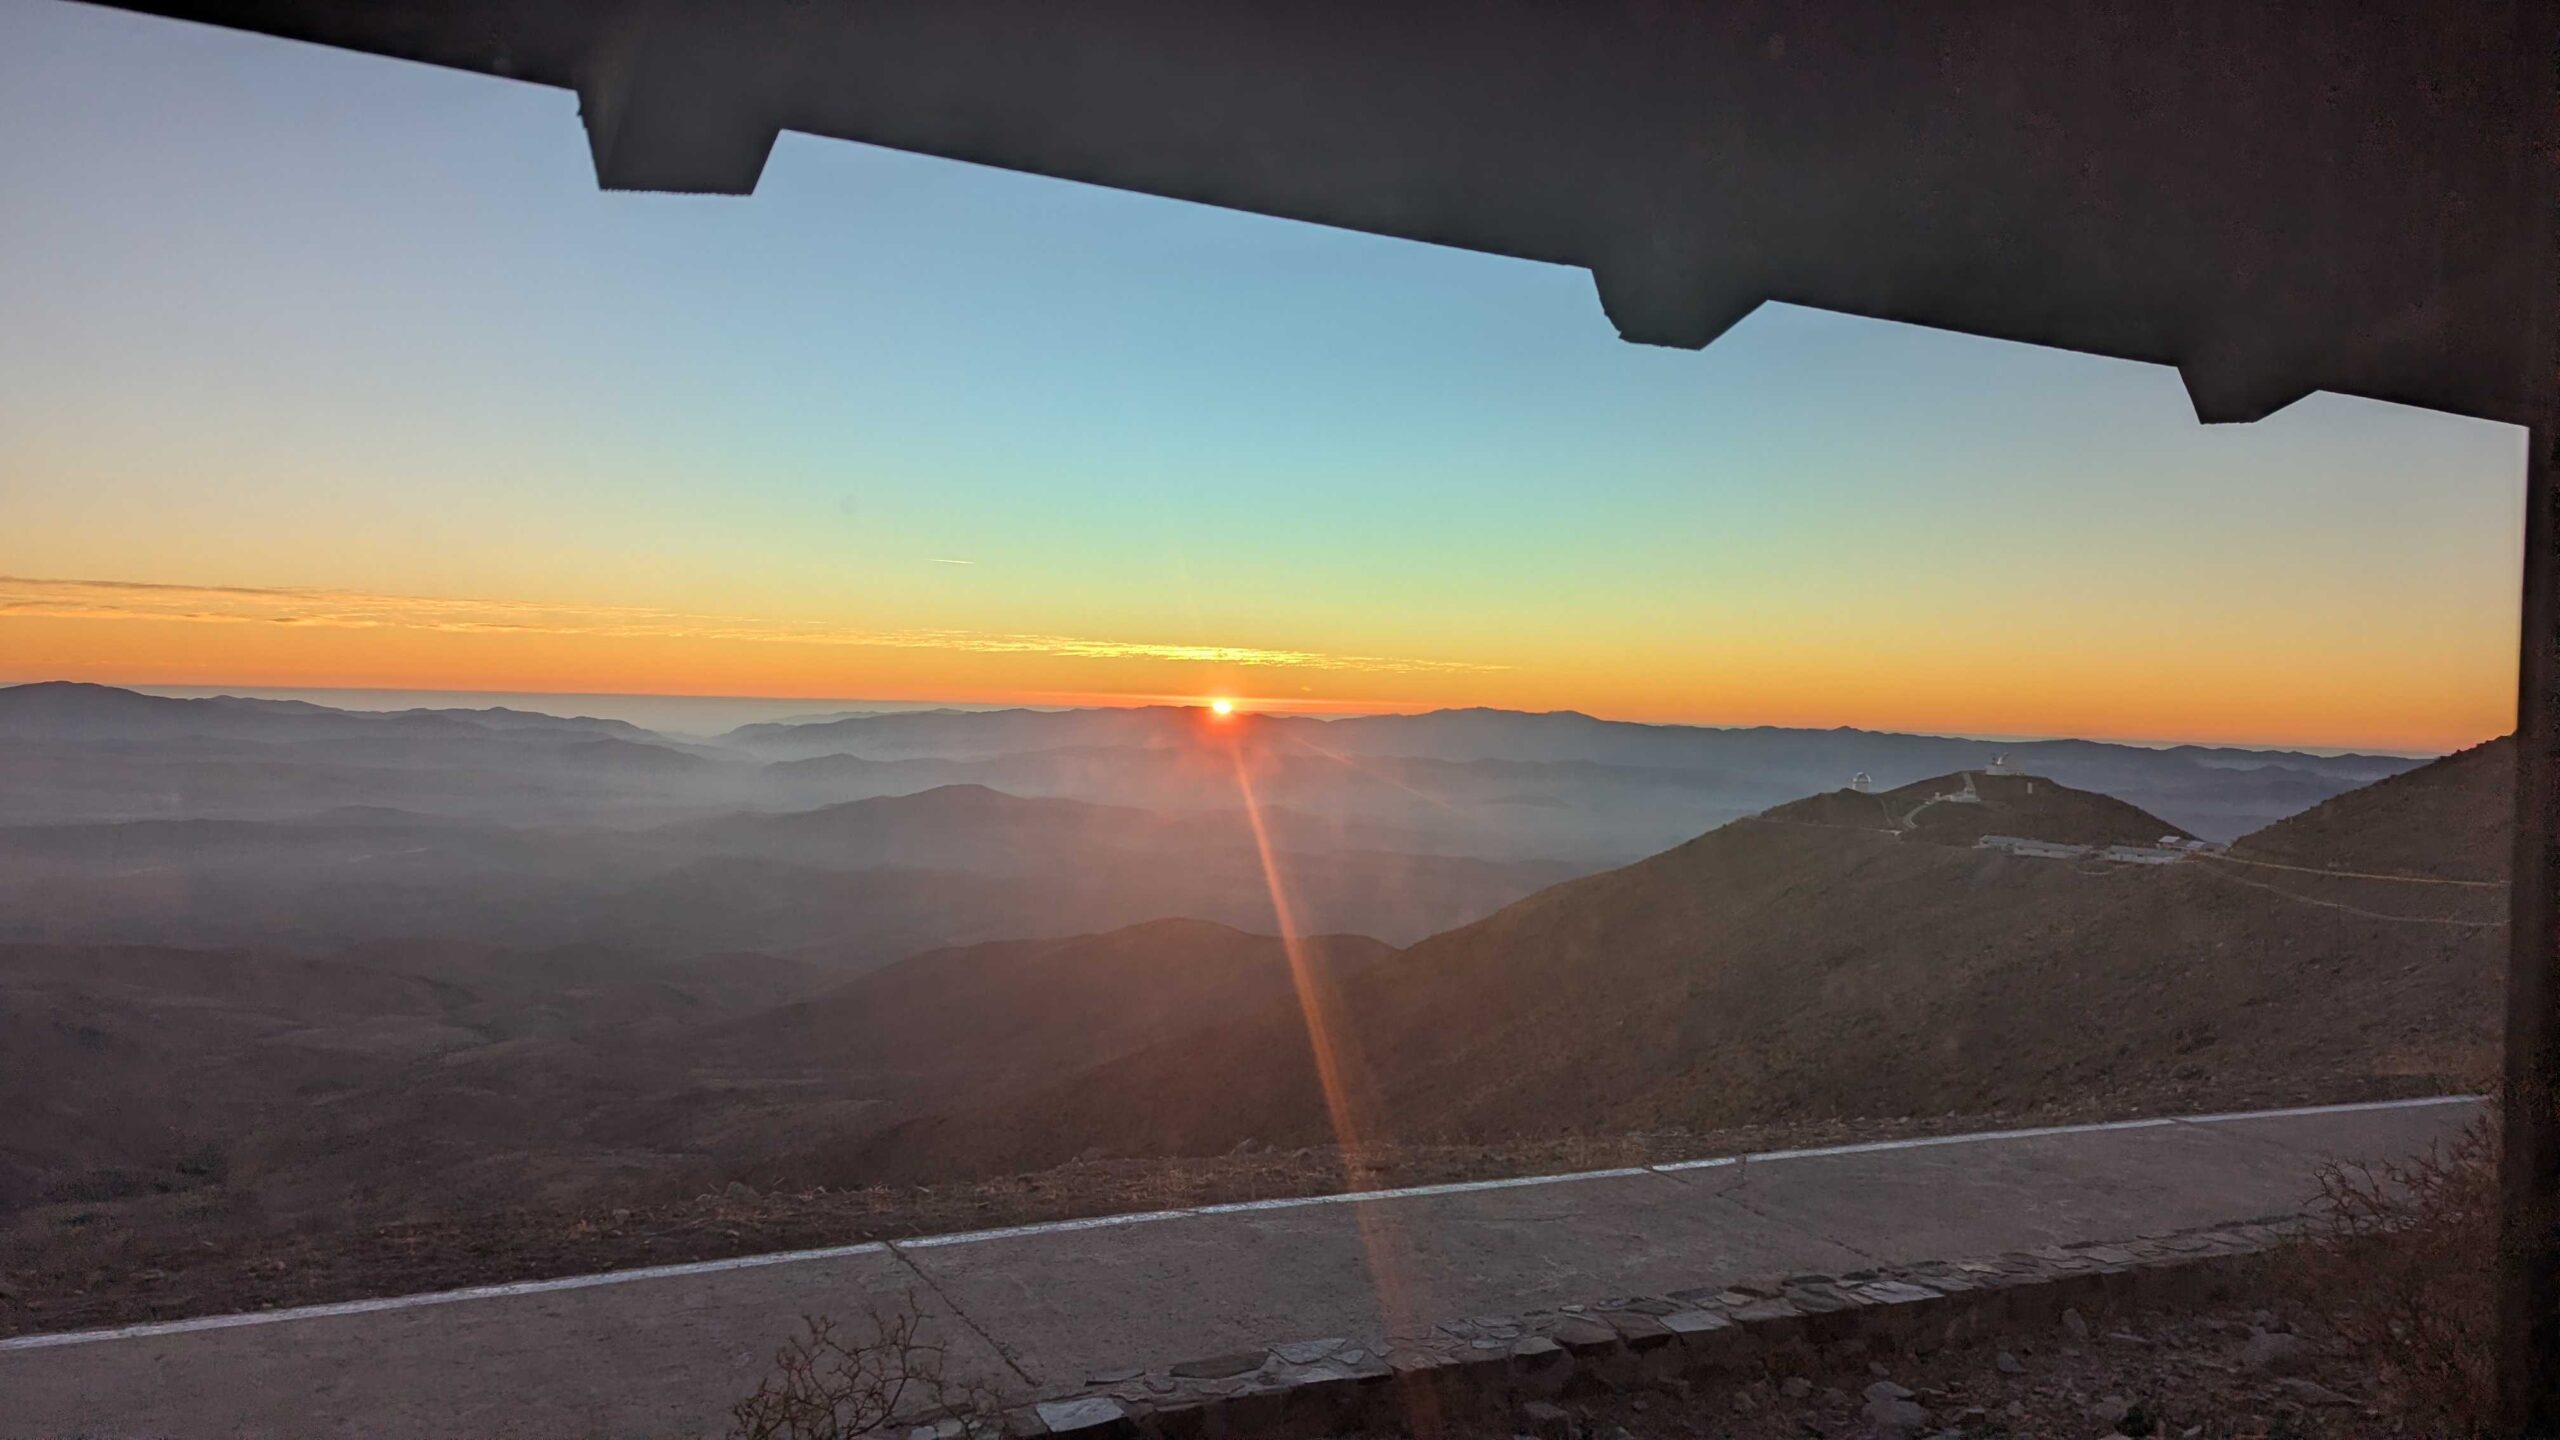
With that being said, Jared, Katie and I made it to LCO safely and got to take in another great LCO sunset after a long day (or two) of traveling.
Color of the Day

Song of the Day