Imagine, if you would, the beautiful Caltech Campus. Imagine, if you would be so generous, a population of exoplanets. Imagine, if you would be so kind, the beautiful minds of exoplanet scientists convening for the 25th year in a row.
That should put you in the mood for this very hypothetical blog post. Both in that the SSW of 2025 was about exoplanet populations, which inherently include speculation and projection, and also in that I forgot to take any sensible photos, so you’re going to have to paint some mental images for yourself.

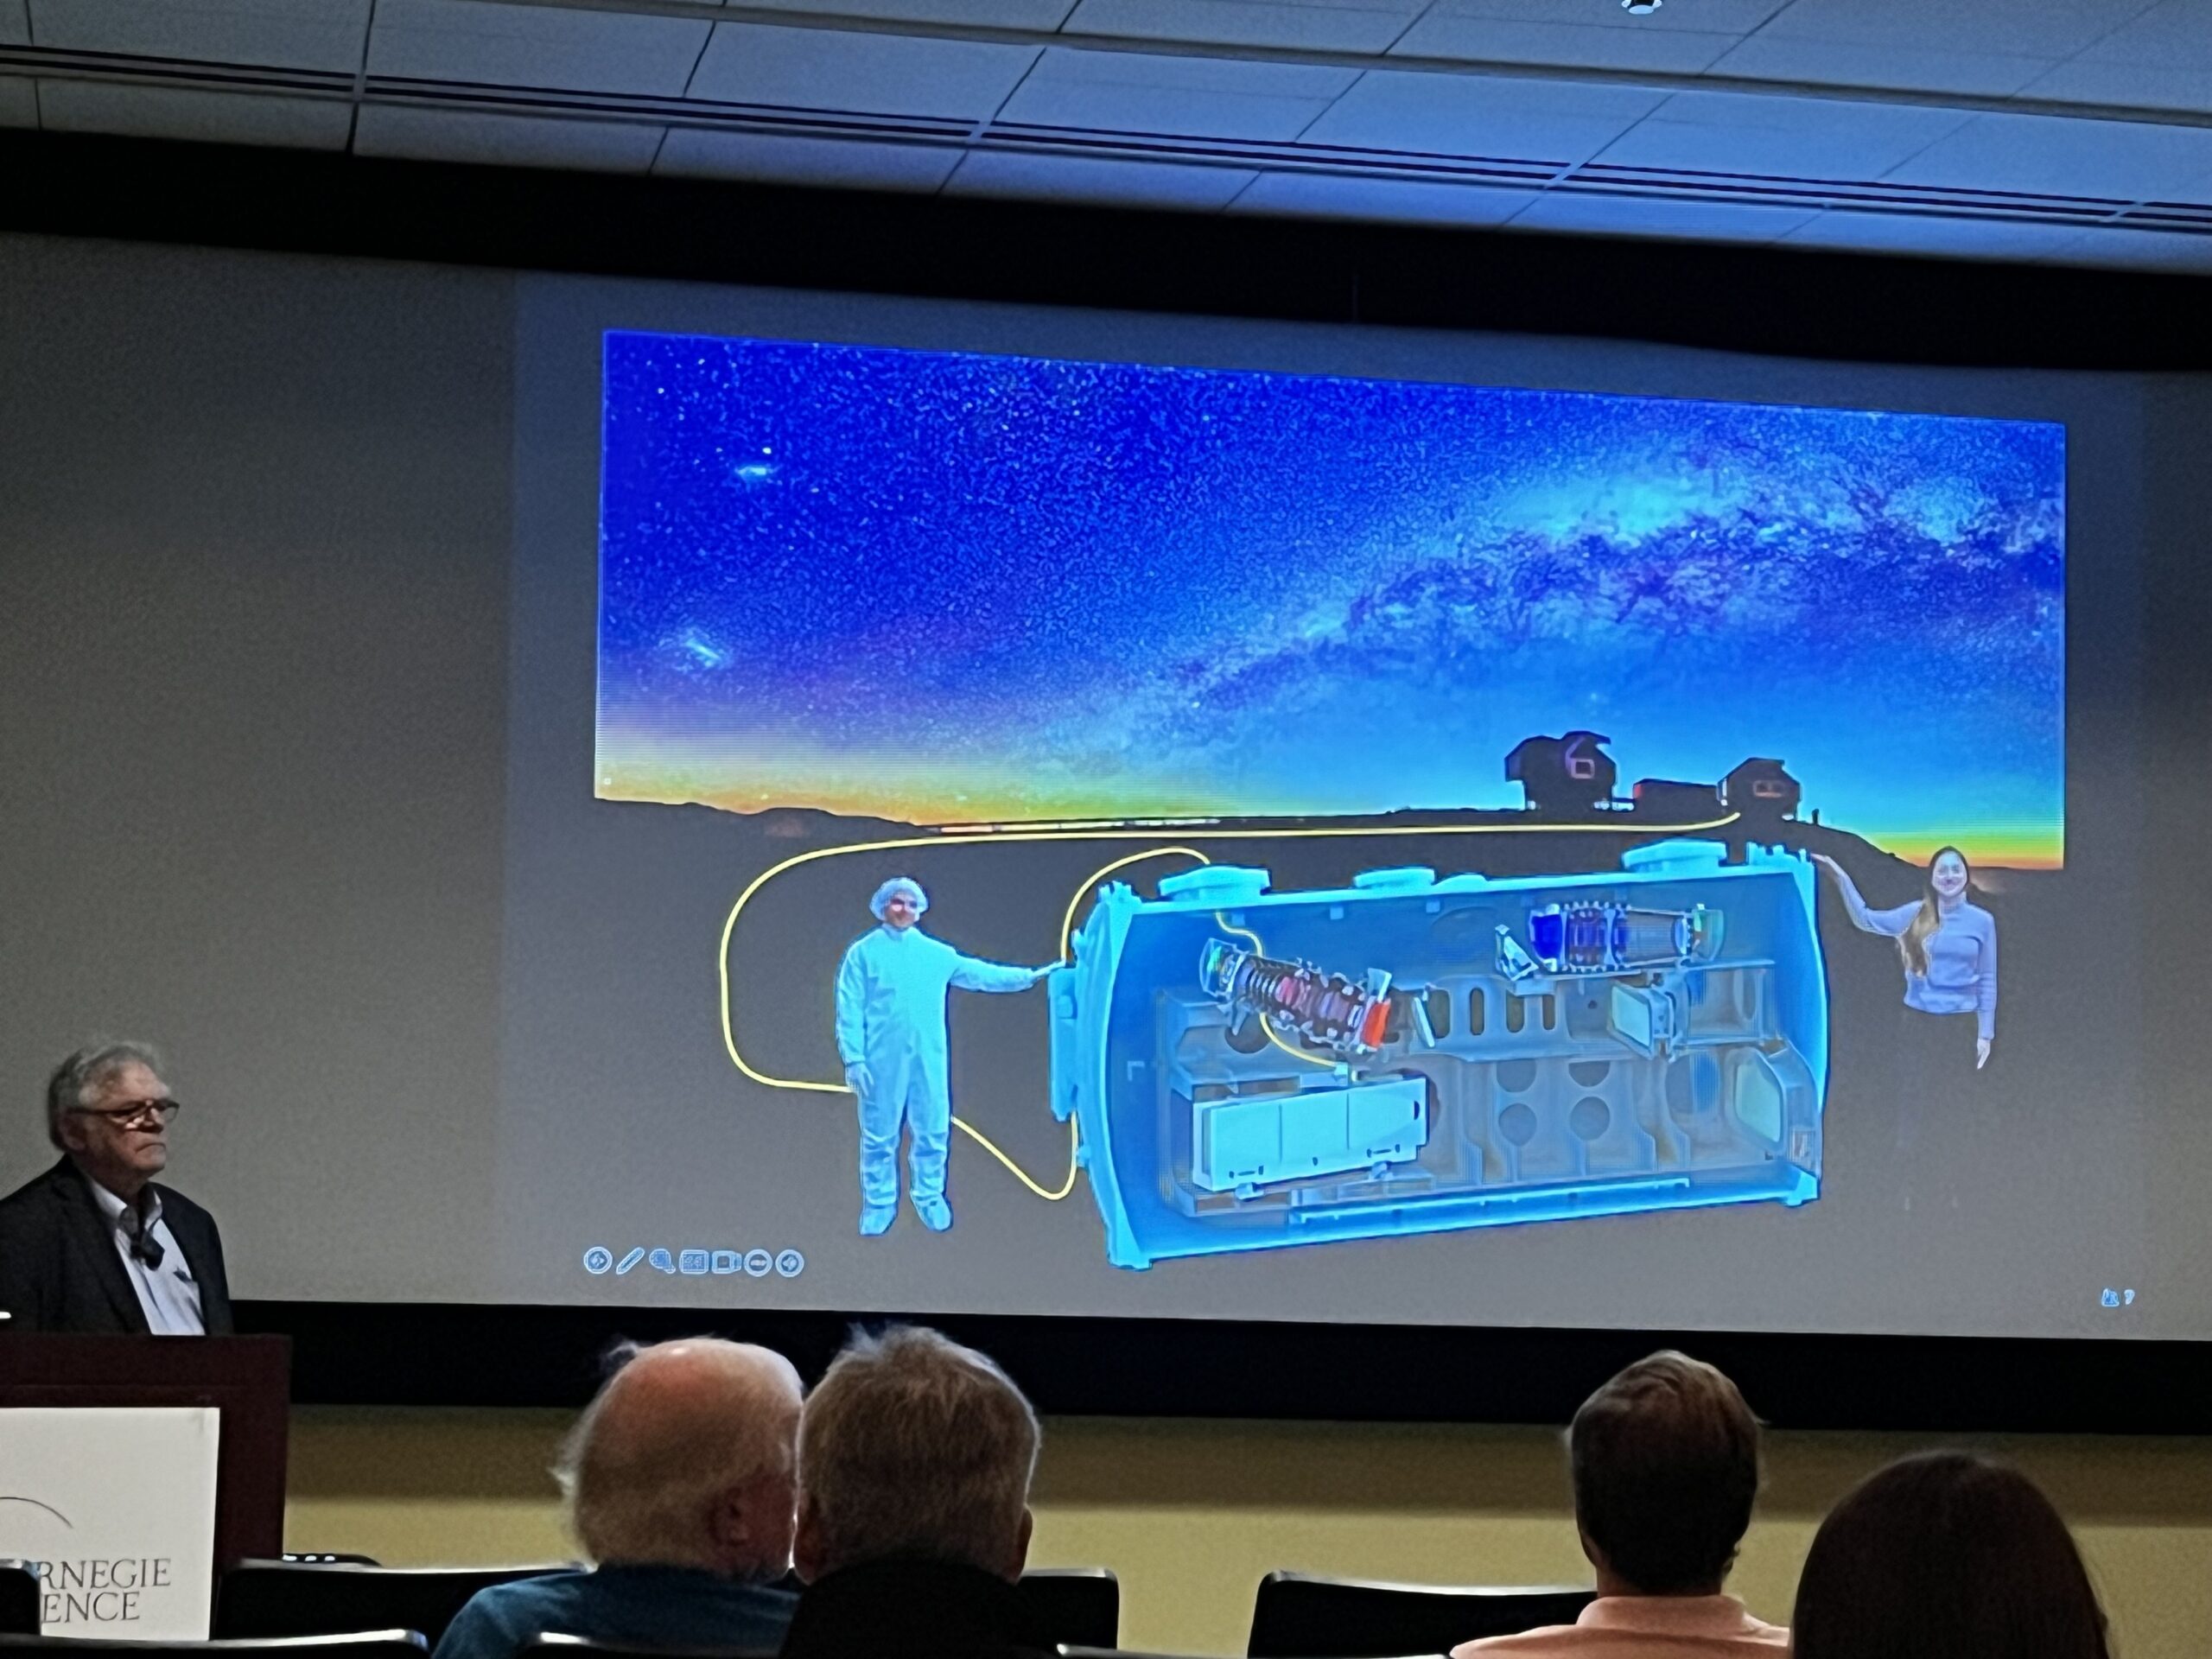
(Photo courtesy of Gabe Weible)
The crux of most SSWs are to help younger generations of researchers connect with a topic in exoplanets through lectures and hands on activities. Discussions are more fundamental than you would get from a typical conference and talks are staged to build on each other throughout the week.
This year was a celebration of hitting 25 sagan workshops, and so was an overview of how each detection method has aided our understanding of the whole of exoplanet populations. Take a wild guess at the favorite plot….

The best part of the Sagan Workshop series is that they’re truly meant to be a resource. There are no registration fees and all the talks are posted online after. So I’ll present my chef’s choice from this year with links if you’d like to relive it yourself.

If you’d like to know more about the biases in transiting exoplanet surveys, I highly recommend Josh Winn’s talk Twenty-Five Years of Transiting Planets (Video). He steps through a map of our transit detections through the years and different missions, which really helps contextualize how mission planning shapes the science we use for demographics. The selected slide above is, admittedly, a spoiler for to his very well-crafted narrative.

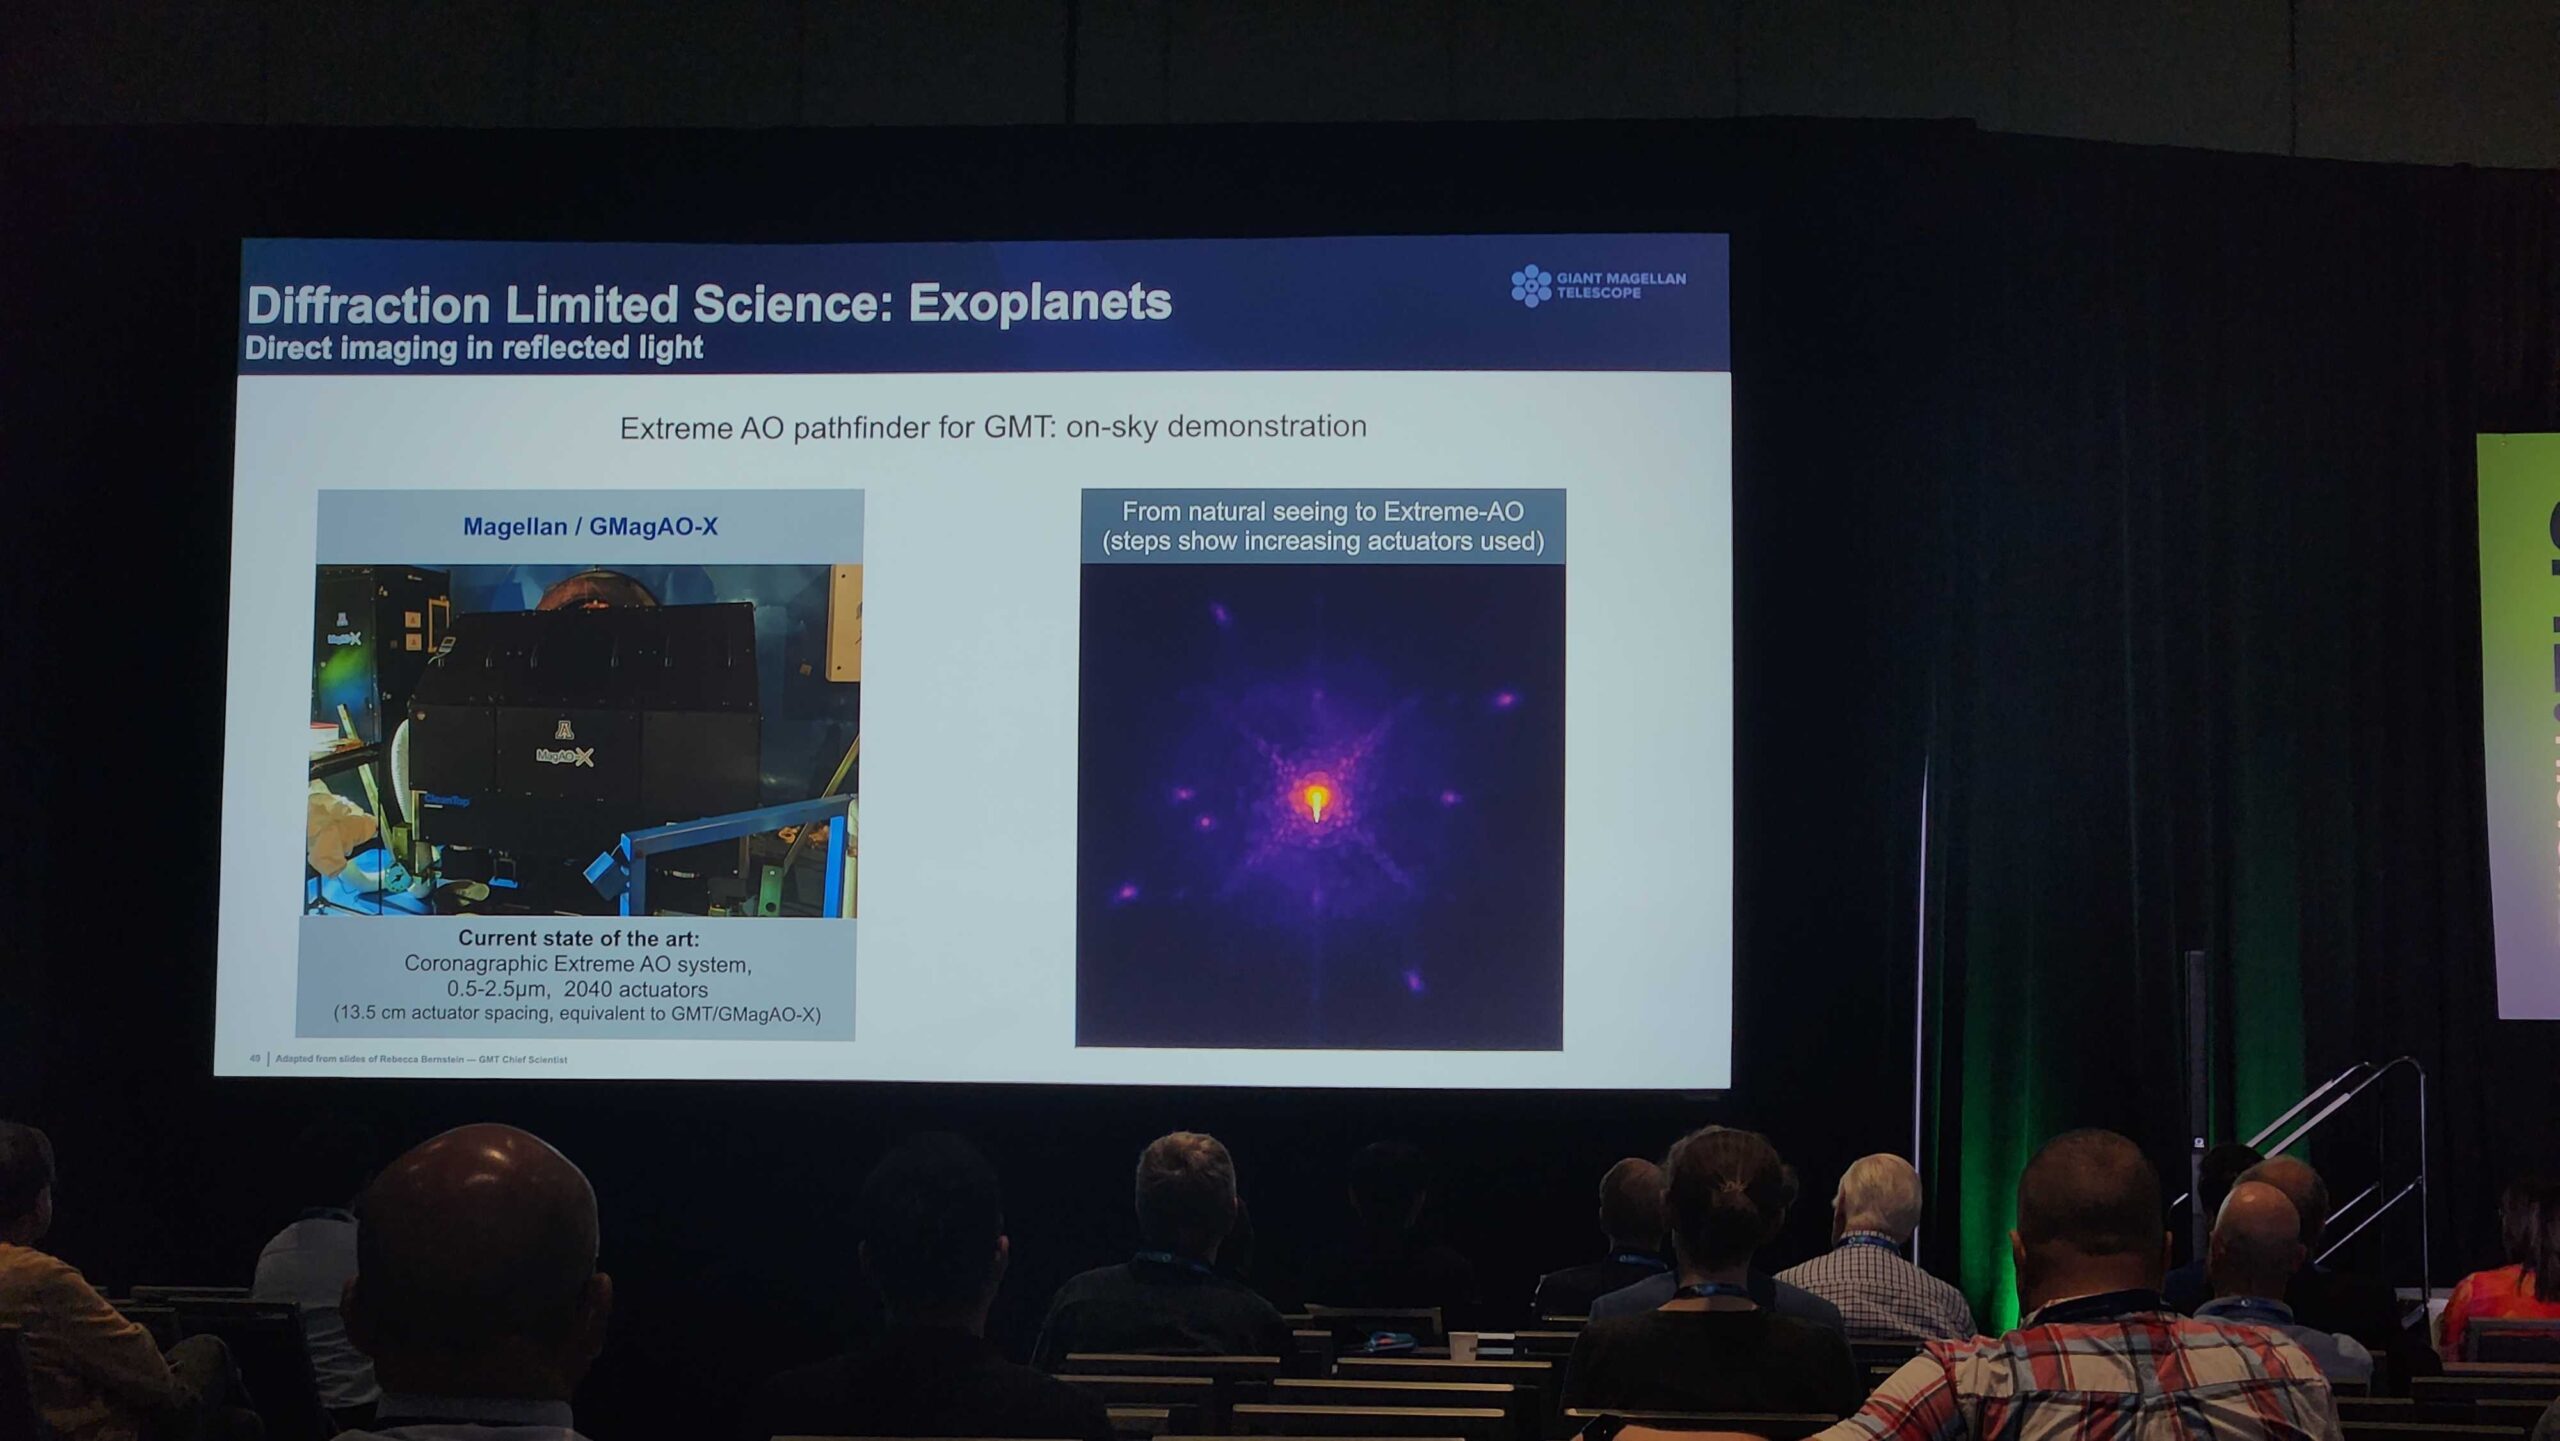
Of course, I’m contractually obligated to serve up the Direct Imaging talk on this menu. Not only because it really helped put my own work in context, or that all our favorite systems got a shout out, but the speaker Eric Neilson is a former Laird grad student. Check out Eric’s run down of the state of the feild here: Detection Techniques: Direct Imaging (Video)

(Slide from Tim Brandt’s talk)
Tim Brandt’s talk on absolute astrometry finally got me to understand exactly what the hub-bub around Gaia is about. Tim turned my vague notions on astrometry to appreciation for the nuances and limitation of the genre. Highly recommend this talk for a brush up: Detecting and Weighing Exoplanets with Absolute Astrometry (Video)

Finally, I really enjoyed Brendan Bowler’s talk on Gas Giant Demographics (Video). We talk a lot about the distinct populations each technique can study, but this was a really interesting way of tying what each technique gives us for a given population. Gas giants at different separations and ages are approached in different ways, but are quilted together in a great summary here. The talk is also just very expertly crafted, an instant resource.
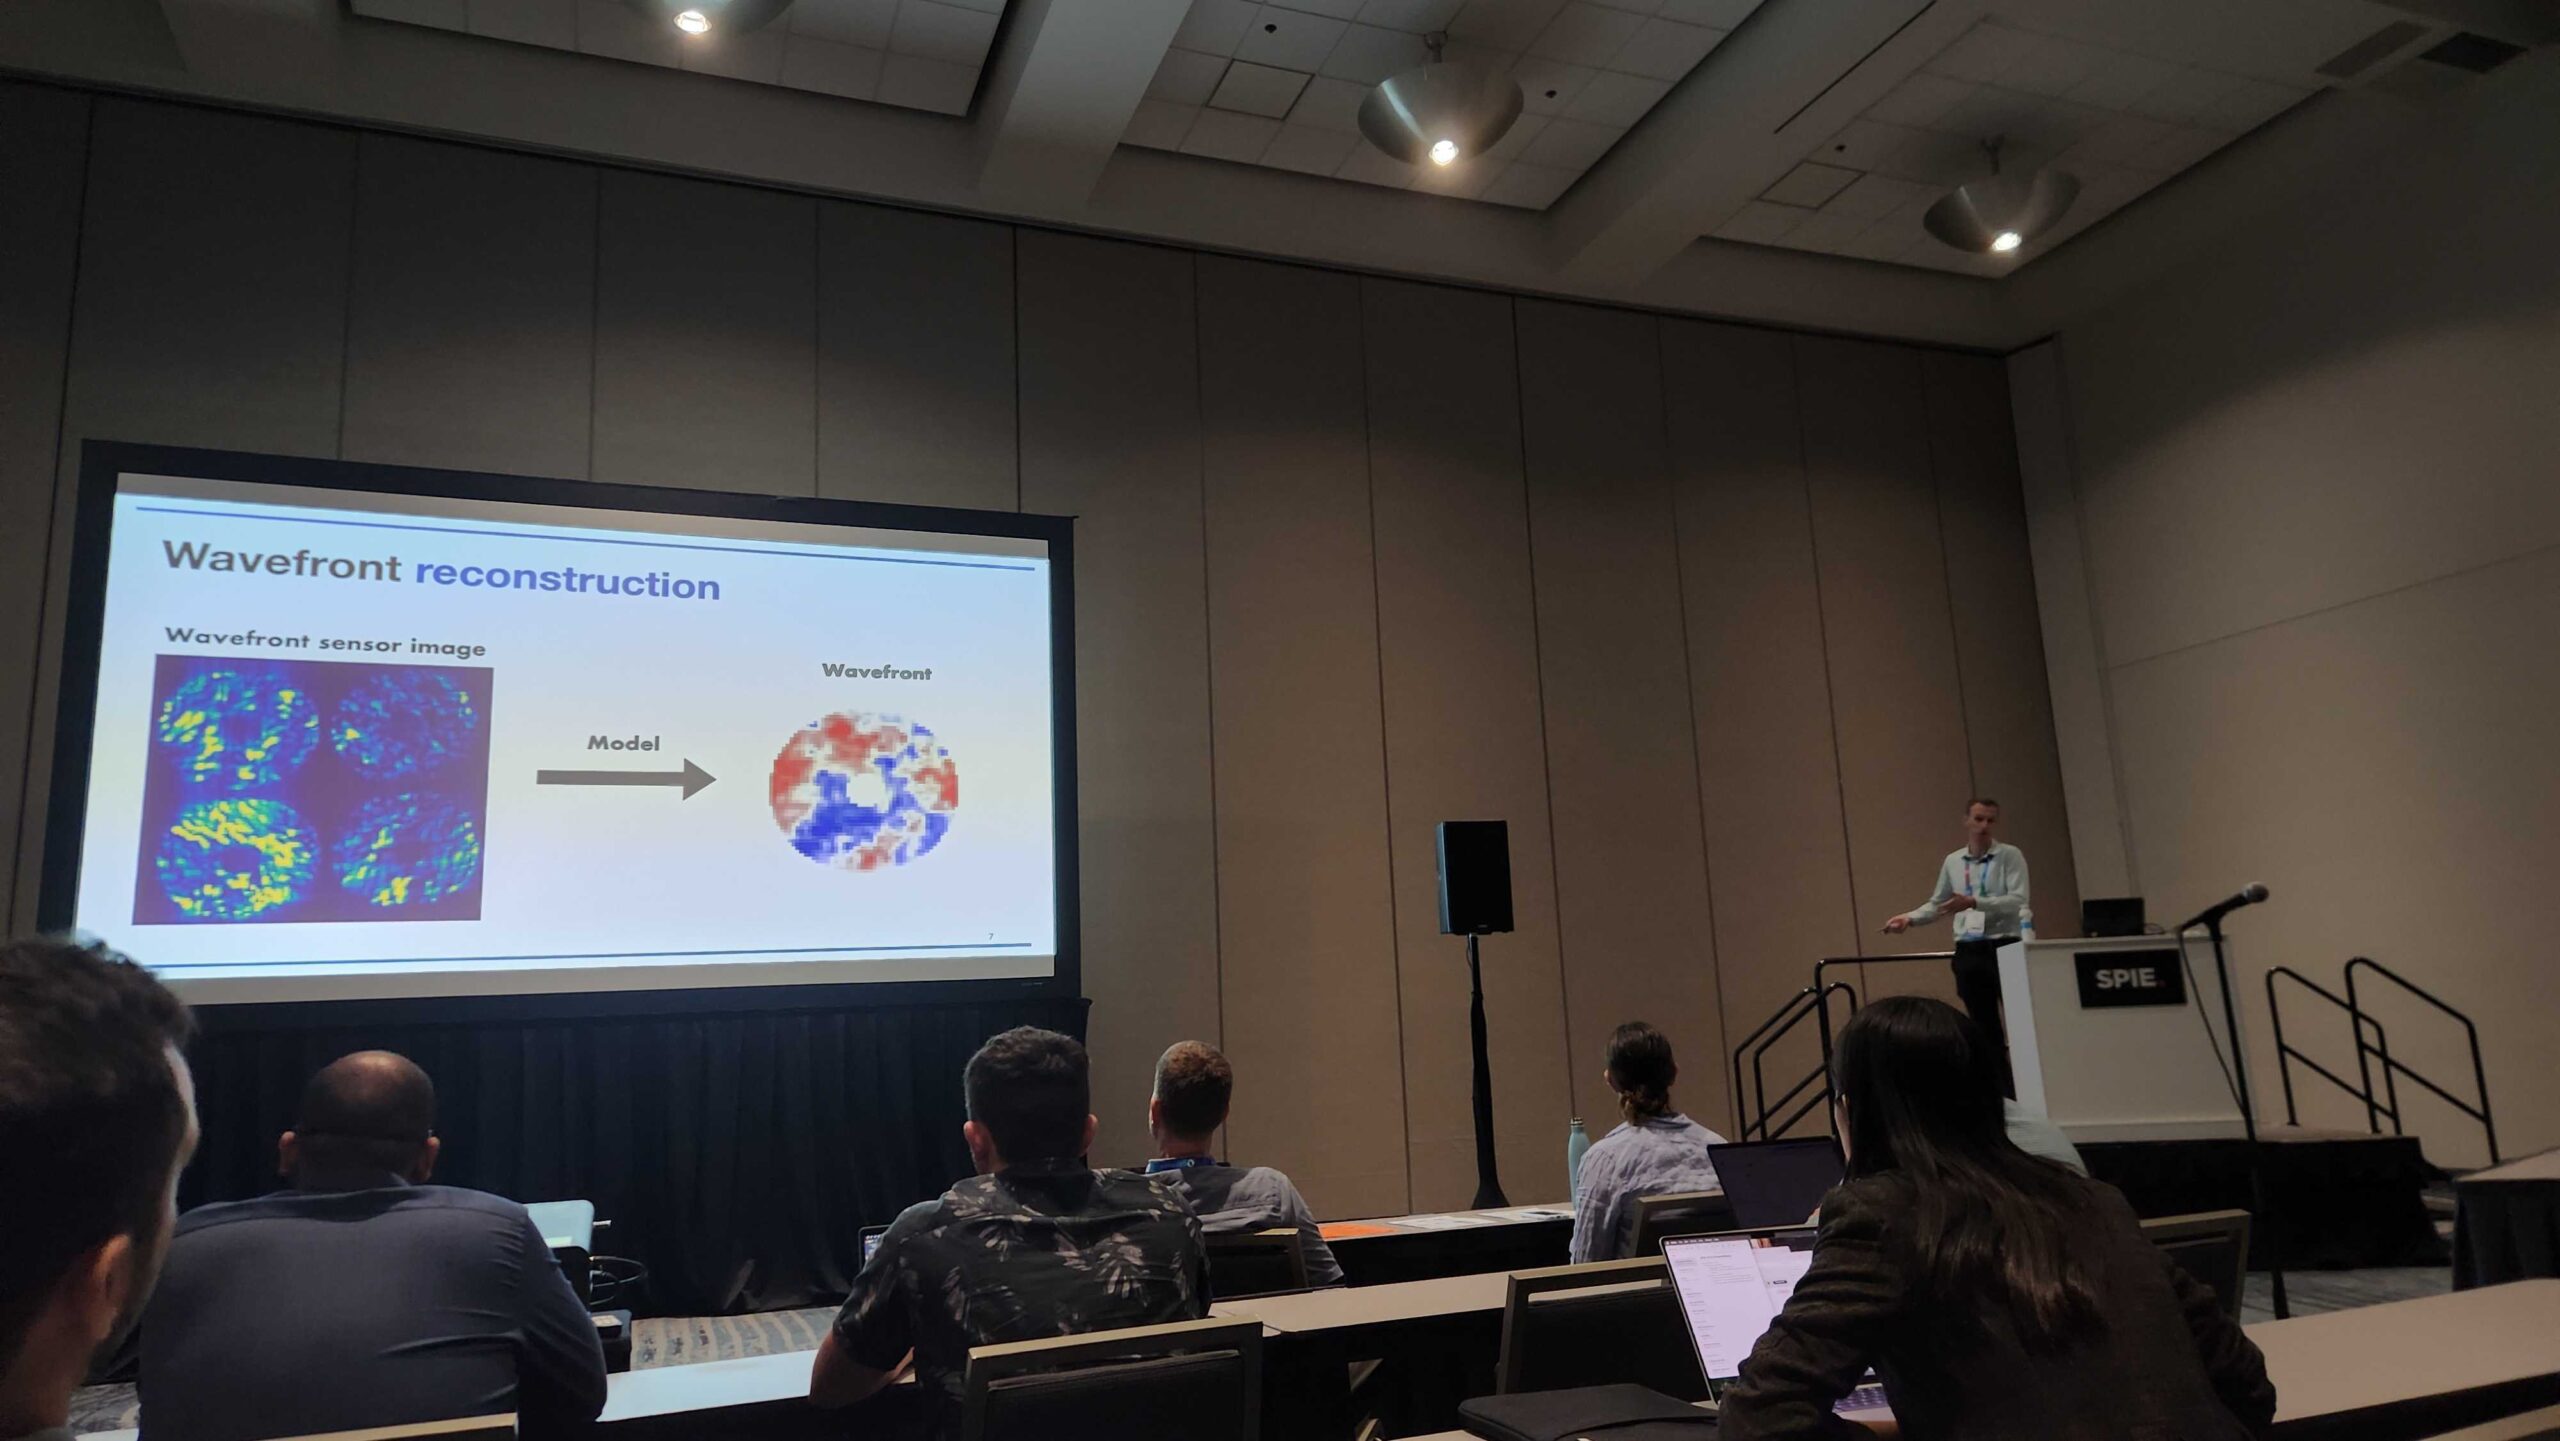
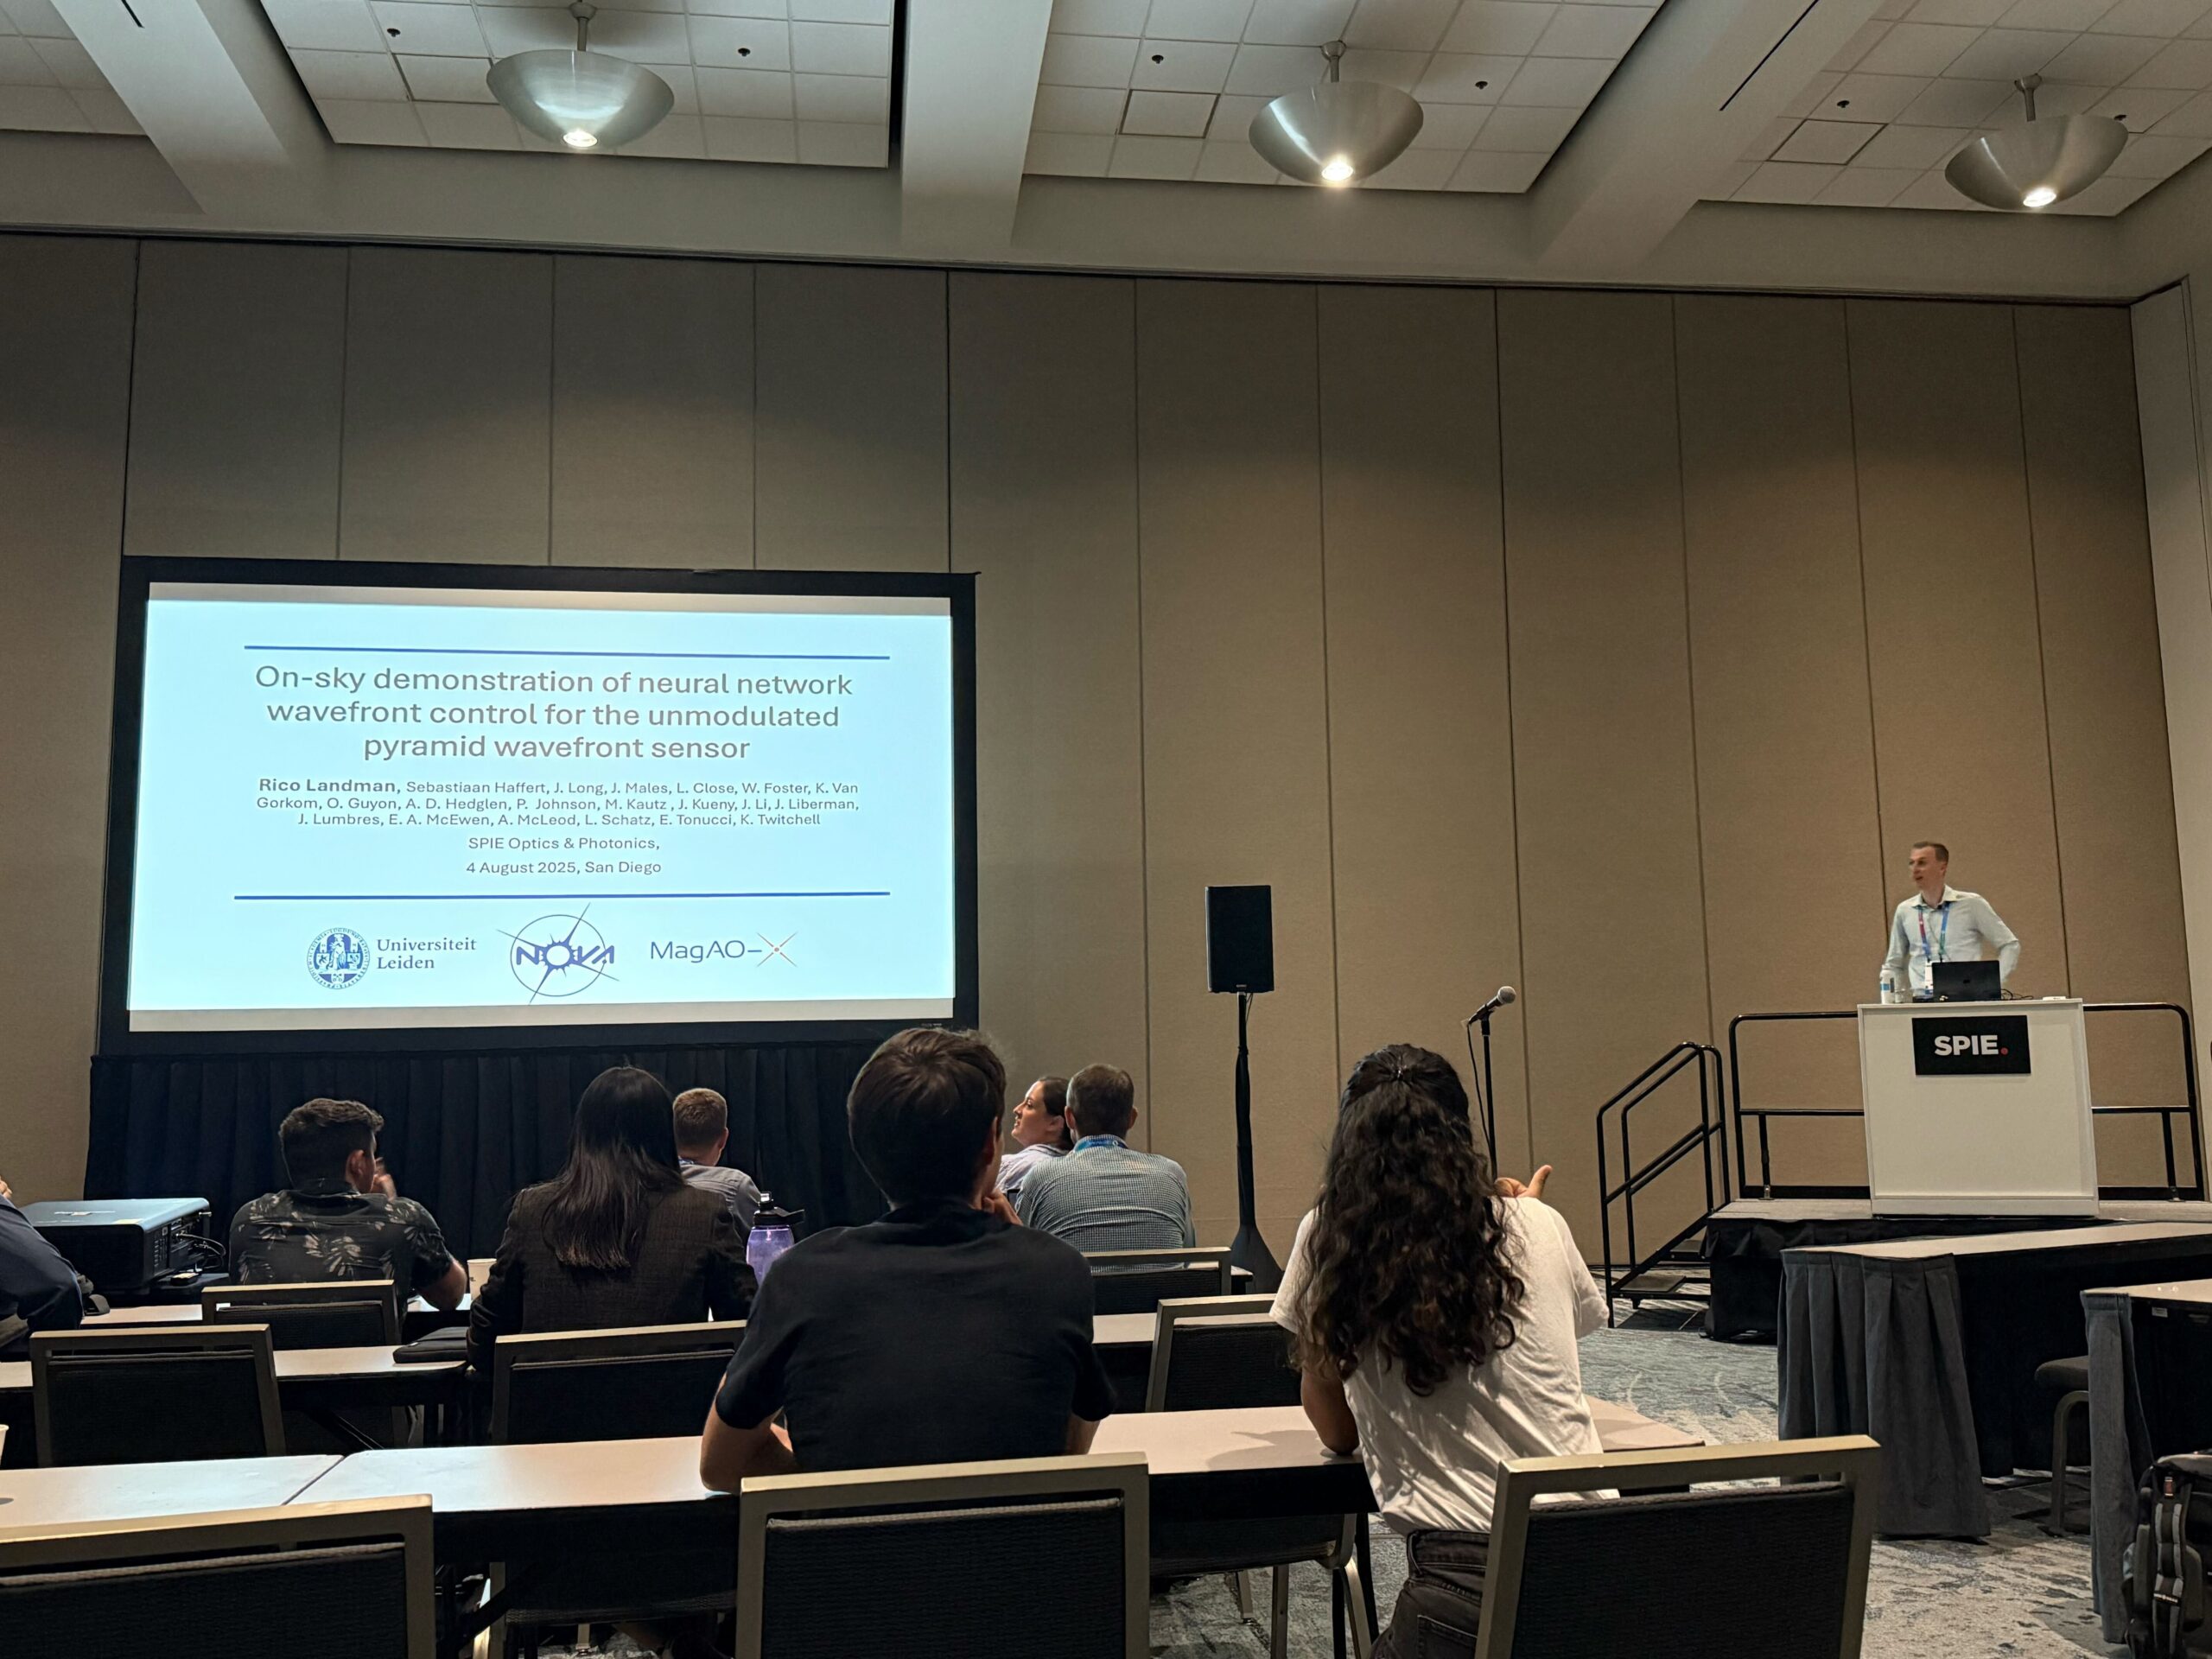
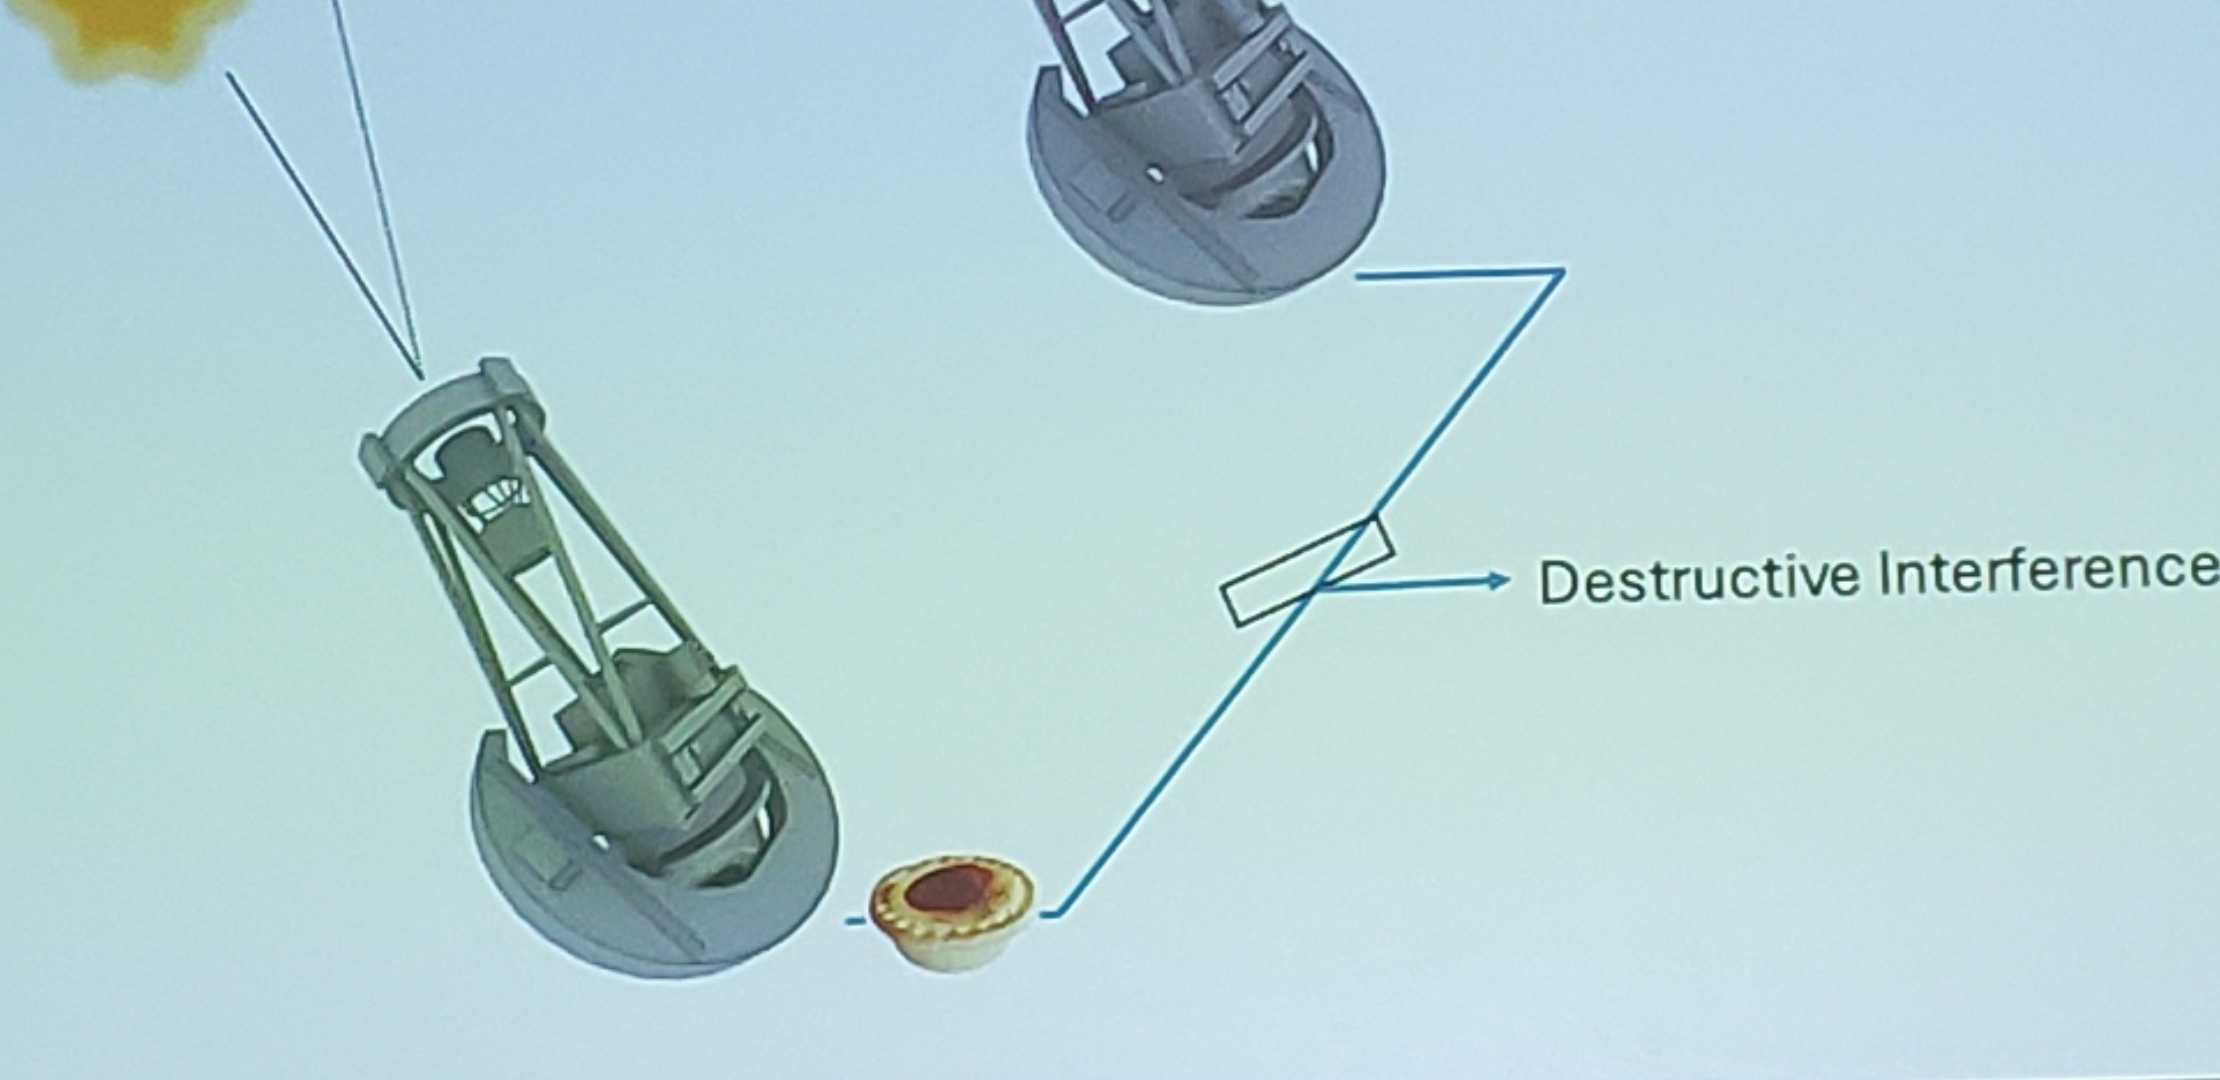
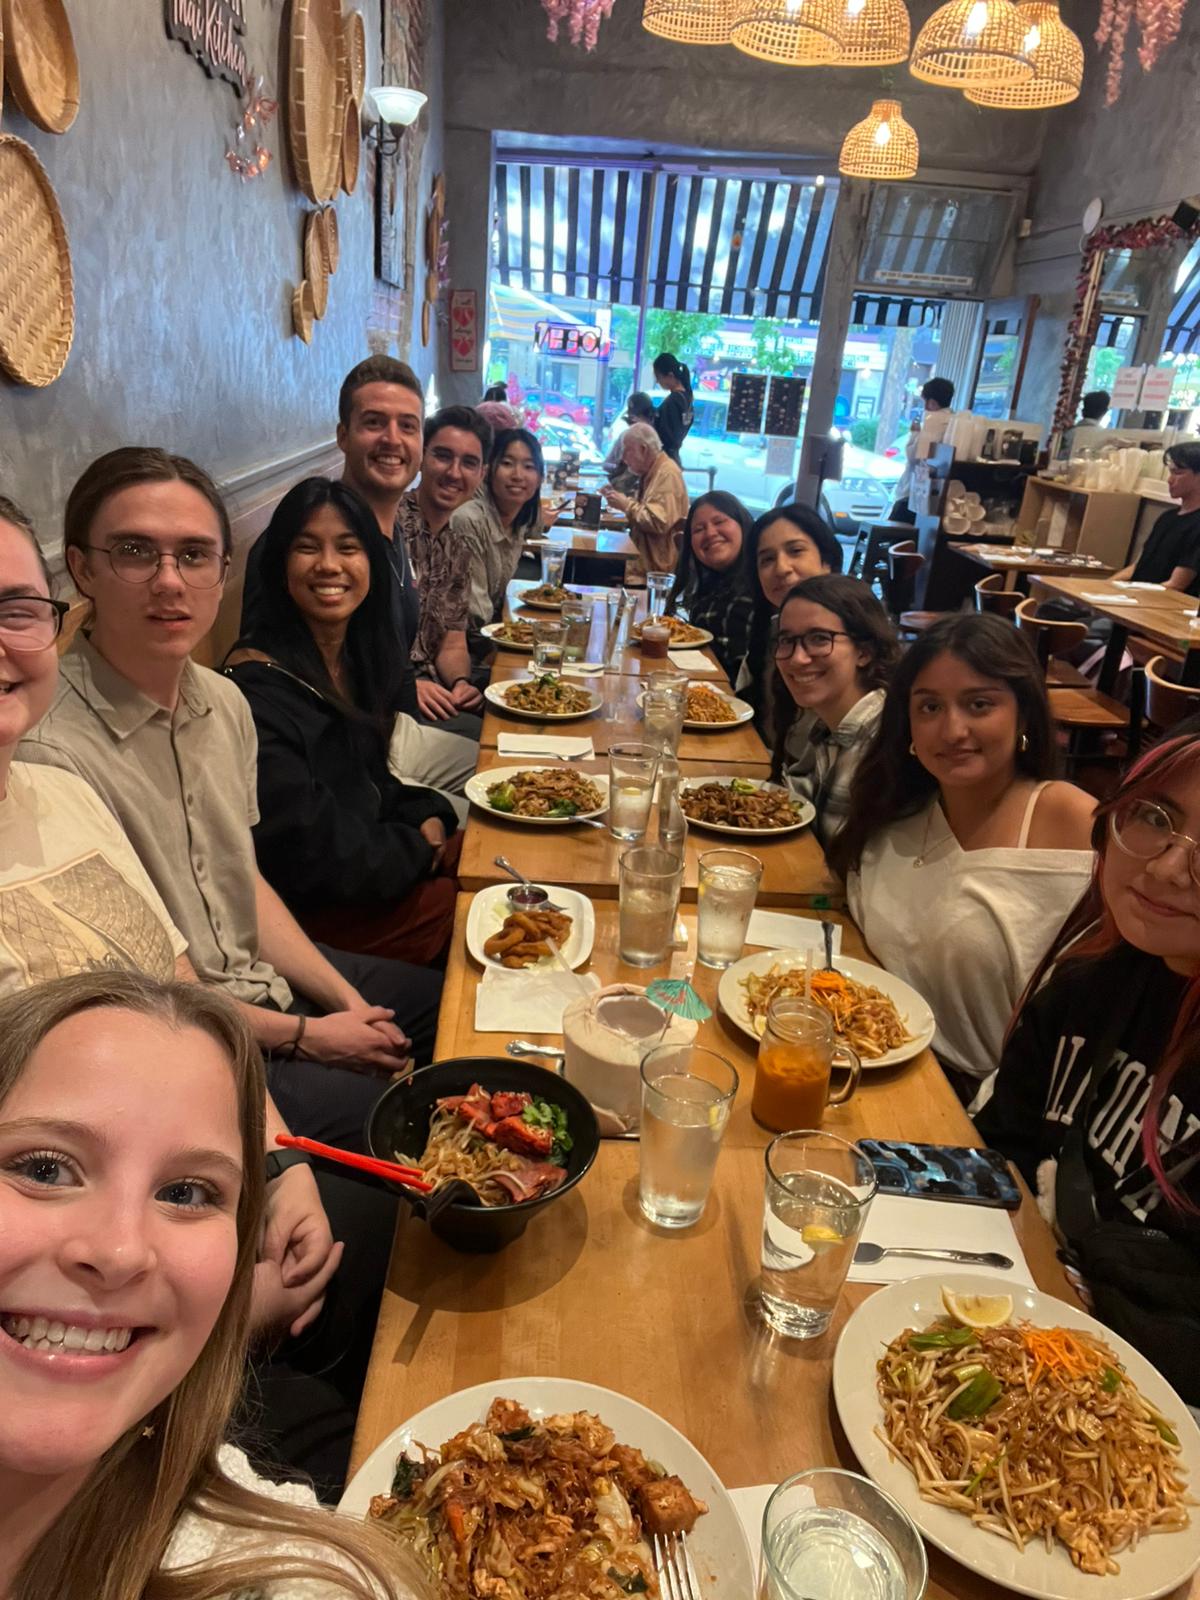
In addition to the educational talk series, there were also posters and short advertisements for poster pops. I gave my poster on the direct imaging work MagAO-X has been doing on Beta Pic b. Imagine I gave a poster pop and had actually taken a photo, it might look something like:

I also had great conversations over the poster session, across a variety of active research projects. With some stretch of the imagination, that poster session could have looked something like:

It’s true that this year was not necessarily the most on topic for us, but the workshop was a good reminder how far the field of exoplanets has come in my lifetime, and how bright the future is with Gaia DR3, PLATO, HWO, and more.


")


 from beihnd the podium!")


