To reach Las Campanas Observatory, of course you must book an eye-wateringly-expensive airplane ticket, but once you get here you must still traverse the Santiago airport, a.k.a. Aeropuerto Internacional Arturo Merino Benítez, a.k.a. Nuevo Pudahuel, a.k.a. SCL.
For important pedagogical reasons (i.e. four more people coming in two more waves) I will describe how it went. And since we hope these measures will relax, and that this information will quickly become obsolete, it’s gonna be a blog post and not a page.
Get from your airplane to Las Campanas Observatory in 13 easy steps!
Step 0: Be prepared
Obtain and/or print the documents you will need in hard-copy:
- Passport — Of course. Make sure that it doesn’t expire any time soon.
- Proof of insurance — you should have this as a letter from UA Risk Management)
- Proof of recent negative COVID-19 PCR test — Use UA Campus Health or the TUS airport testing site if you can. Counting backwards from the departure time of the flight to Chile, the test must have been taken within 72 hours. Bear in mind UA doesn’t administer or process tests on weekends.
- Proof of vaccination previously verified by Chile — You can generate this within mevacuno.gob.cl, using the “Download” button on the “My Vaccines” page. This is the “pase de movilidad” or “mobility pass” you may hear about.
- Declaración Jurada / Affidavit — Go into c19.cl from within MeVacuno for your affidavit. This is the PDF generated within c19.cl for submission to the airline attesting to your vaccination status and ability to enter Chile. Can be filled in up to 48 hours before you are passing through immigration, and requires the previous two documents to be uploaded.
(You will also upload some/all of these to Delta, and may even be asked for them again at check-in if their website goes wonky on you.)
Step 1: Awake with the sun
If you never got to sleep in the first place, this step is very easy.

Time to get off the plane in Santiago!
Tip #1: The first restroom you come to after disembarking turns out to be the last one you can get to without straying outside the rope barriers until baggage claim. That might be a (short) while.
Tip #2: Get your smartphone signed in to the free Wi-Fi, as you will need it to fill out a form later.
Step 2: Follow signs and people to the Control Sanitario phase of entry
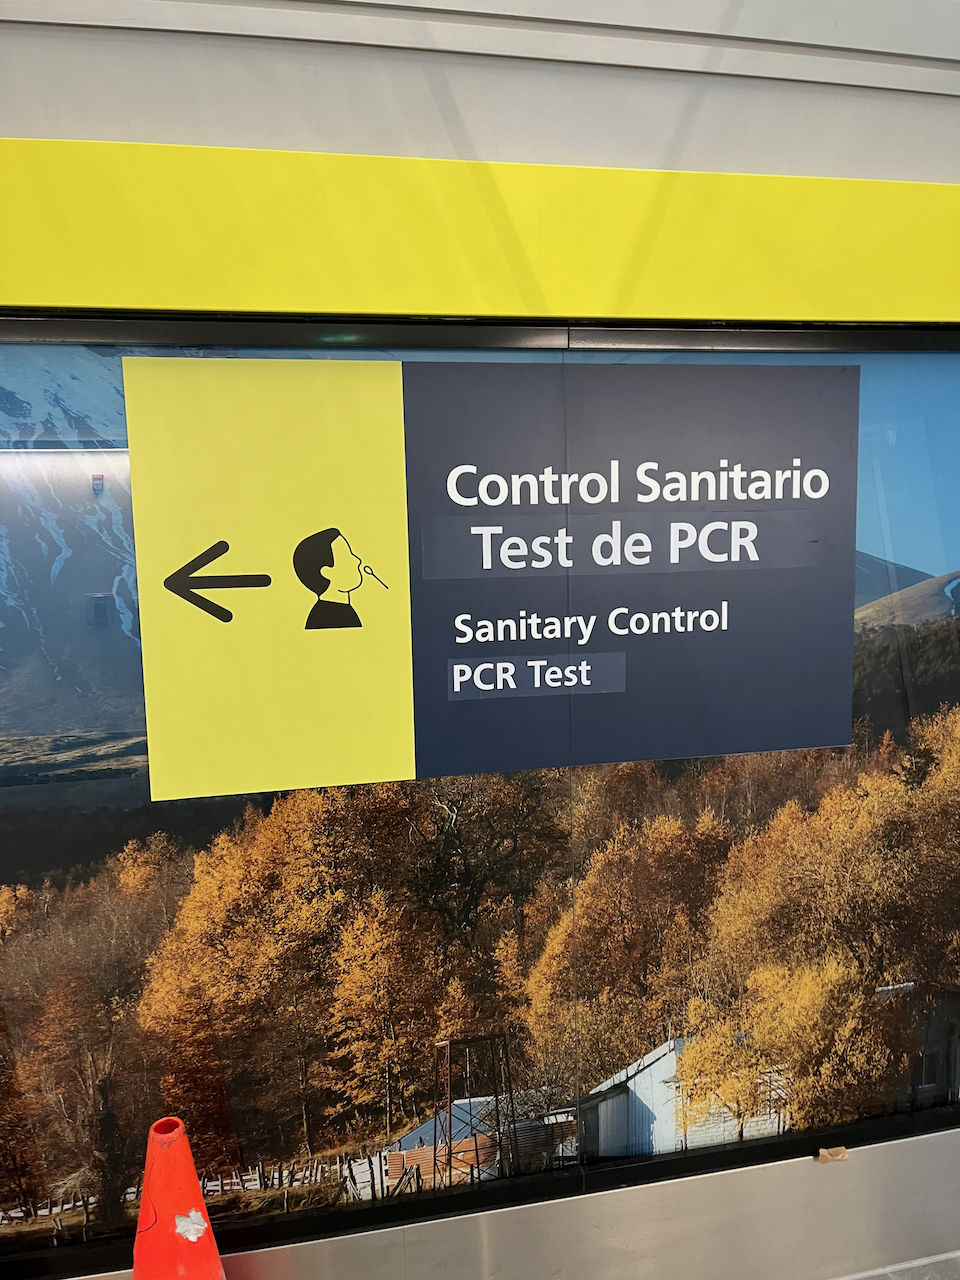
Before your COVID-19 entry test, you will be asked to present the identity document you used for enrollment in #MeVacuno, which is your passport (unless you’re Chilean). You will also be asked for your other supporting documents, which will be reviewed and handed back to you.
At the next stage, touchscreen kiosks ask you to enter your ID (passport) number. Take the slip of paper it presents up the ramp to the next desk, where a person will tell you the number of the testing booth you should go to.
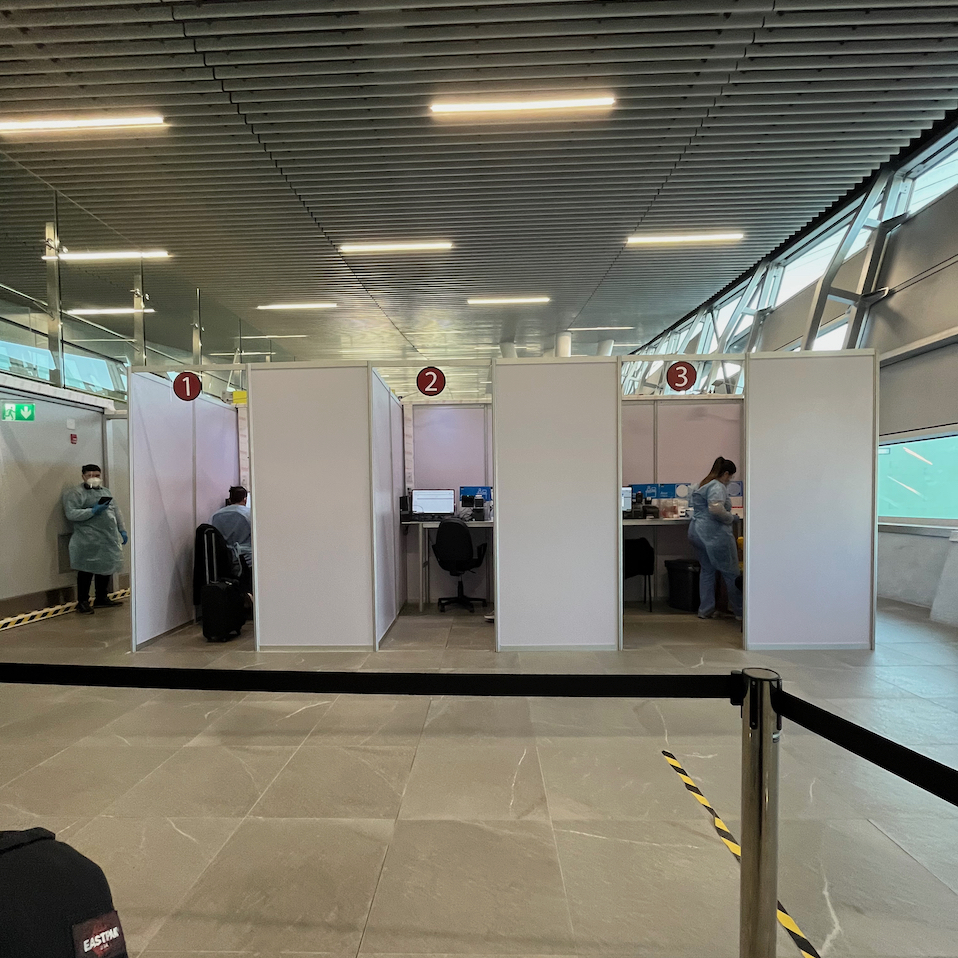
Step 3: The test
The test technicians are not necessarily going to speak English with you, but the test works like all the others. Lower your mask below your nose (keeping your mouth covered), get swabbed, replace mask. (Regrettably, nobody’s told them you don’t have to poke people in the brain to detect SARS-CoV-2.)
You’ll get an email soon (probably before you board the next flight) with information on accessing the test results, but note that we didn’t get notified when our test result went from “pending” to “negative”—we had to check the next day.
Step 4: Back to the usual
As of March 28th, 2022, there was a single line for passport control, serving both extranjeros like us and Chilean citizens. I told them I was going to “Observatorio Las Campanas, Vallenar, Región de Atacama“. That’s Las Campanas Observatory, Vallenar (vah-yay-nahr), Atacama.
They’ll stamp your passport. Keep the slip of receipt paper, you’ll need it to leave the country. (Otherwise it’s more annoying and complicated and a fine may be involved.) Fold it and tuck it in your passport if you think that’ll help you keep track of it, but keep in mind you’ll be getting your passport out a couple more times.
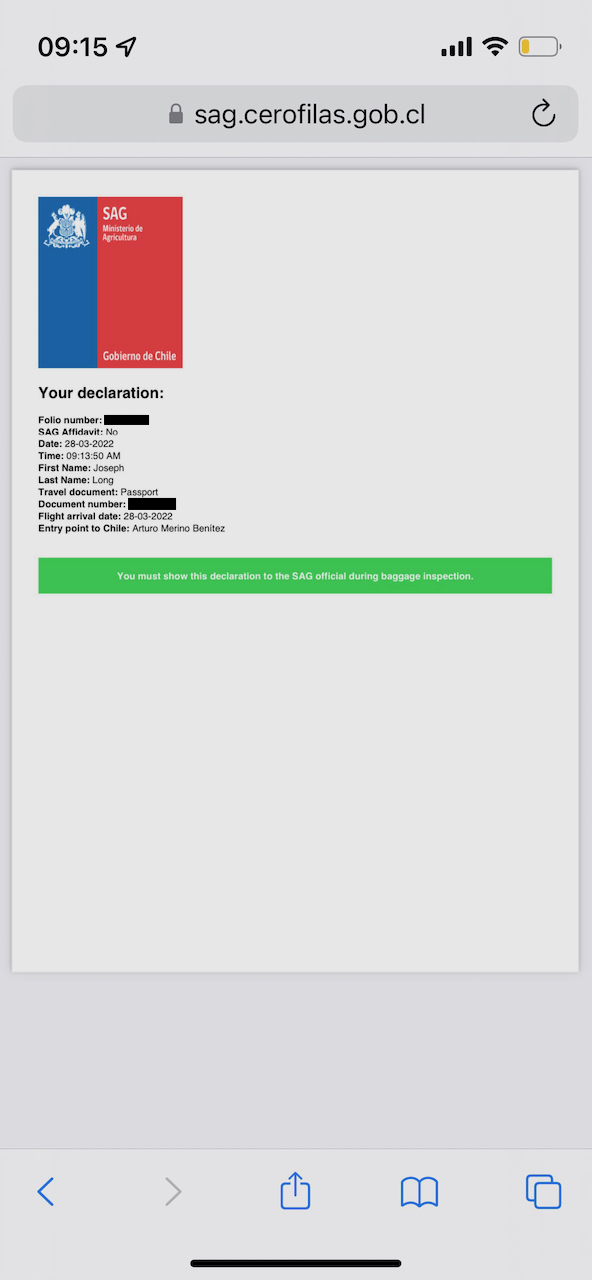
Step 5: Customs
The new customs procedure involves a sworn statement, entered online as part of the delightful cero filas (“no lines to wait in”) initiative by the government to computerize every form they can. There’s QR codes around the baggage claim that you can scan that take you to the form, or a .cl address you can type in.
Follow the prompts on the form. As you are not declaring any animal or plant products, you will be issued a result that looks like this when you click to download a PDF. (You’ll also get it as an email attachment from no-reply@digital.gob.cl, but I wanted to make sure I had it.)
Collect your bags. You’ll see a new luggage tag on your checked bag, but do not be alarmed. Follow signs for “nothing to declare,” run the sniffer dog gauntlet, and your next stop is a (potentially virtual) inspection of your luggage. By scanning the luggage tag, they can pull up an X-ray scan of your bag. Neat-o.
If you’re unlucky like me, they will not be able to scan the tag, and will have to paw through the bag anyway.
(This is probably when you’d show the customs declaration to someone, but nobody asked for it. Oops?)
Step 6: Go outside!
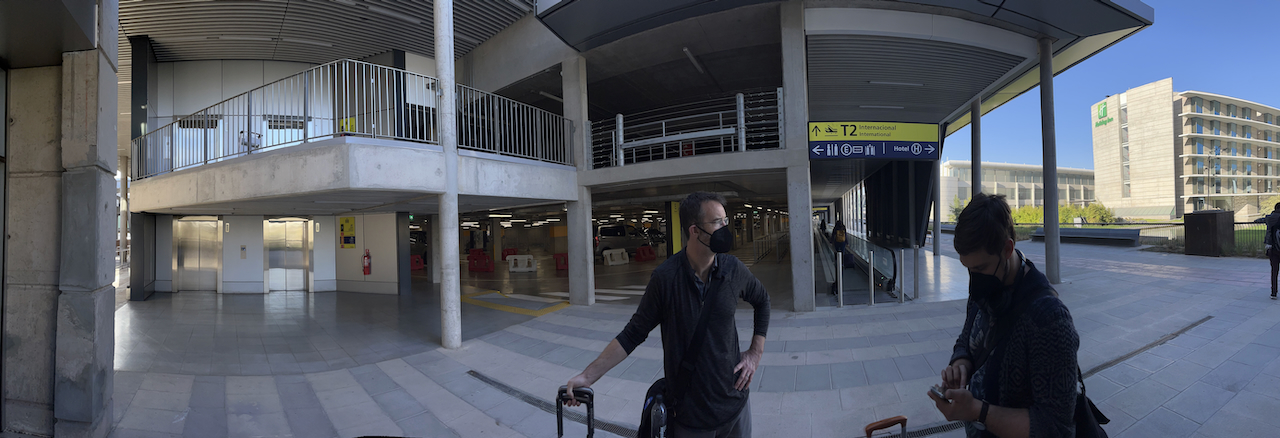
You’ll pop out on a lower level of the new building (nuevo terminal internacional, T2). Ignore people offering rides or help and get past the scrum.
Years of experience from the old terminal taught us that check-in is always “up”. Nearly right! We got upstairs and discovered that it’s actually safe (for now) to walk around this new building looking lost. The only guy who stopped to ask if we were fine was a bona-fide airport janitor, who directed us to the building across the way for “salidas domesticas” (domestic departures).
Going up from customs gets you as far as international check-in, but you have to go up and out to get to the old building where domestic flights check in. At the top of the upper-level escalator pictured below, we found an elevated bridge to take us… part of the way across. But at least it went over all the vehicle traffic.

After taking the bridge over the road and elevator down to ground level, we continued straight past the Holiday Inn and into the terminal antiguo (the old terminal, or T1). To enter the terminal, there’s a set of elevators taking you to another bridge over the vehicle traffic (left side of the panorama below, so on your right when you get to the end of the walkway from T2 to T1).
Center: Couple of random dudes.
Right: Holiday Inn eagerly awaits the return of noted Club Member Laird Close.
Step 7: Check in with LATAM
Once inside the old terminal, all should be familiar to the old hands in your group. Ignore people enthusiastically offering you assistance, even if they’re wearing a badge. As a general rule, if they’re with the airline, they’ll have an airline logo somewhere on their uniform (and probably won’t be quite so proactively helpful, but anyway…).
If you accept the assistance of one of these “freelancers”, they’ll expect a few dollars as a tip. Some of them can be a bit rude about it if you don’t have any cash.
At the LATAM counter, you’ll check in and re-check bags. Proceed through security. (This is potentially where your pase de movilidad would be requested, but ours wasn’t.)
Step 8. Enjoy the fruits of global capitalism on your layover
You may feel a bit guilty that you went all the way to Chile to consume Starbucks and McDonalds, but consider this:
- After traveling for the better part of a day, at least you can still feel something
- This is the last time you can have an unhealthy number of French fries (or fake Italian coffee words in a blender) for a while.
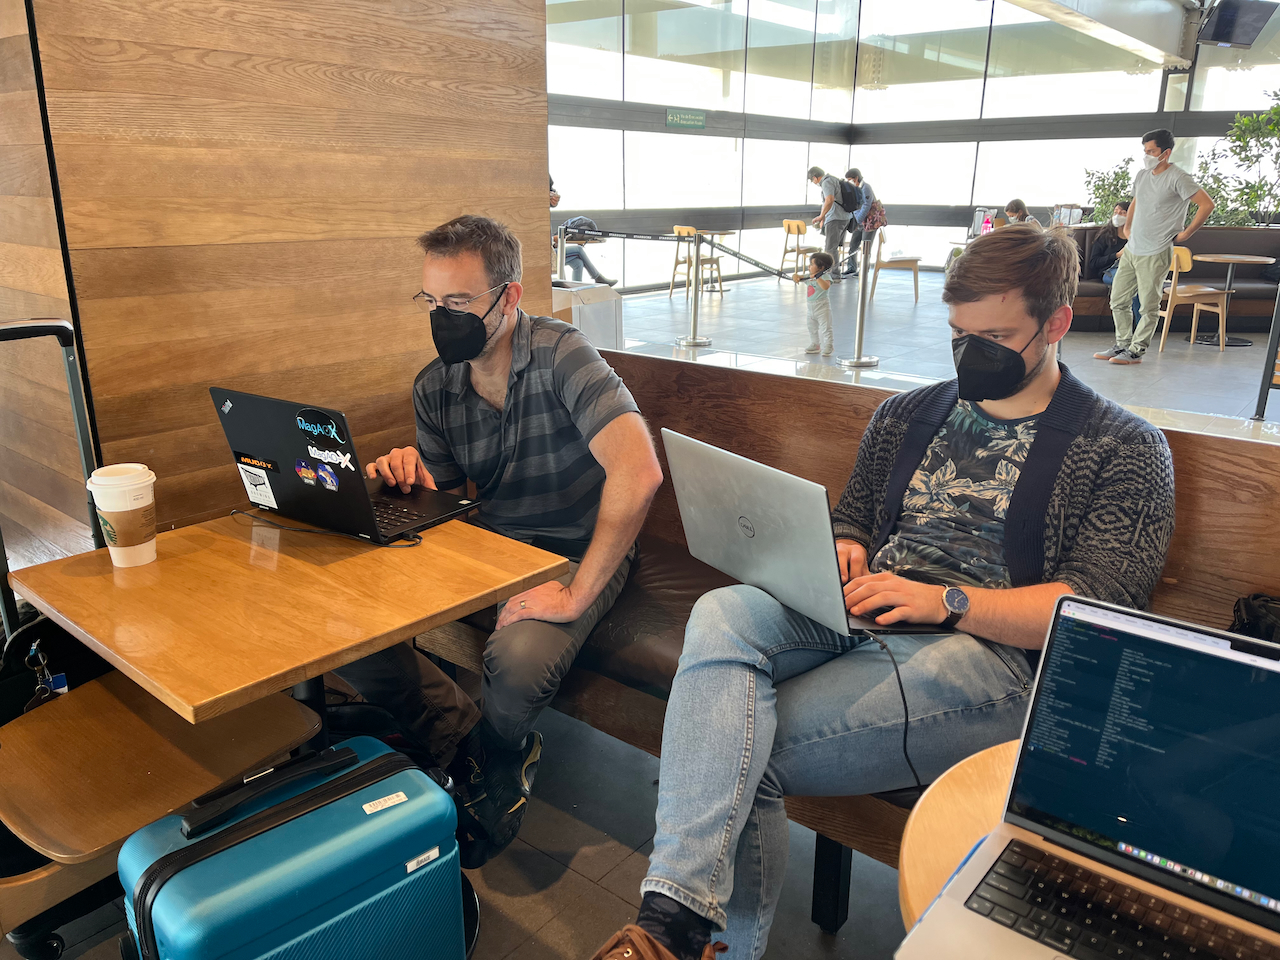
Tip #3: the payment terminal in Starbucks (like many others in Chile) will ask you to choose “pagar con cuotas” or “pagar sin cuotas.” The answer is always “sin cuotas,” but I only just figured out why. With a Chilean credit card, it is possible to spread your CLP$4500 latte over multiple months of payment, with interest owed on later installments. Since debiting your credit card balance happens automatically at the end of the month, this is the only way to “not pay your whole credit card bill”. (Presumably if you ever selected “con cuotas” your American bank would just go “whut?” and the transaction would fail.)
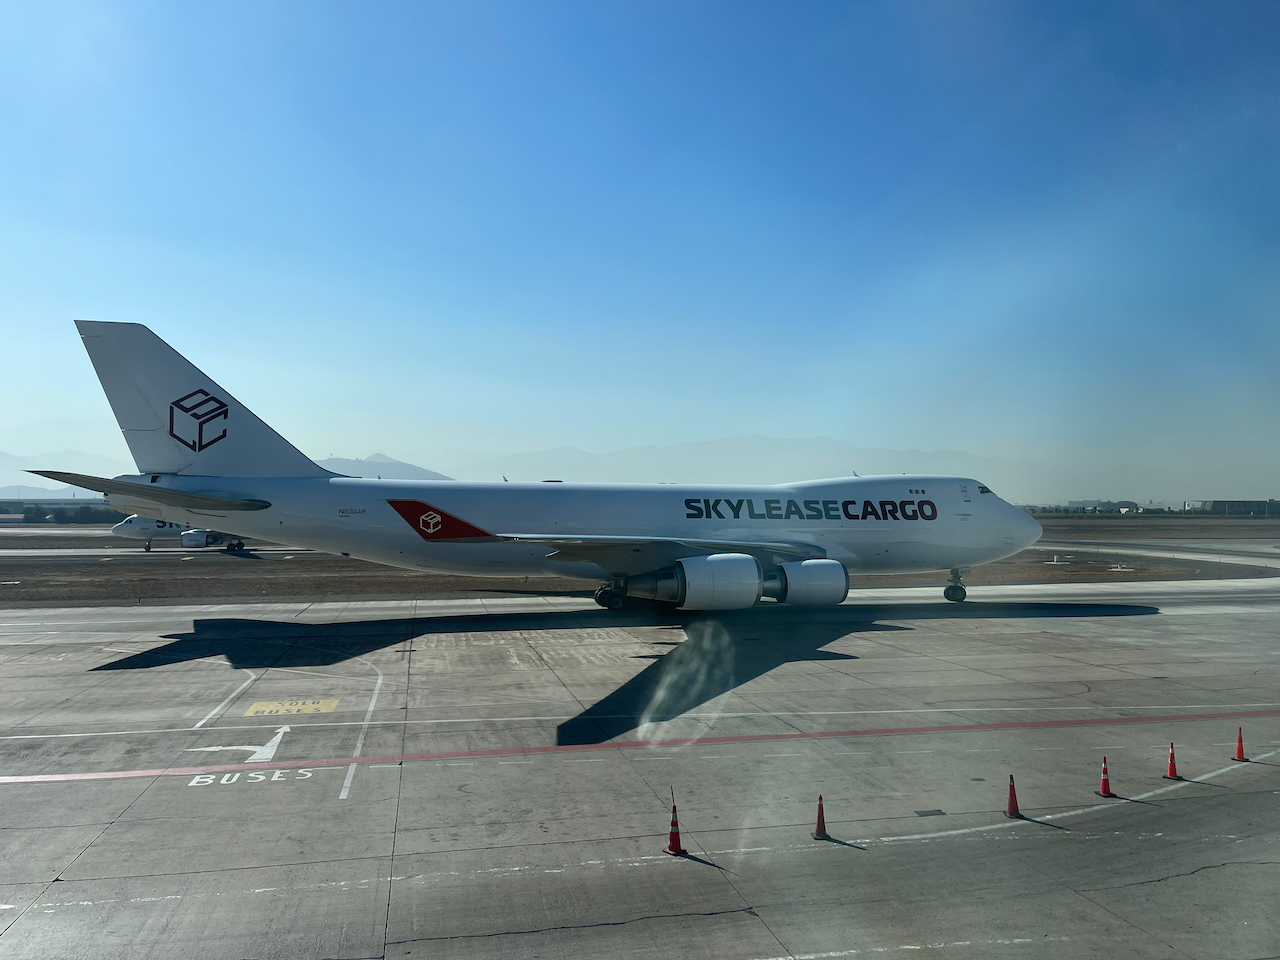
Step 9. Spot a cargo plane
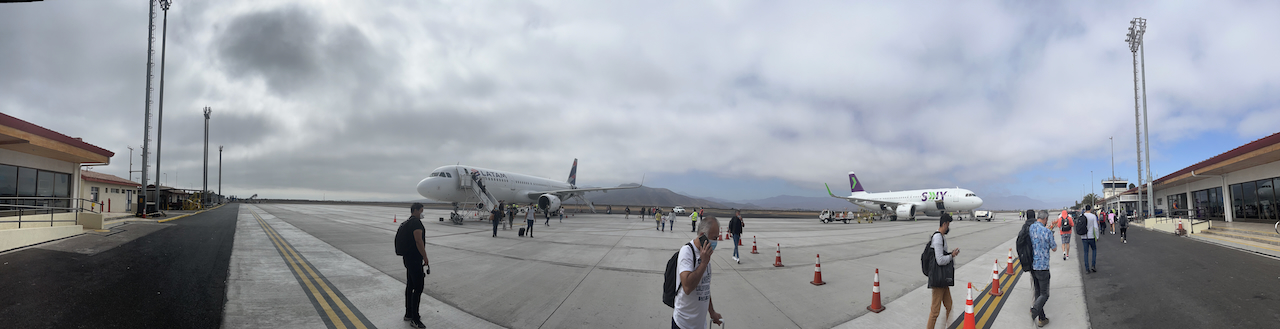
Step 10. Get to La Serena
You’ve found a gate and boarded a plane before, right? It works just like that. Short flight, too.
Step 11. Catch a (COVID-19 mitigation enabled) ride
After you collect your bags, a driver arranged by Las Campanas will be waiting with your names on a sign. Last connection: made!
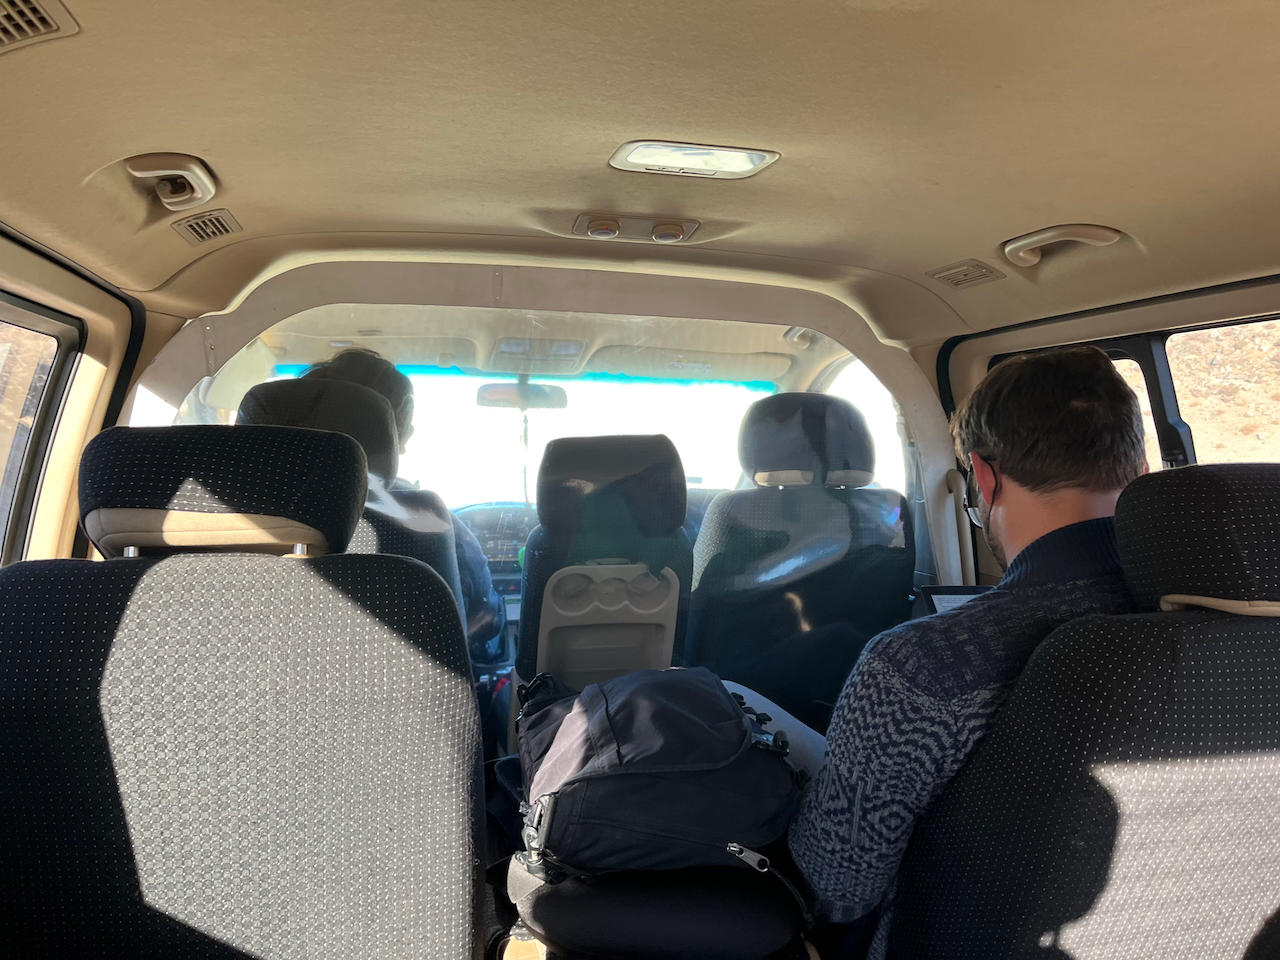
At the guardhouse we saw Carlos Culpeo’s cousin Cornelio caper around the car craving snacks.
Step 12. Get in your bubble! Go on, now!
Someone will meet you or otherwise communicate your room assignments so that you do not enter the main lodge. You may have a paper version of the LCO daily health check-in form to complete.
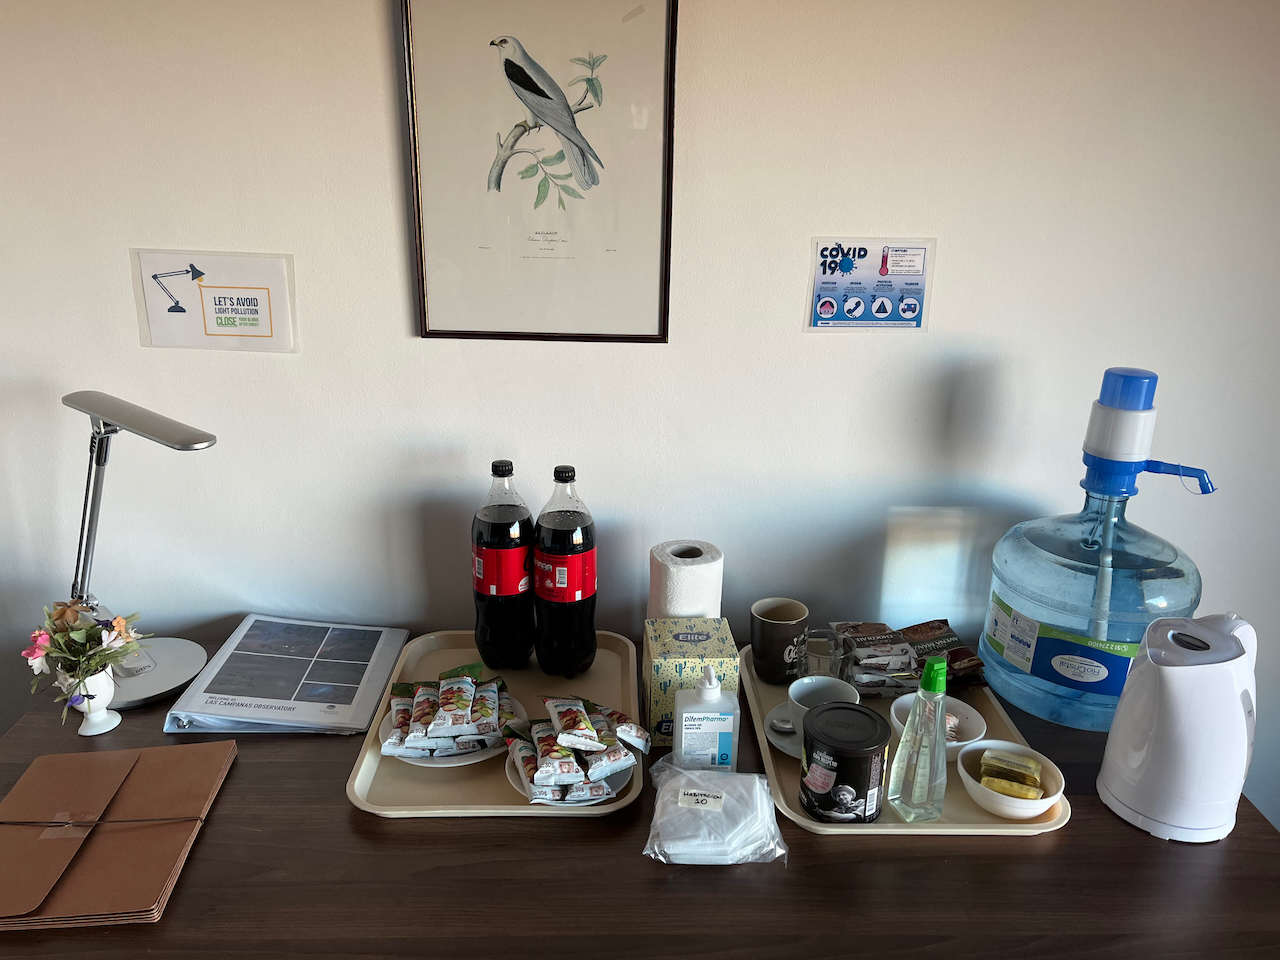
Next, snacks.
Step 13. Wait until you may rejoin society
Get your room set up nicely, do your daily health check-in, check if your PCR test has been processed (and is, hopefully, negative). Work on stuff with your bubblemates. Enjoy the only time LCO has ever offered “room service.”
Ta-dah! Only 13 easy steps.
Song of the Day
The P.I. couldn’t even manage a day 0 blog post, so he has forfeit his right to impose arbitrary song of the day rules this time. Also, it’s gonna be 30 days, so let’s keep things simple.
I don’t know what river he’s singing about, but we’ve gotta be south of a bunch of them by now.