MagAO-X 2022A Day 30: The Secret Behind MagAO-X Cool Kid Attire
I can thankfully say that all of our LCO-going MagAO-X team members are back to their respective USA locations! I would say Tucson but Logan had to pick up her dog and car in Texas. Speaking of doggos, I know everyone was happy to see their loving furry roommates upon their arrival.
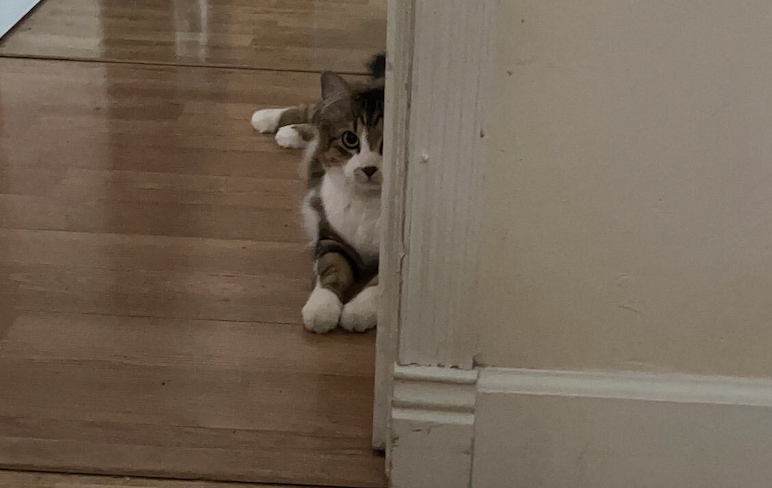
Alexander the Great a bit skeptical that he is willing to forgive roommate Joseph Long for his extended absence.Lani inspecting that ball thrower Logan Pearce has returned with all previous ball throwing capabilities still in tact.
As per the remainder of the team’s travels after yesterday’s post, it looks like the plane’s headrest flight tracking system was not fully functioning – but luckily it seems that the captains were aware of their final destination.
Maybe someday we will have to stop by f-square to check out the local architecture and scenery.Tucuman, home of the Tucumanians.
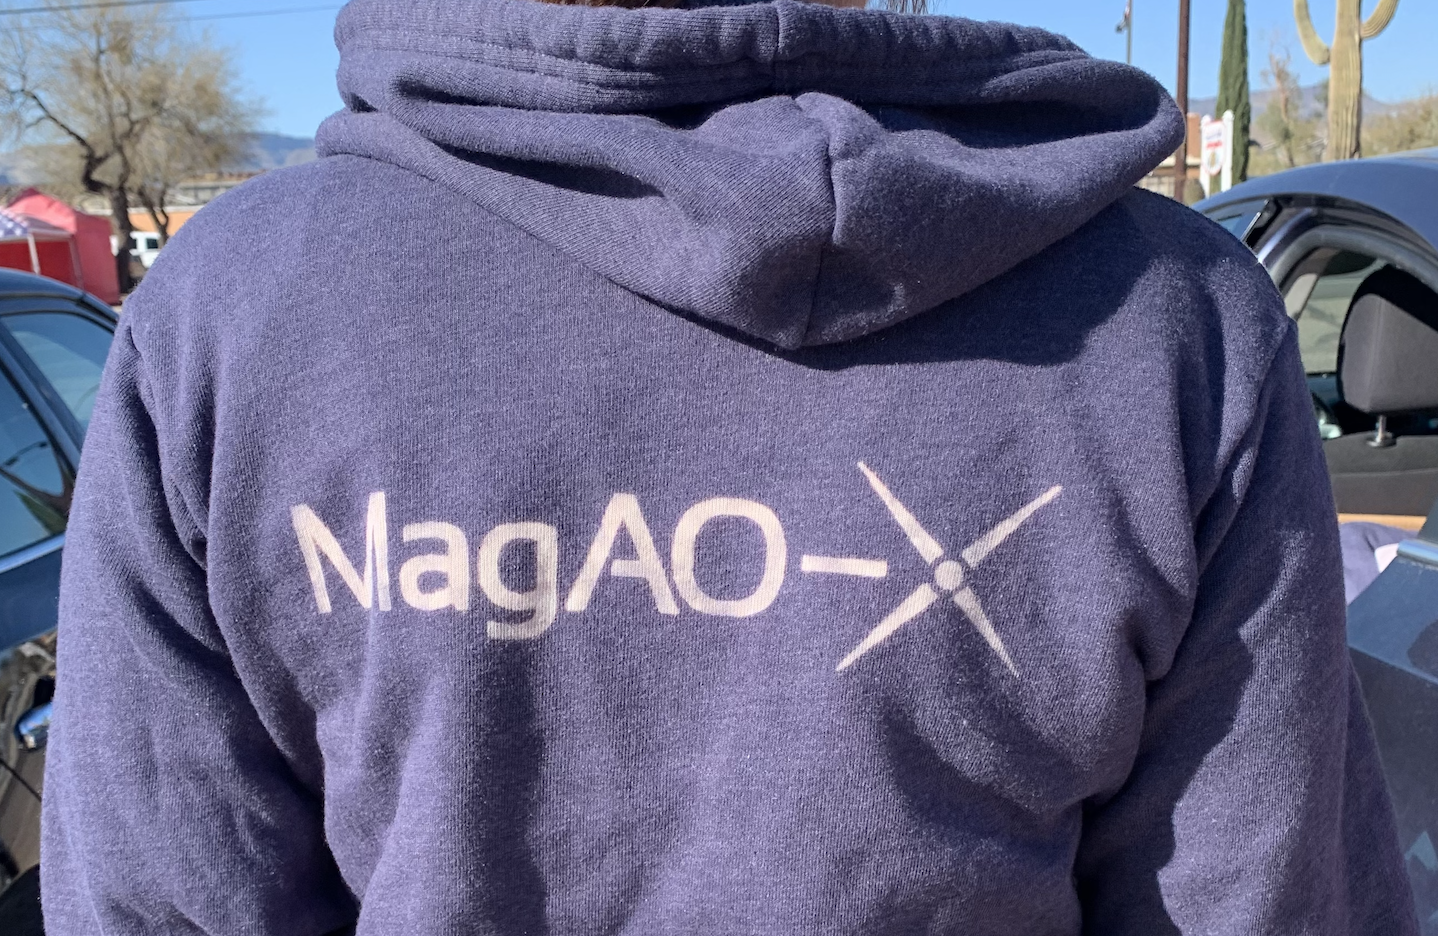
Now as per the title promises, I will outline the secrets behind the creation of MagAO-X attire for cool kids!
Some background: As we were in the midst of planning for the 2022A run, it became clear that the team would need some matching gear for the mountain. Having a background in shirt/sweatshirt production using my Cameo 4, I offered up my services to create hoodies for the team. However, the majority of my background in clothing designs is with heat-adhesive vinyl made for fabrics, whereas we were hoping for a more organic/distressed look for our team hoodies.
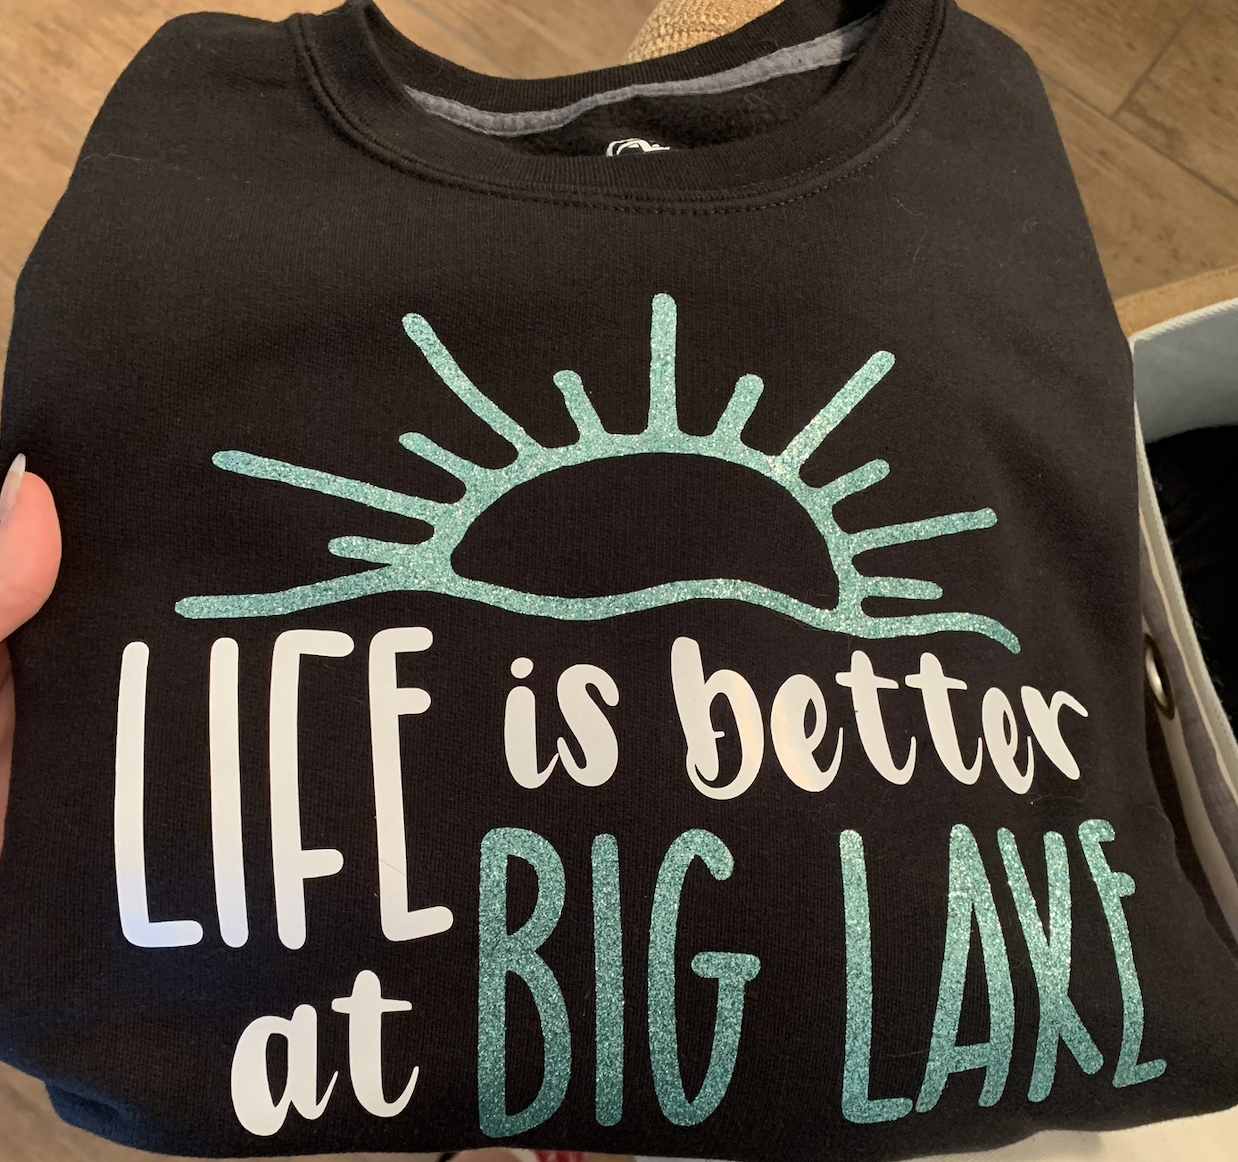
An example design from previous crafting. Black crew neck with white and sparkly blue heat-adhesive vinyl made for a friend who loves to spend time at her cabin in Big Lake, AK.
After brainstorming ideas with co-conspirator and long time MagAO-X digital designer Joseph Long, we decided that it would be worth a shot to do a test fabrication with a stencil + bleaching method. This would entail printing the MagAO-X logo in two sizes (small for front and large for back) on normal adhesive vinyl with the Cameo, which is normally used for adhering on smooth surfaces like metal/glass.
A (somewhat dirty) coffee cup being refilled by my trusty Keurig shown here to offer a glimpse of the versatility in crafting abilities that come with owning a Cameo. This is gold adhesive vinyl on a small tumbler, inspired by my late pups Ginger and Duke. A gold star for you if you can guess their breed!
Now to elaborate on the steps taken to create our team hoodies!
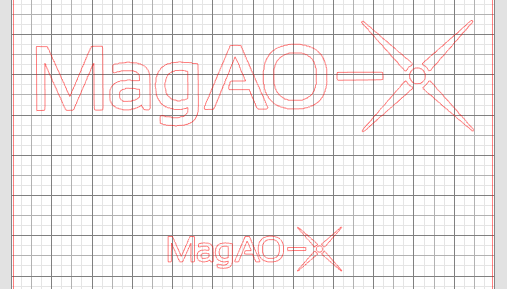
Step 1. Cameo design software Silhouette intakes the design as a binary png or jpeg and recognizes the edges to create the cut design file.
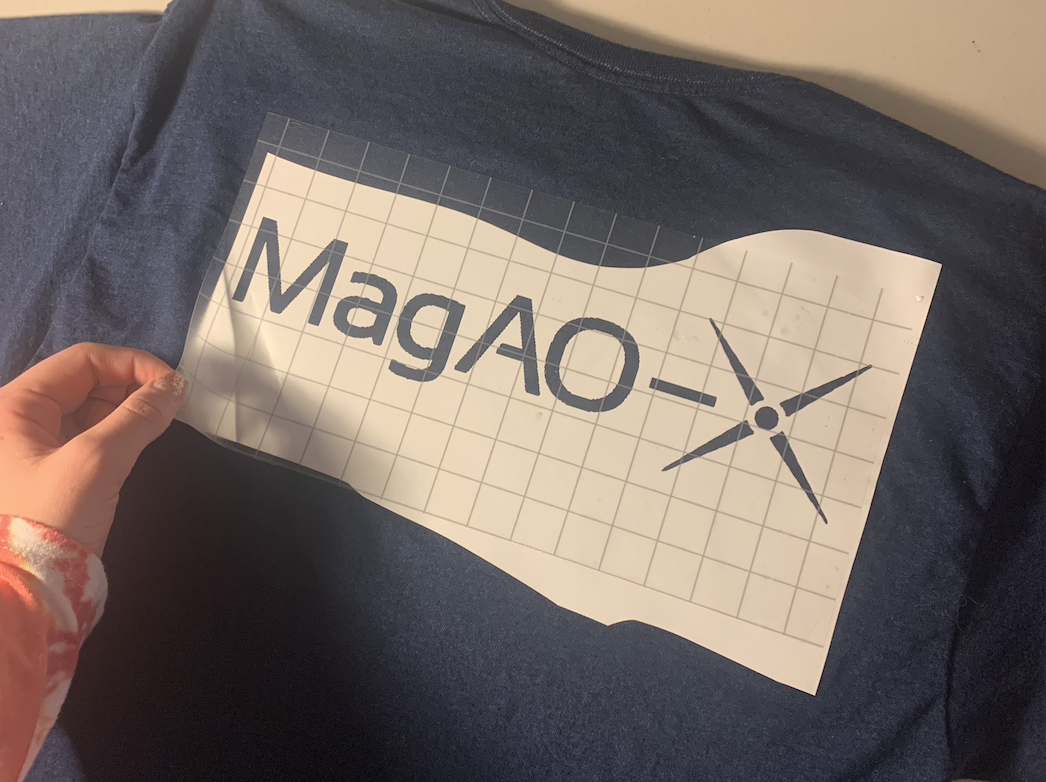
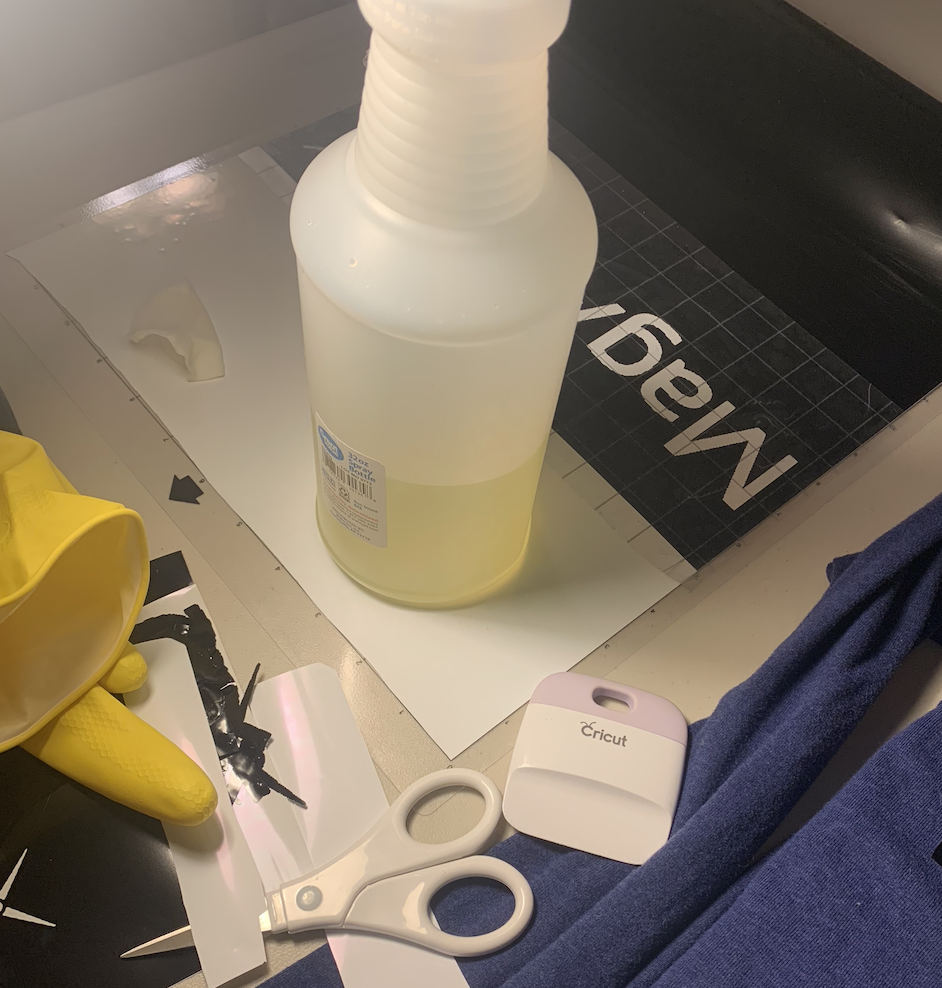
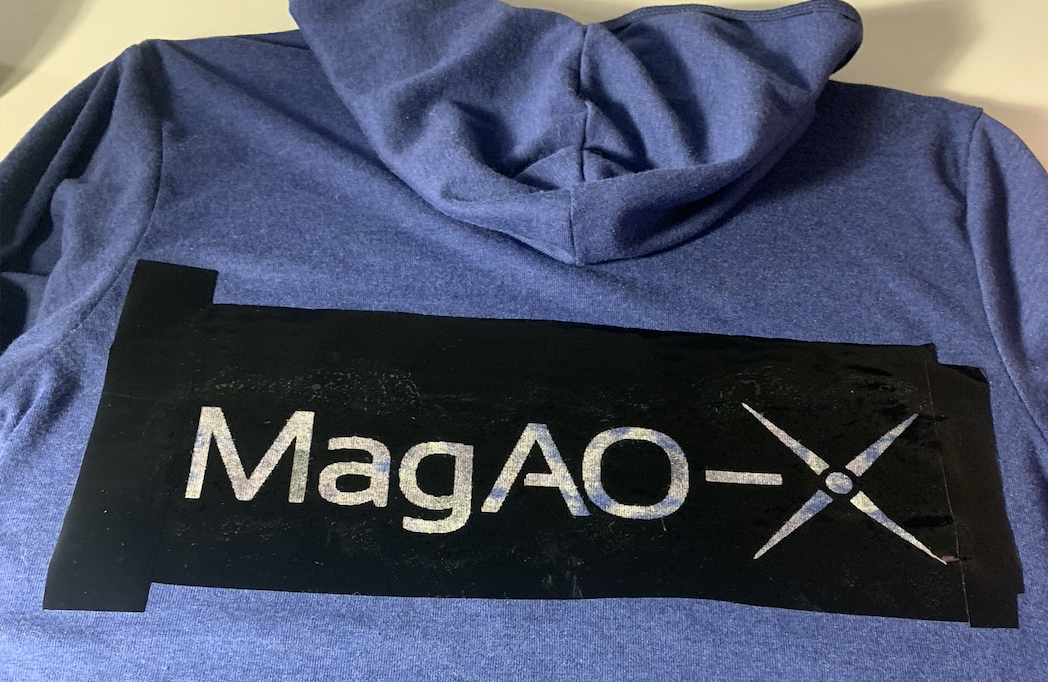
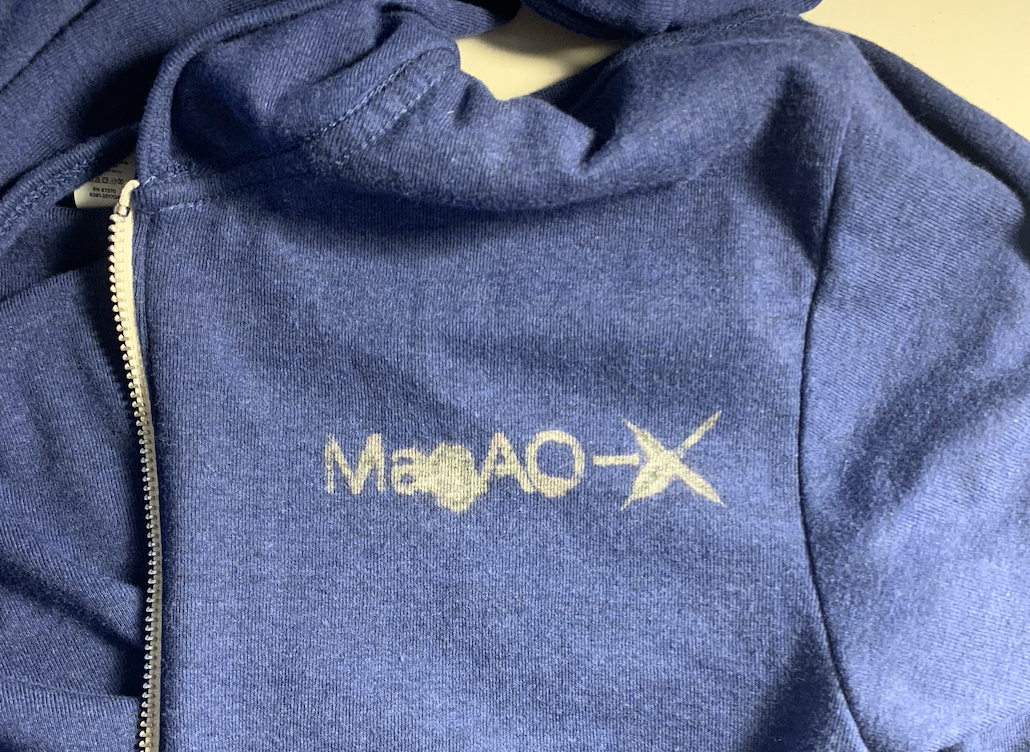
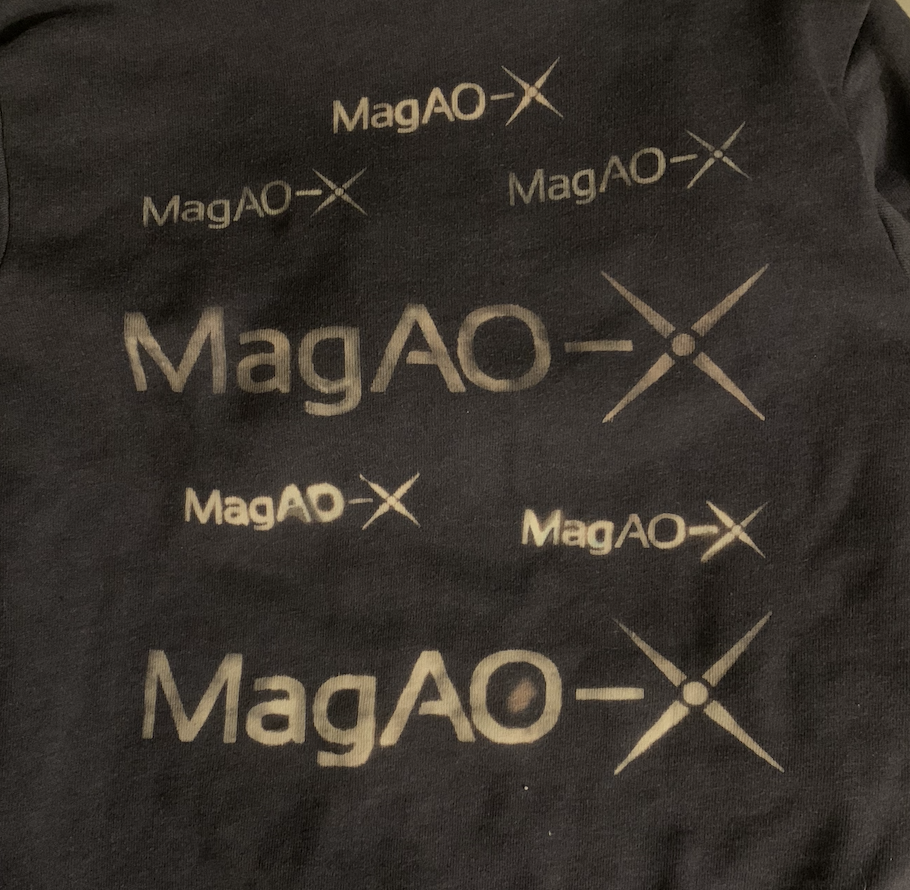
Step 2: Cameo cuts the design out of a flat piece of adhesive vinyl mounted on a sticky board for stabilization. I’m not sure my neighbors love my crafting hobby…Step 3: The letters of MagAO-X are pulled from the sheet of cut vinyl and the stencil is transferred to the hoodie with transfer paper (grid like layer seen being pulled off). This is how I was able to get the vinyl to act like a stencil; normally I would use heat-adhesive vinyl and pull off everythingbut the MagAO-X letters, transfer to the fabric, and then immediately press it with a hot iron so it would adhere to the shirt.An image showing the MagAO-X pulled design as it sits still on the page of vinyl that was sent in to the Cameo. Also imaged are some tools used for this process as well as my bottle of bleach and safety gloves used in the next step. Note that the vinyl here is black only because it was used on a different test subject than what is shown in step 2 and 3.Step 4: A bleached soaked cotton ball is used to dab within the lines of the stencil. This shows a test hoodie after a few rounds of bleaching – as you can see the process doesn’t provide a perfectly even application and requires several rounds to bleach out all of the fabric dye within the stencil. A piece of cardboard is placed inside the hoodie to ensure the other side is safe from the bleach. Once enough rounds have been applied, pull off the sticky stencil!Step 5. Fail a few times (:Step 6: Try, try, try again! Also find out that a fleece hoodie is more likely to survive a bleaching process, so decide to go forward with that test subject. No major loss for the team in that decision as fleece makes for much better mountain wear.Step 7: Finally calibrate the bleaching process enough to produce several hoodies for your awesome research team and kindly ask your mom to model one for you.
Now you are all pros at the Cameo stencil+bleach process! And now for the best part…
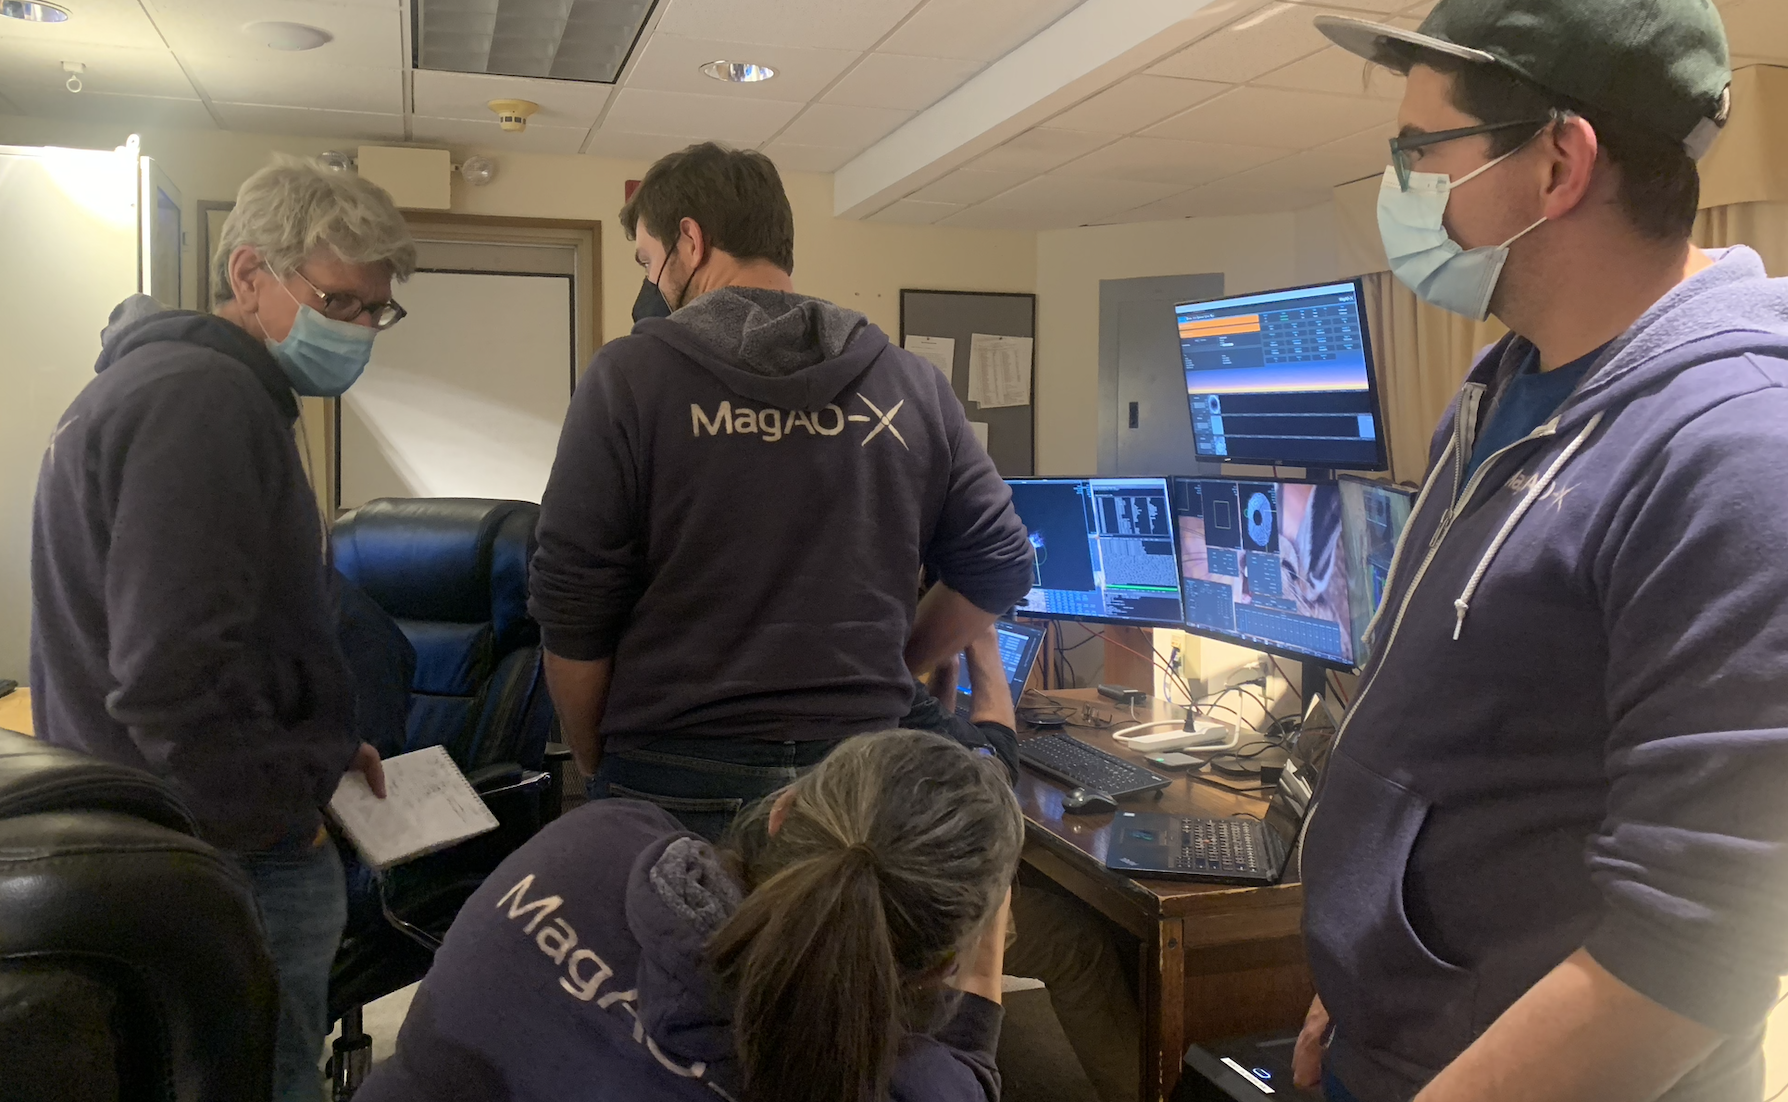
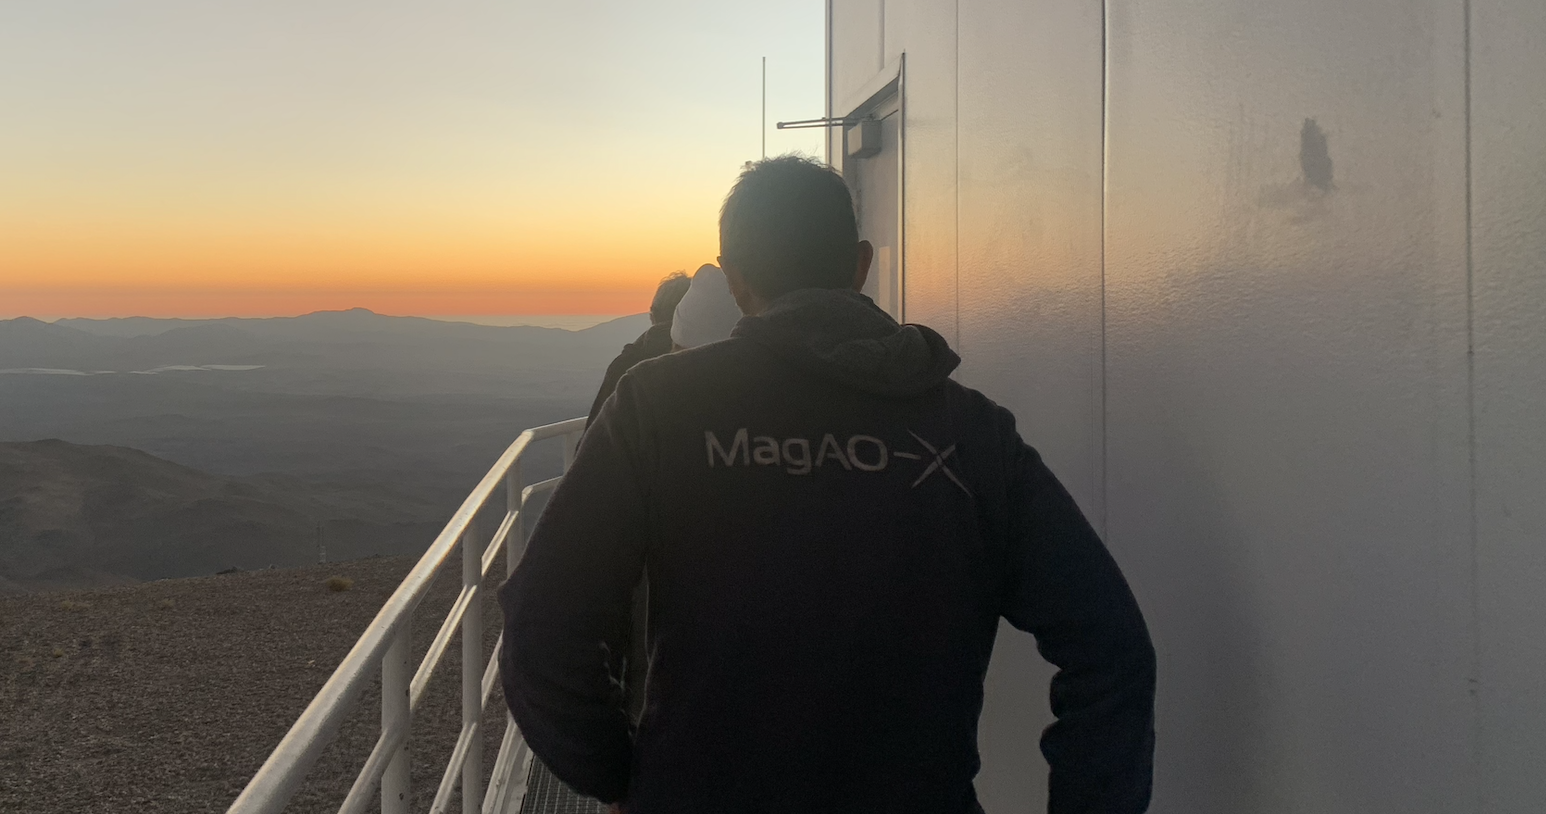
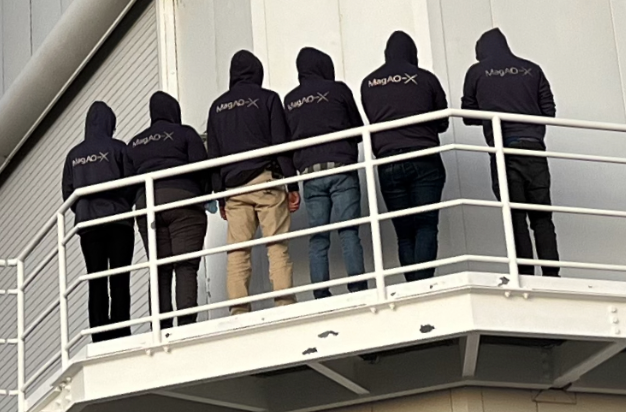
Step 8: Get to experience the joy (and warmth) the hoodies provide for your team while visiting the Las Campanas Observatory!
Thank you dearest blog readers for sticking with me through the step-by-step process needed for MagAO-X cool kid attire fabrication. As I arrived back in Tucson a few weeks before the others, I have continued to wear my hoodie to stay in the LCO spirit – and I hope others may do the same for those soon to be sparse moments of chilliness here in Tucson! As I believe these hoodies will return for future trips, I bid farewell for now and look forward to their use in many telescope runs to come!
Song of the day: Seasons in The Sun by Terry Jacks. This song has always reminded me of a farewell, so seems fitting to round off the tales of 2022A international travels of our LCO-going teammates!