The first two nights of this run are for MIRAC (PI: Leisenring), while the last 4 are for AO (PI: Morzinski). Therefore I decided this was my chance to come up in the morning to see the installation of MAPS. See, usually I try and sleep in on the morning before a MAPS run, to help me switch to a night schedule. But instead today I got up in the morning as usual, headed up to MMT, and was able to observe the installation of the Top Box and ASM with a full MMTO crew as well as Dan and Ruby from MAPS. This is important to me because we’ve talked a lot about the installation procedure and whether it can be made more repeatable, but I hadn’t actually seen the full procedure yet. Now I have a much better picture of the process and thoughts about repeatability.

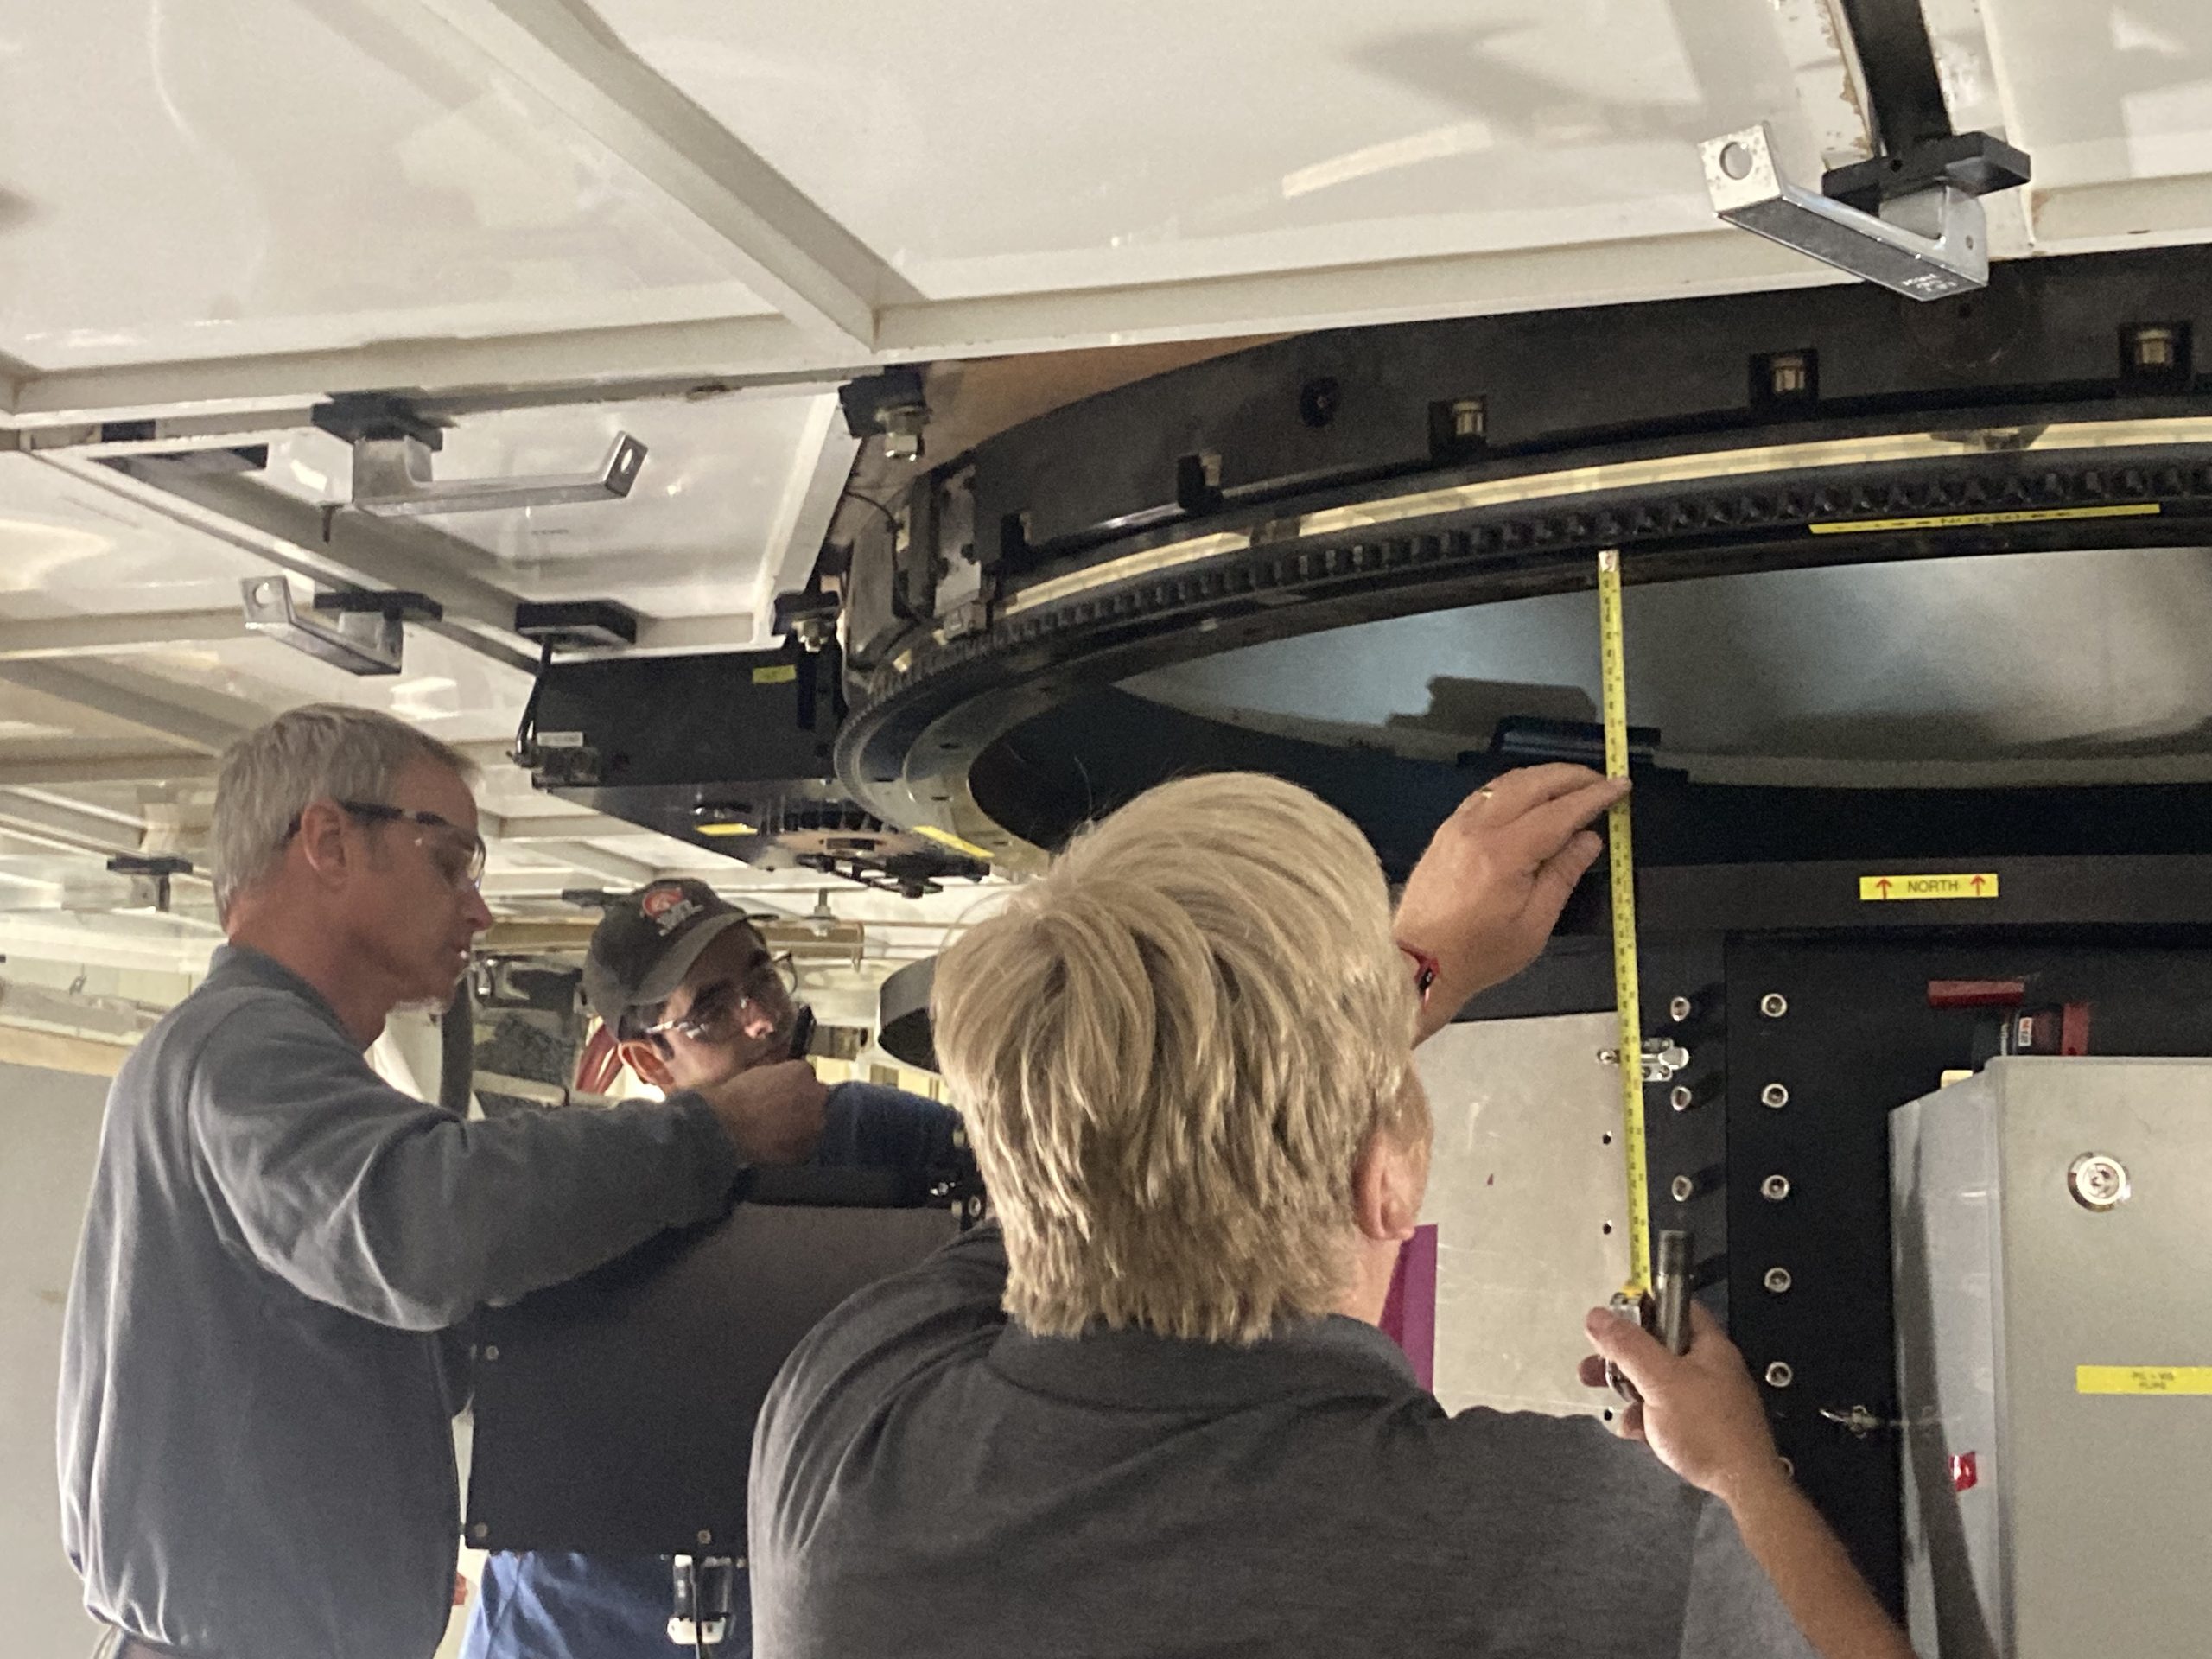
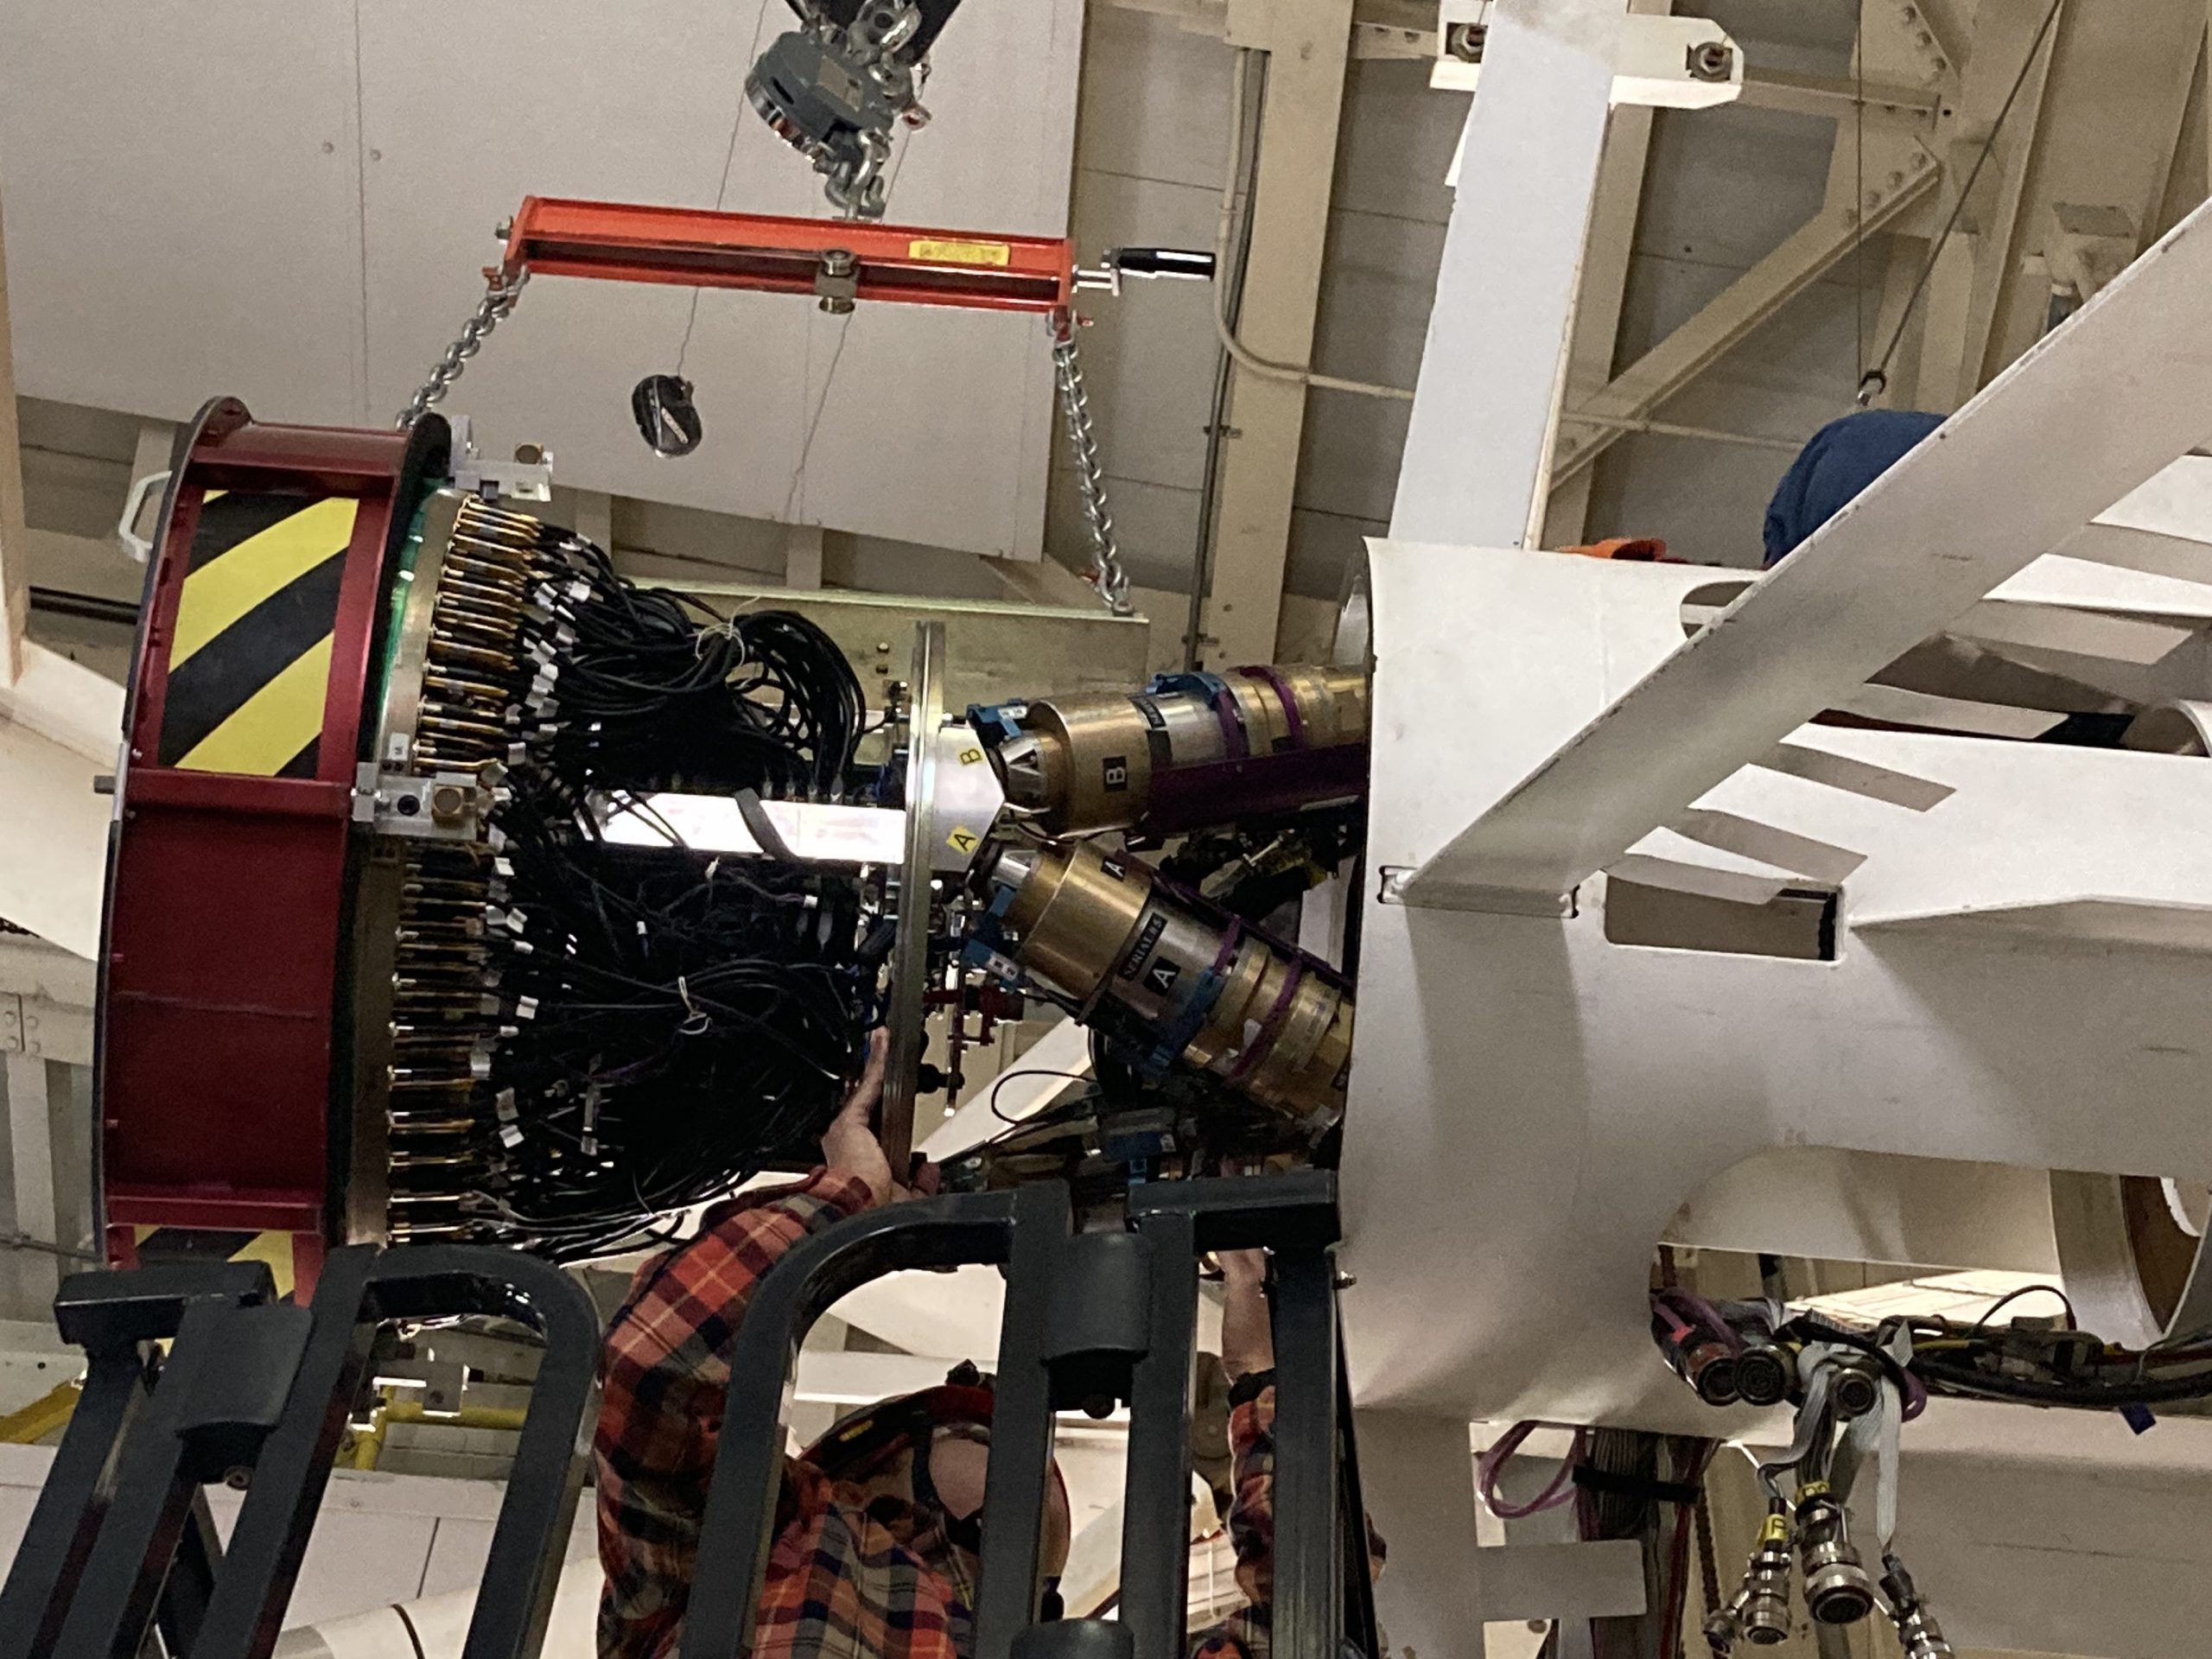
So here’s what I saw. When the Top Box is installed there are 4 feet on the lift that can be independently adjusted. However, the actual measurement of how parallel the Top Box plate is to the Cass plate is through hand-held measuring tapes. There are 2 pins that help guide the Top Box up. And in the end the plates were flush. But I was wondering whether there could be any skew on one side or another.
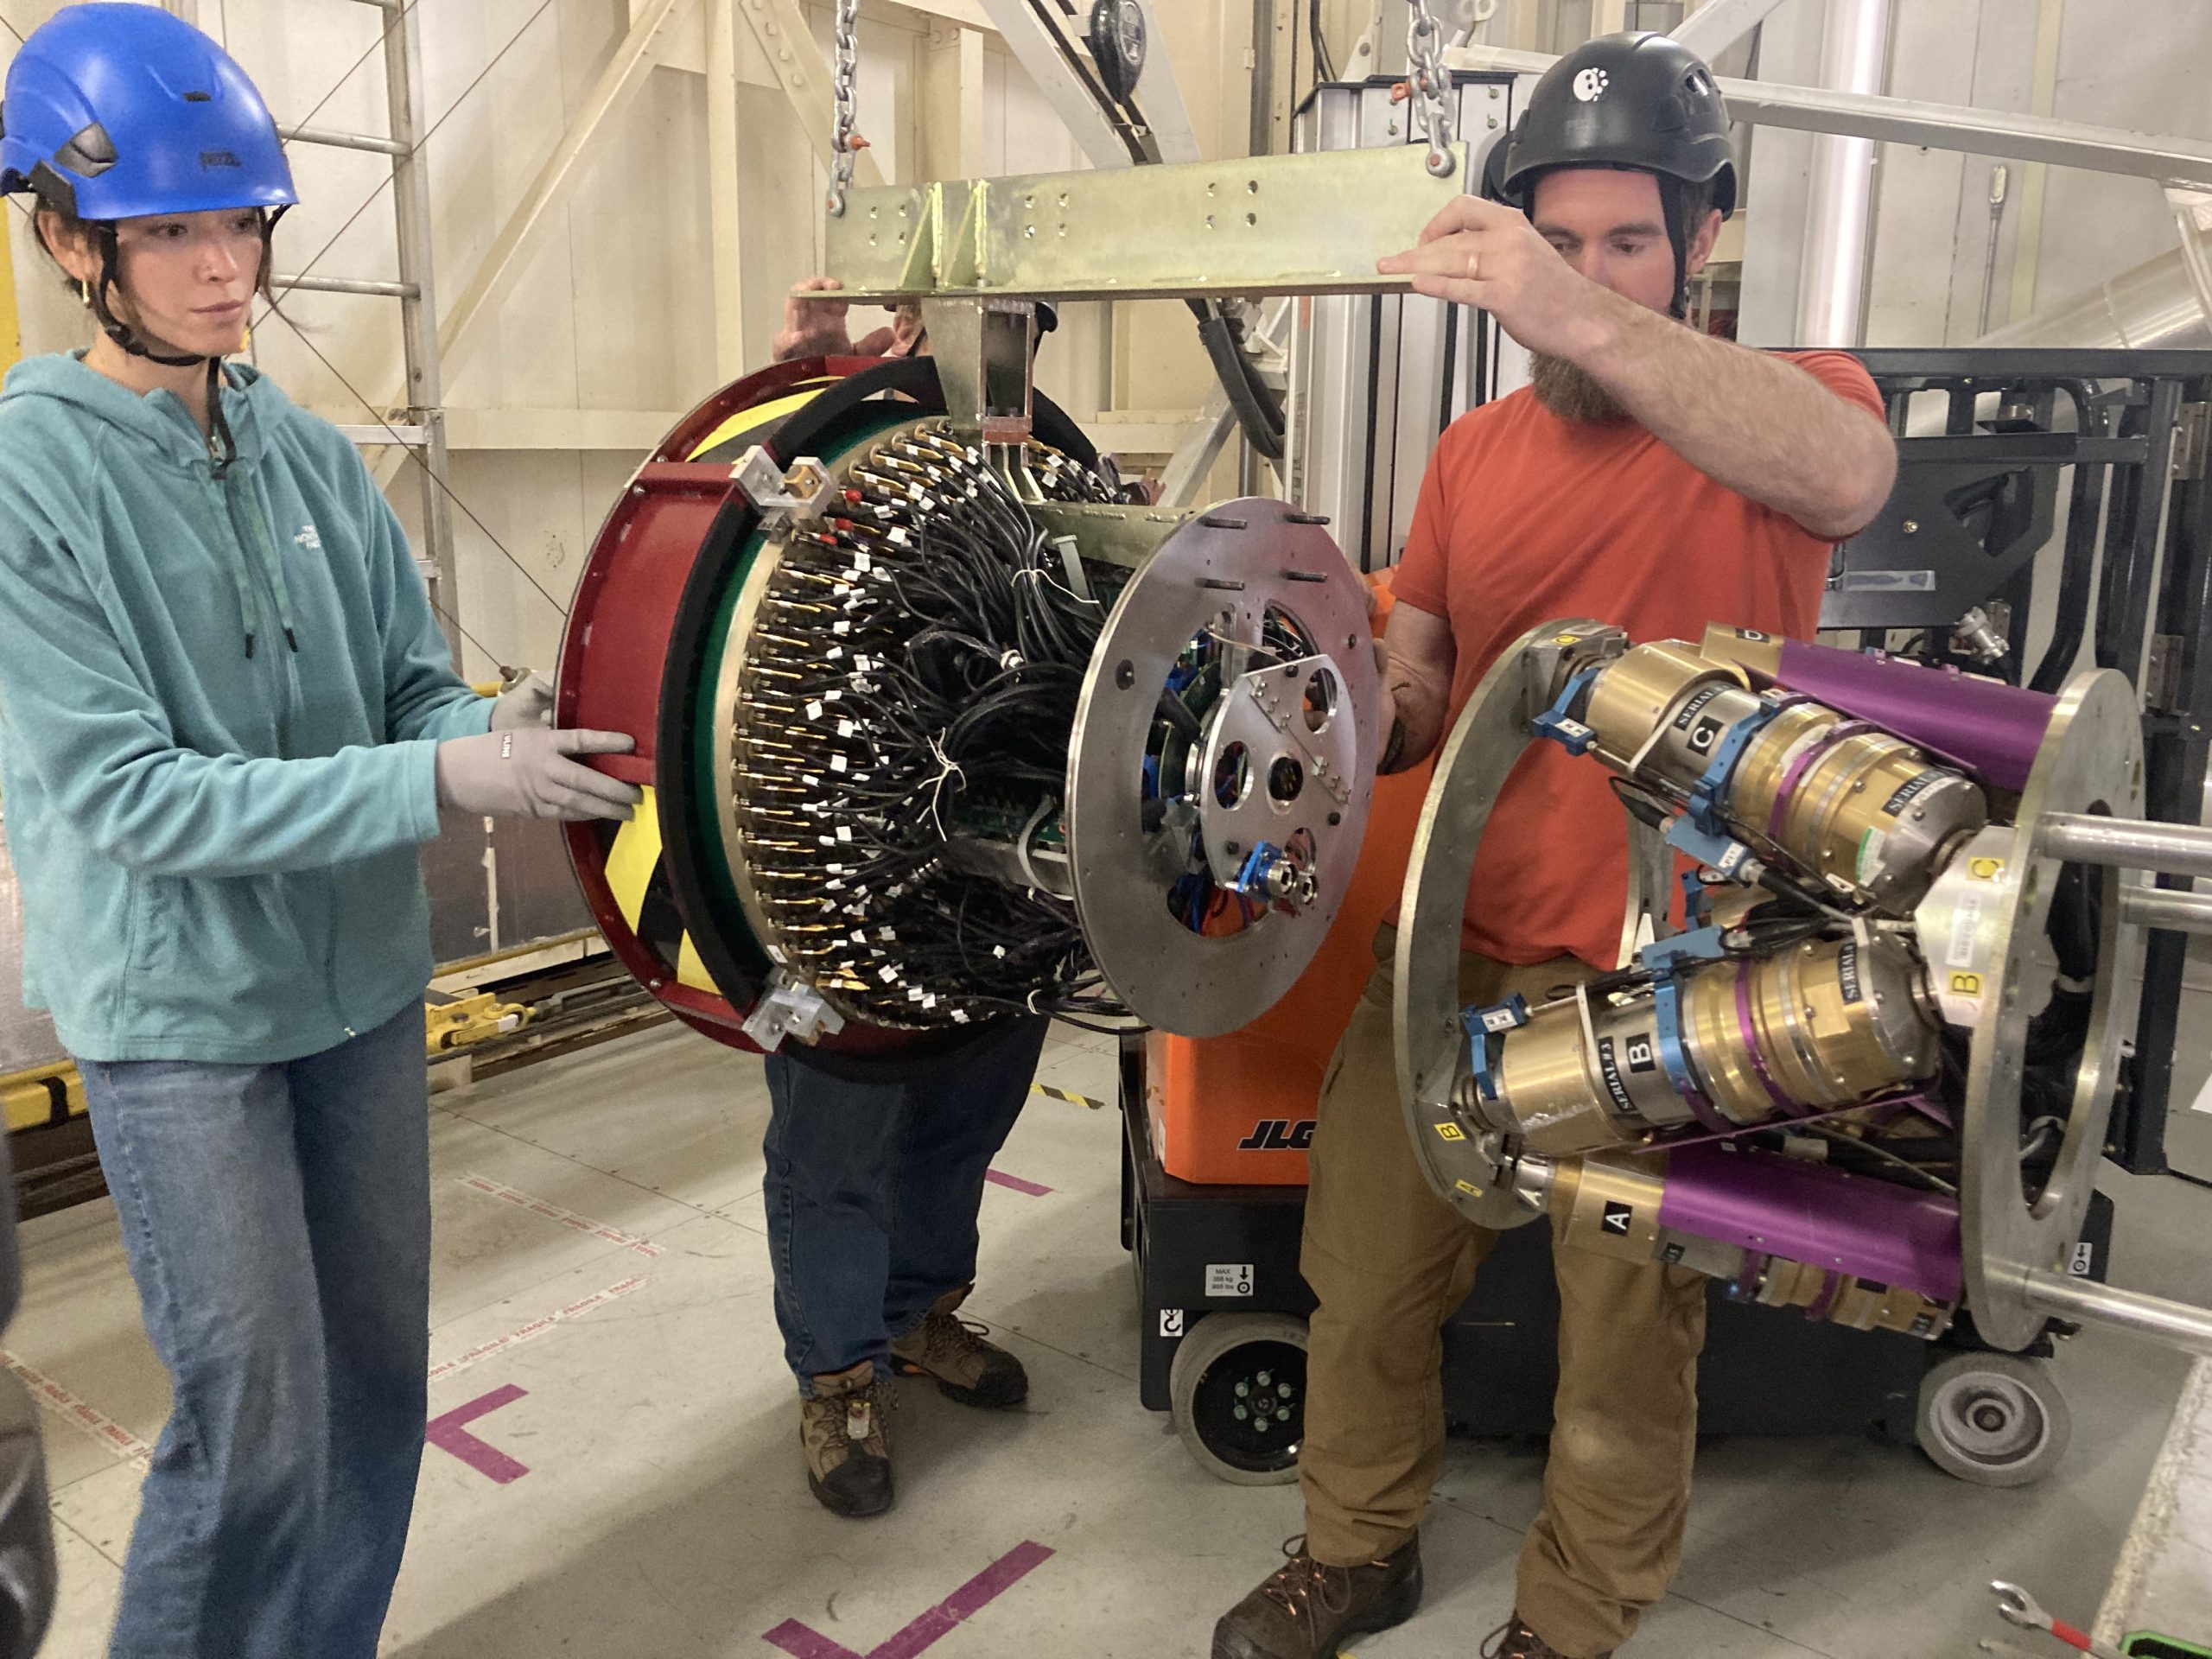
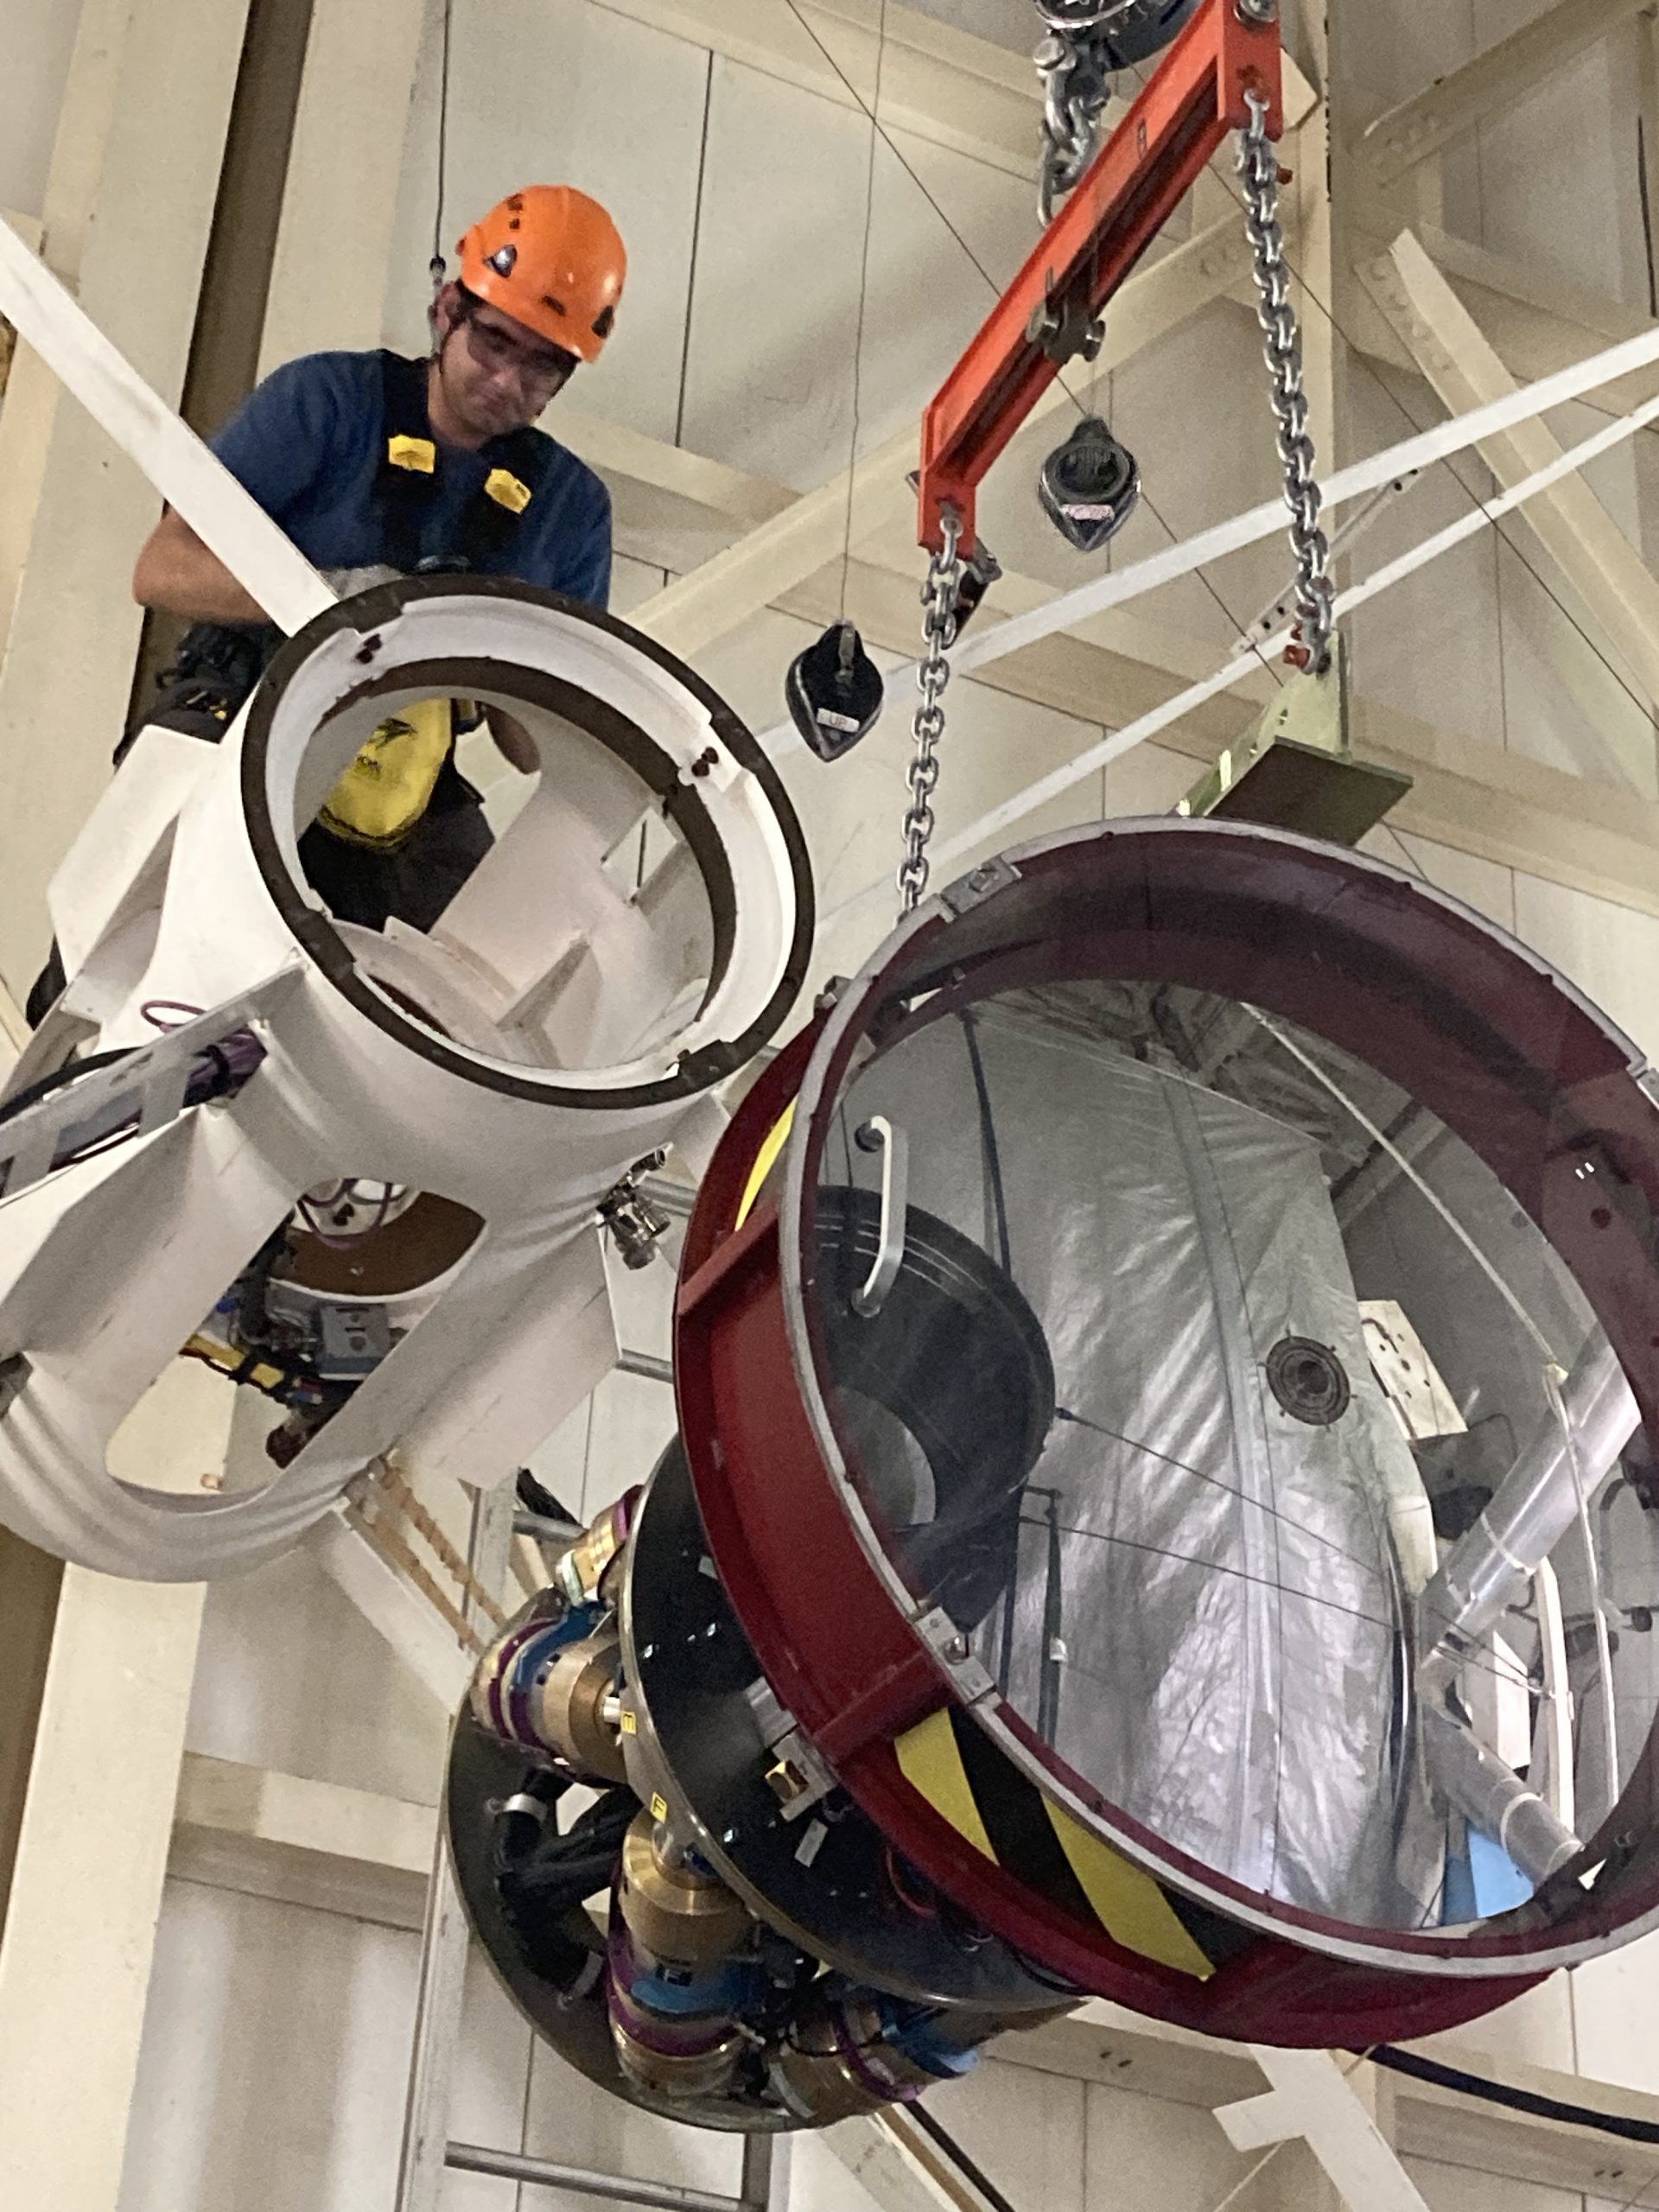
The ASM installation is complex. The ASM is mounted to the hexapod. This is done while the former is hanging from the crane and the latter is supported on a bouncy stand — so could these be misaligned? But then the screws are gronked on until the plates are flush, except for a gap covering about 20deg on one side where the ASM plate is warped, of about 4 thou. Then the hexapod is mounted to the hub. It’s behind a flange, but the 2 pins keep it aligned, one of them is diamond shaped to control angle, and then the screws are gronked on until tight so we assume it is flush too.
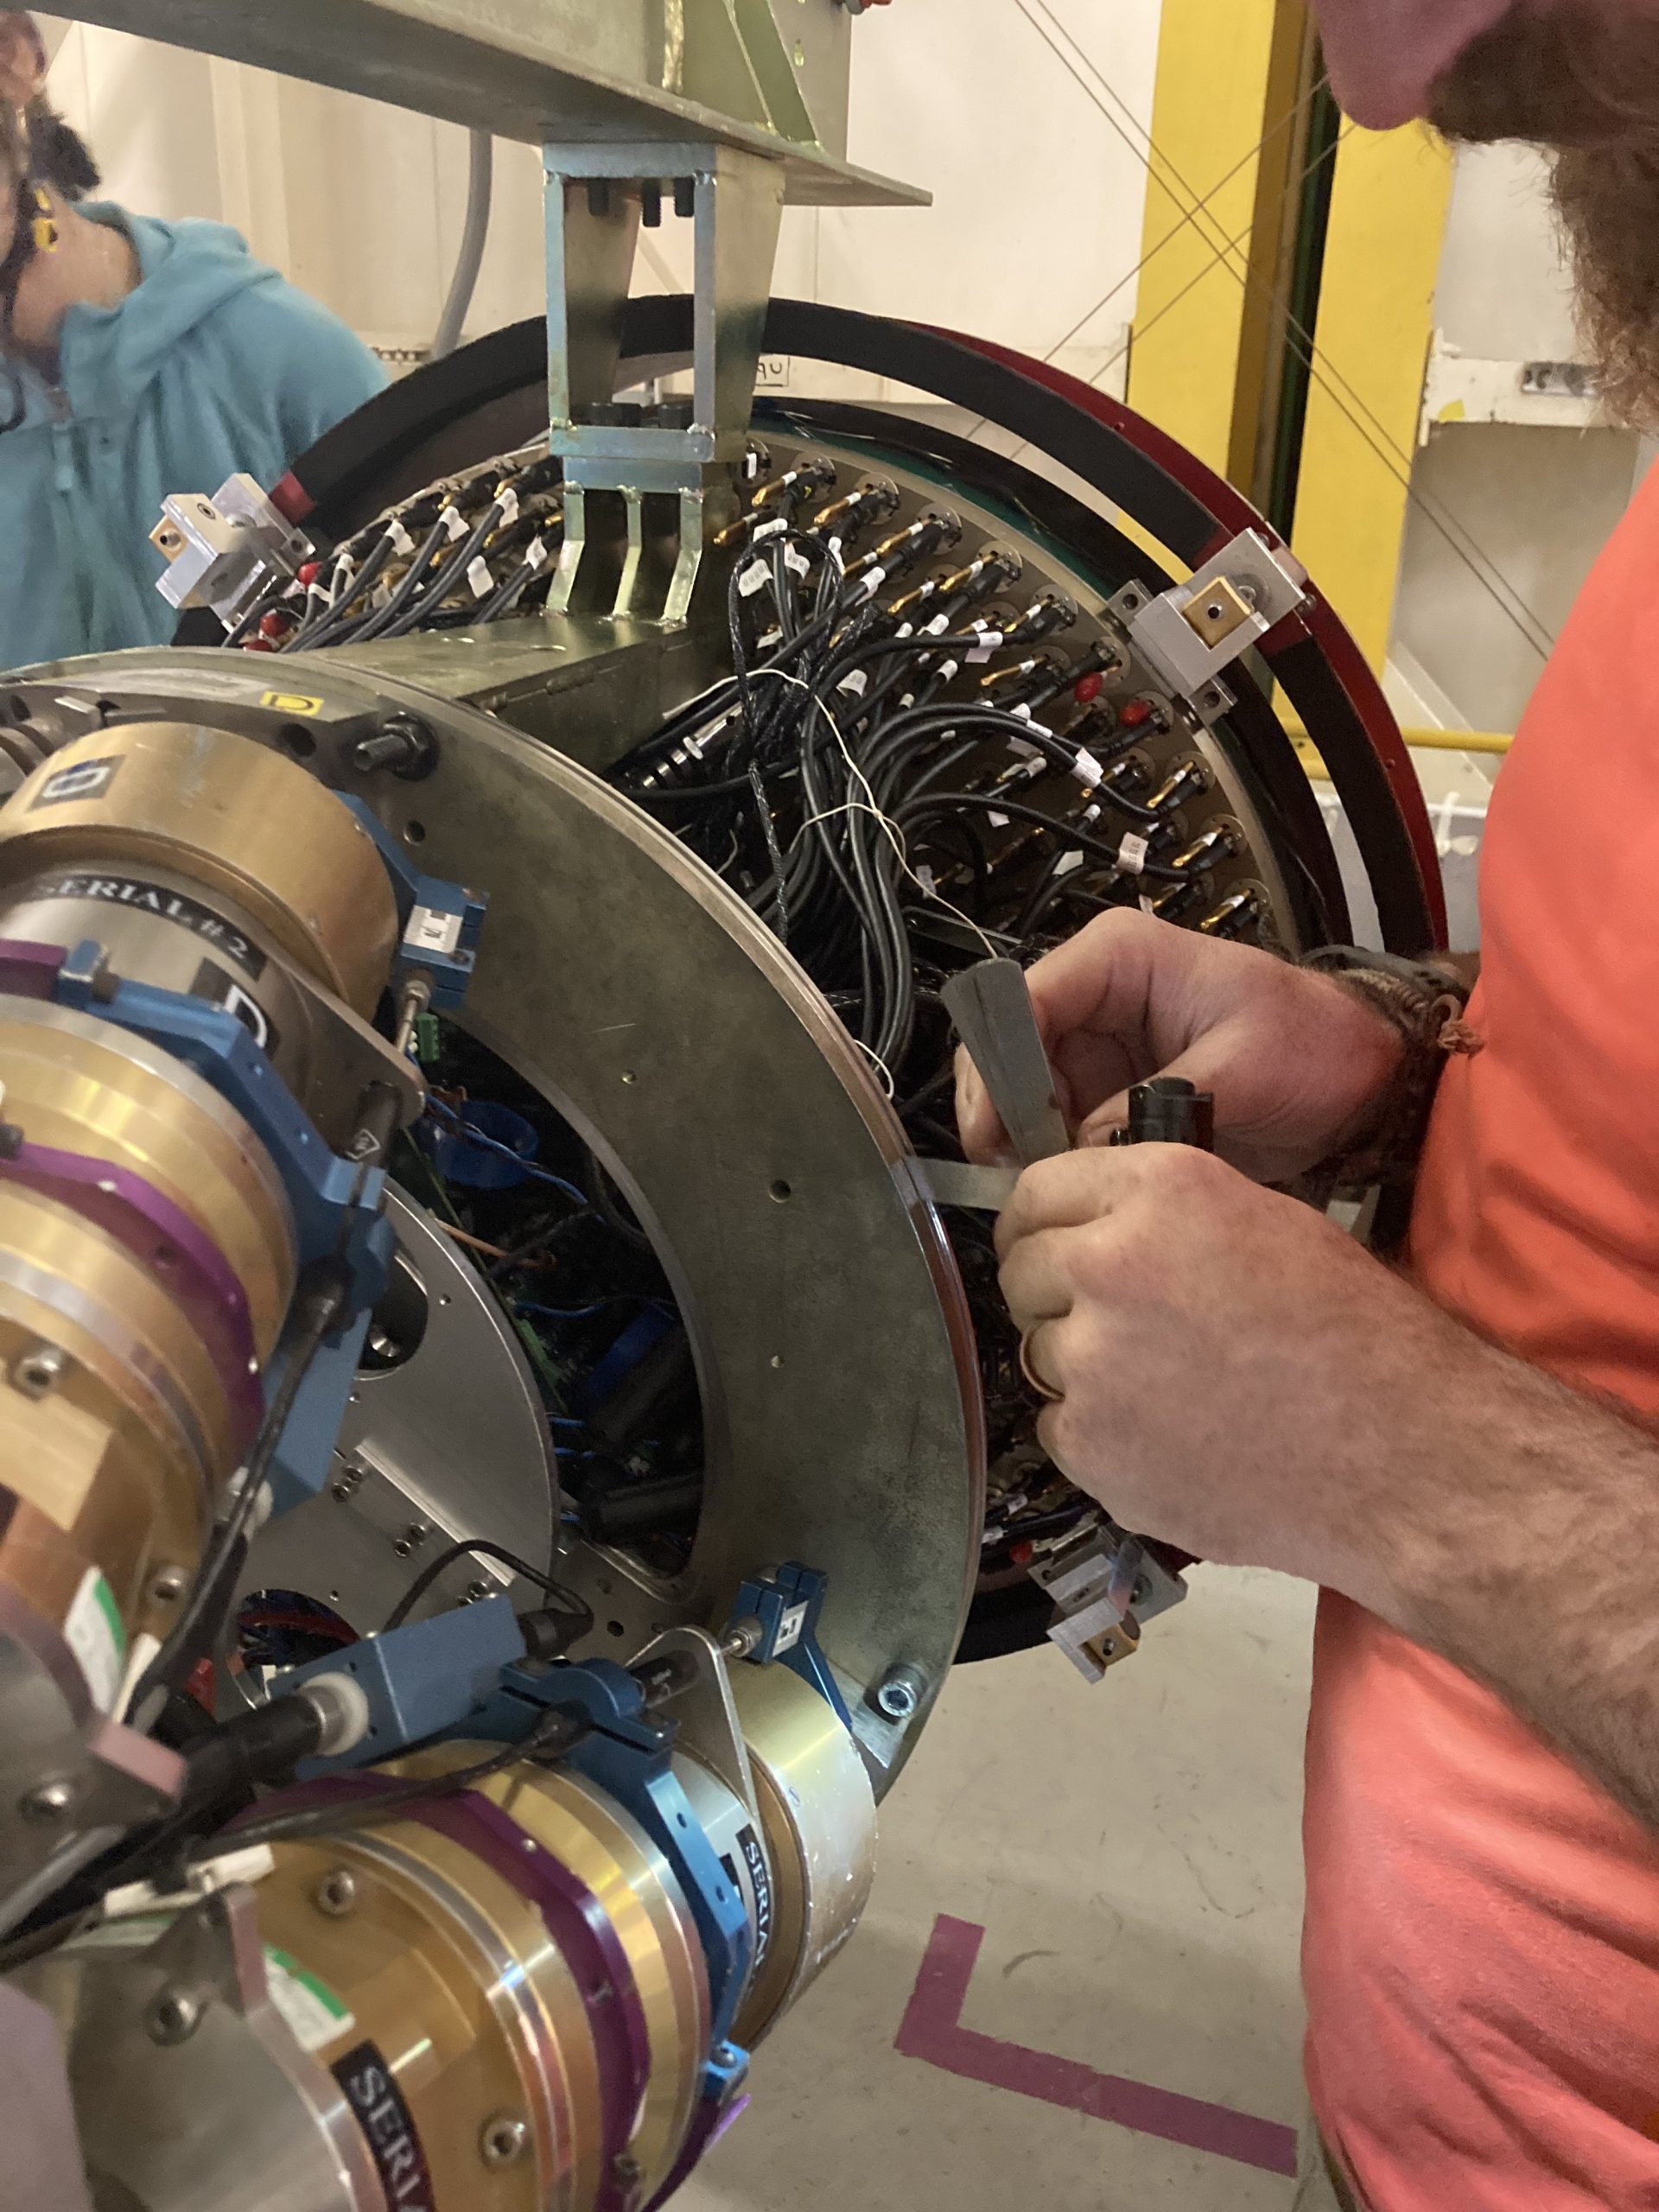
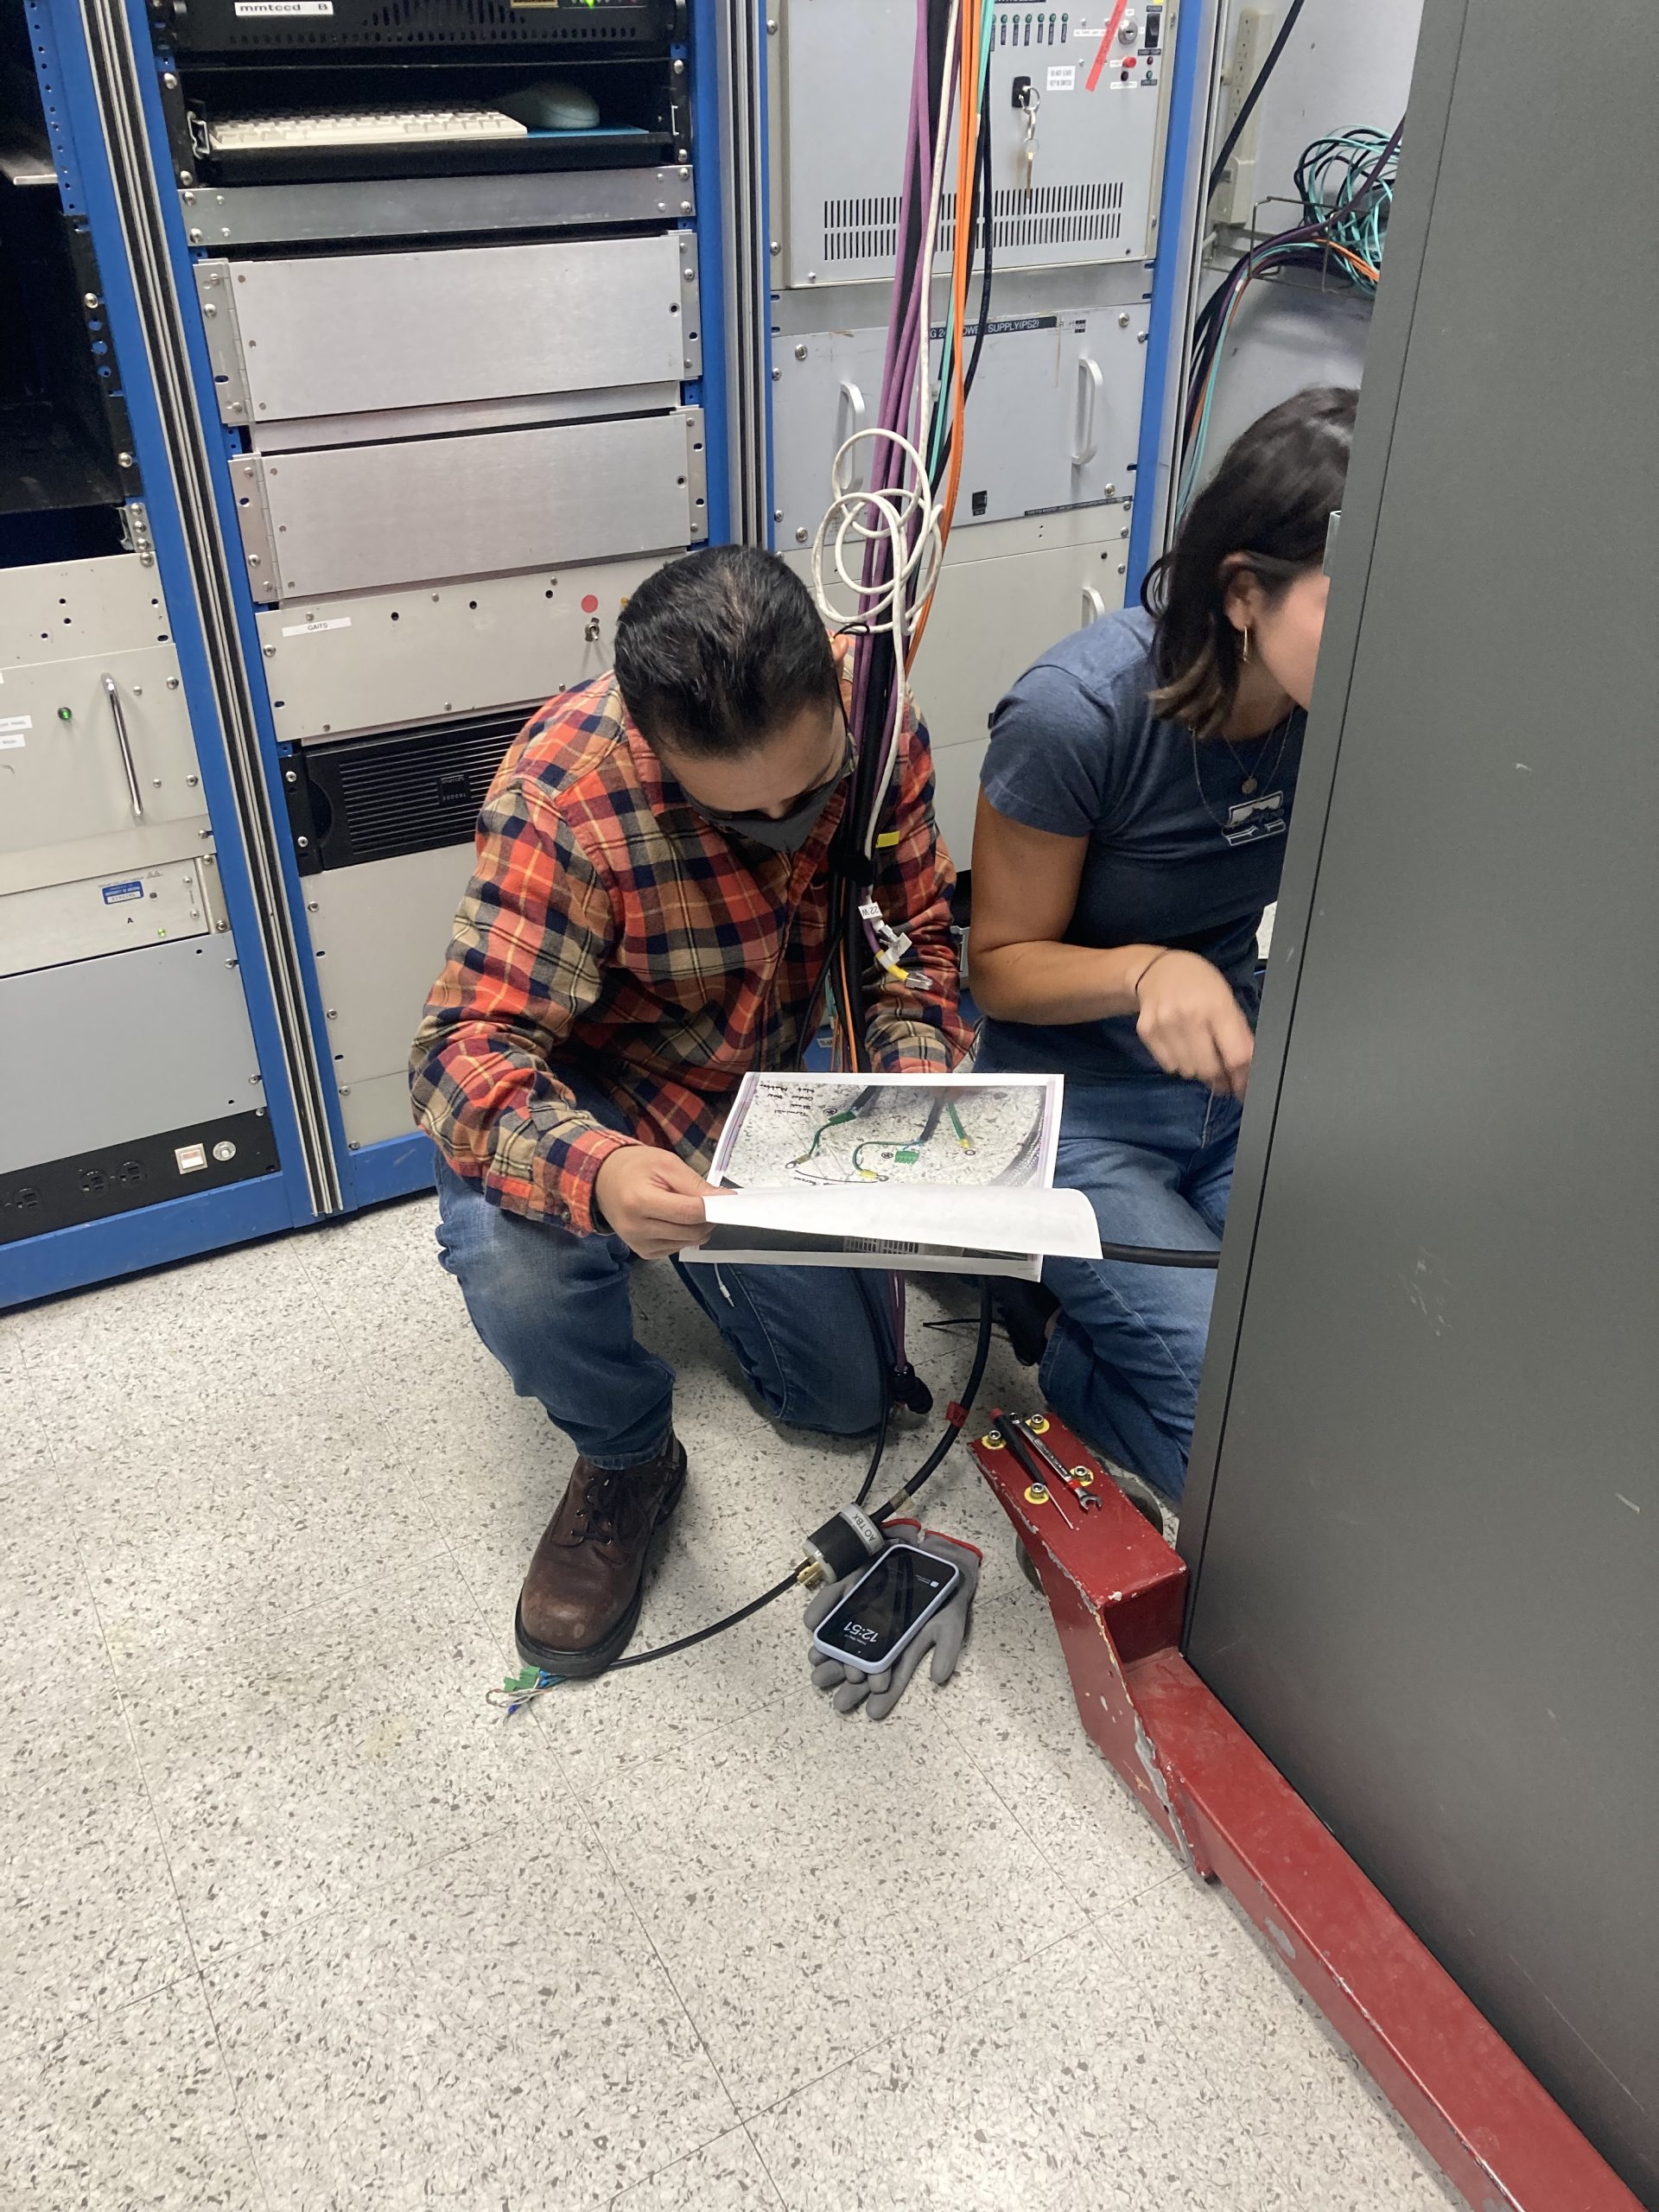
Also Dan and Ruby connected the rack and all our other cables:
Then tonight was supposed to be a MIRAC night but they had a chiller problem and weren’t cold enough, so instead we decided to try AO.
Except instead it still took over half the night to complete set-up and alignment. So we continue to explore how to improve these procedures.
Even though this is the MAPS run not the MagAO-X run, I’ll stick with the MagAO-X blog rules for this run. Therefore, the best 15 minutes of the day were seeing the ASM mount to the Hexapod and then the whole assembly mount to the Hub. I have to admit I’ve never quite pictured it correctly when we talk about in our off-mountain meetings, so this helped me visualize what’s happening very well!
Song of the Day/Night: “…Baby One More Time” by Britney Spears (1998)