Or: How I learned to stop worrying and love the Rona
A little over a year ago now I was moving back from France to Tucson. I decided to move into a two bedroom apartment, with the expectation of turning one room into a home office/craft space. Throughout undergrad and graduate school I kept some crafting hobbies like sewing, but it was almost ten years since gave up painting and quit pursuing my Art degree when I moved to France. I’m sure many have had the same experience of being inspired to paint when touring around France. It’s not hard, besides the famous ones in Paris almost every town in France has some sort of Art Museum. I had timed it right too, because if you are a student and 25 years old or under in France you get into most museums for free. So you better believe I went to a LOT of art museums during my work-cation (some much better than others…) Hence the decision to invest in an art space and try my hand at painting again.
Turns out that decision has had a large payoff with the quarantine!
Craft One: Macrame
Before I show off the paintings, I thought I would highlight a new crafting skill I am developing: Macrame. Macrame is essentially the art of fancy knot tying. It’s really accessible as a new hobby because all you need is a wooden dowel, and some macrame cord. I’ve been learning through Youtube channels, and my favorite tutorials are from a South Korean crafter. I’ve discovered that pretty much all of macrame only uses two types of knots: the square knot, and the Diagonal Clove Hitch knot. You different patterns depending on the spacing between the knots, and how many times you repeat it etc.
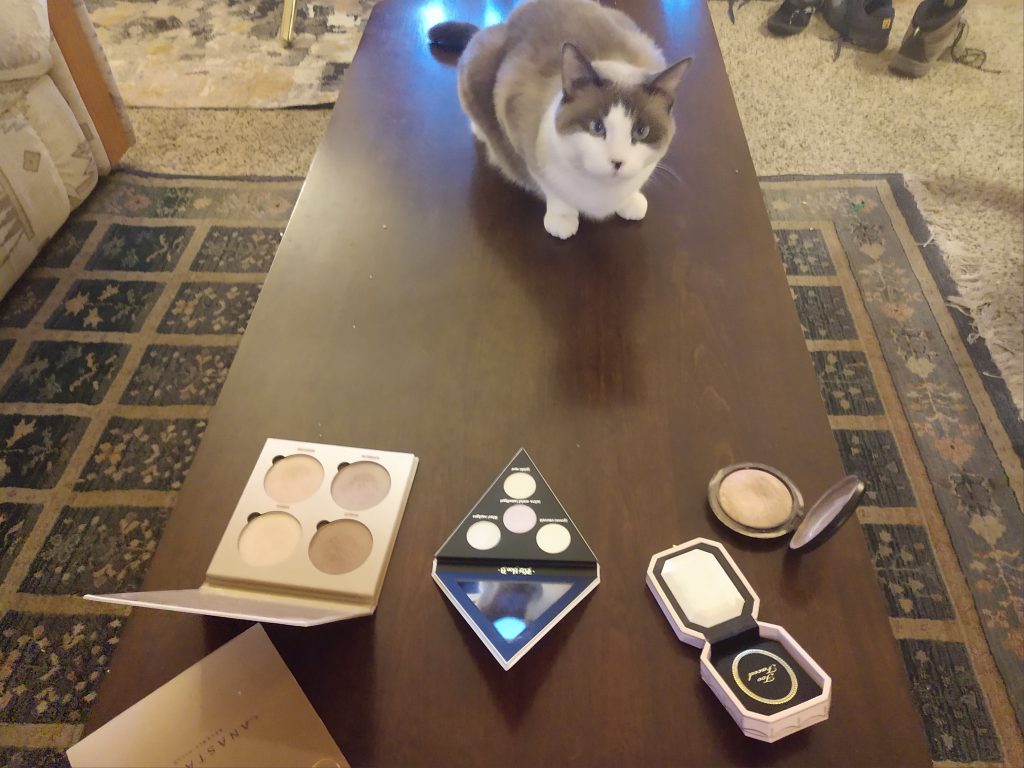
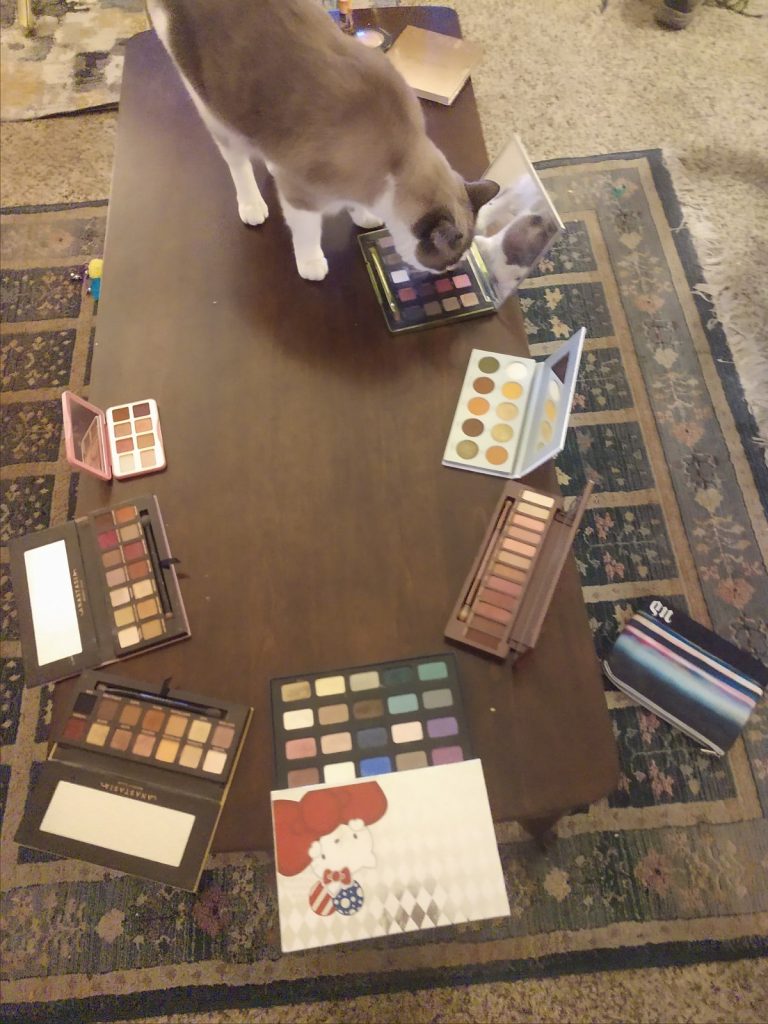
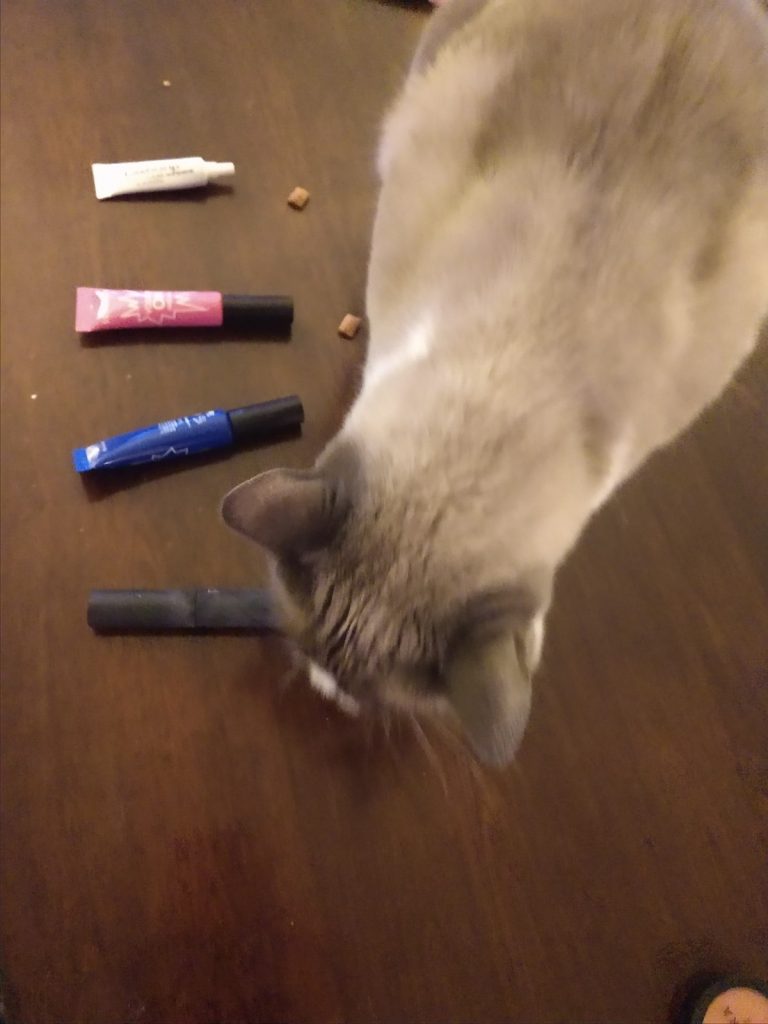
Most of the time I do macrame on Logan’s couch, because it turns out cats love macrame even more than I do.

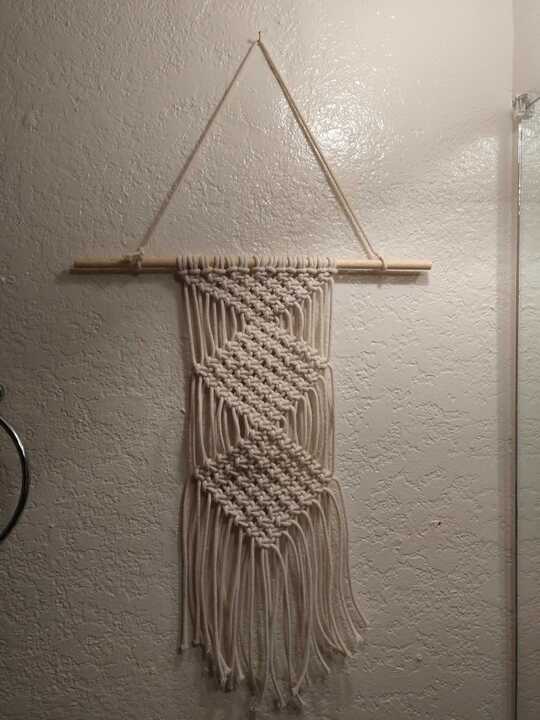
My first project was pretty successful, though it is a small one. Made with only square knots.
My second macrame project was not successful. Getting the tension of the cords and the spacings correctly is surprisingly hard!
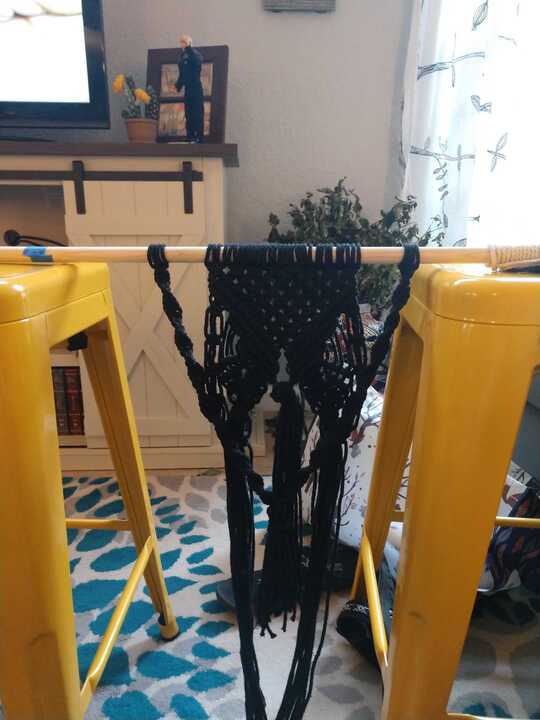
I am currently working on my third macrame piece. I decided to wing it a bit, because the tutorial I was following was going to produce another small wall hanging and I wanted something larger. Time will tell if this was a mistake. I am currently working on this one at Logan’s place, but we are almost out of British Bakeoff episodes so I need to hustle!
Craft Two: Sewing
I have to admit I haven’t done a lot of sewing during quarantine. (Probably because sad eating ice cream for a month was a bad weight management decision but who is to say?)
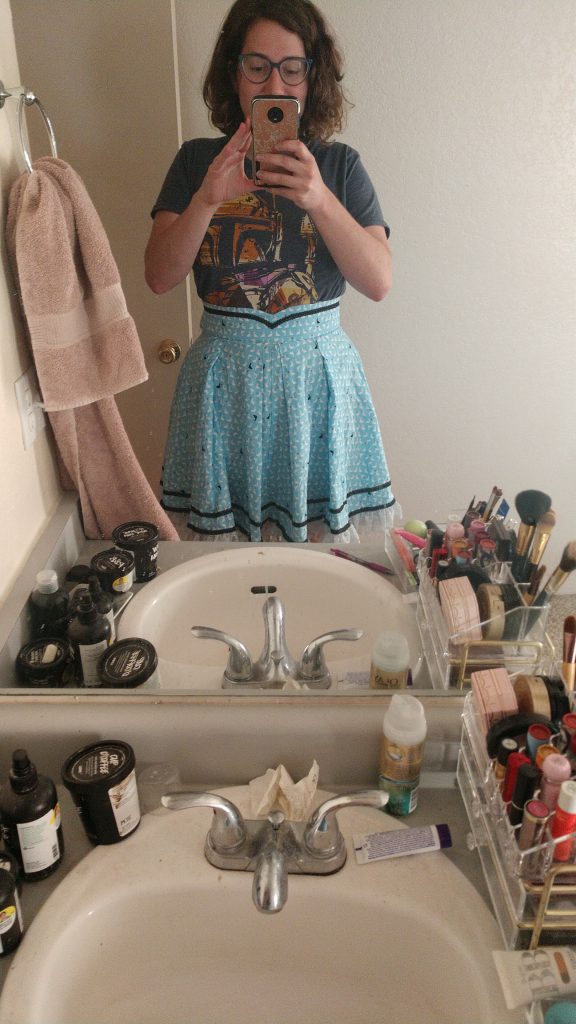
Right at the beginning of quaratine I finished making this skirt. I had many great plans of running around in it during SPIE Japan… but alas.
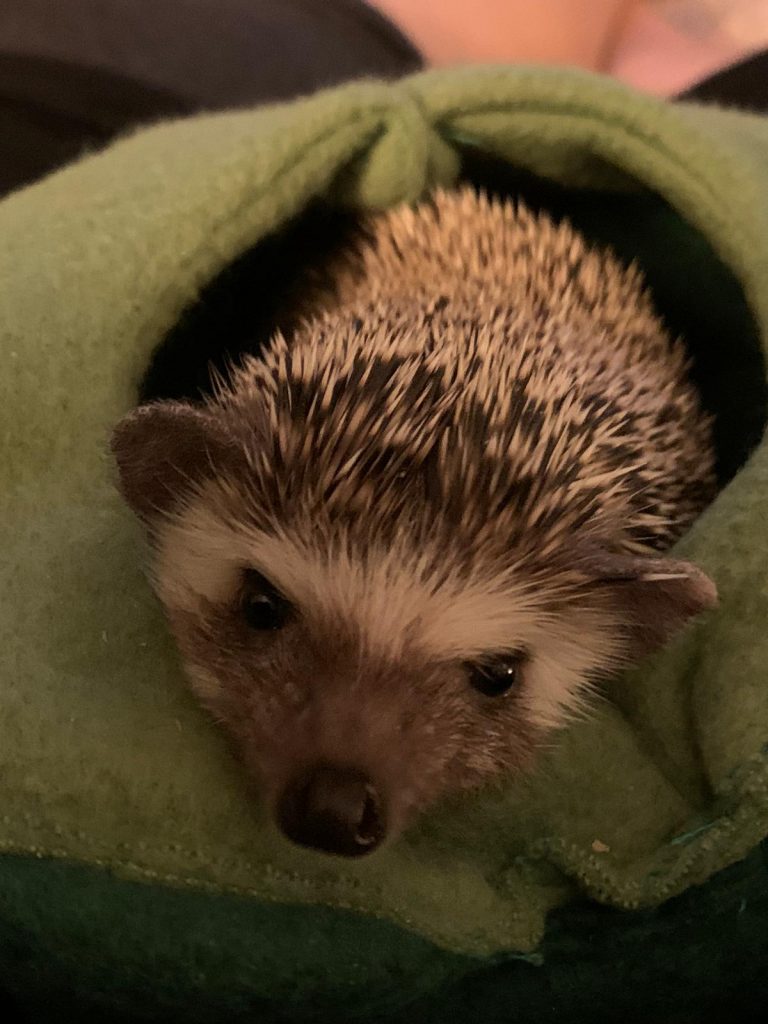
Perhaps my greatest sewing triumph is this avacado shaped hidey-hole for Star. When she is inside she looks like the avacado pit!
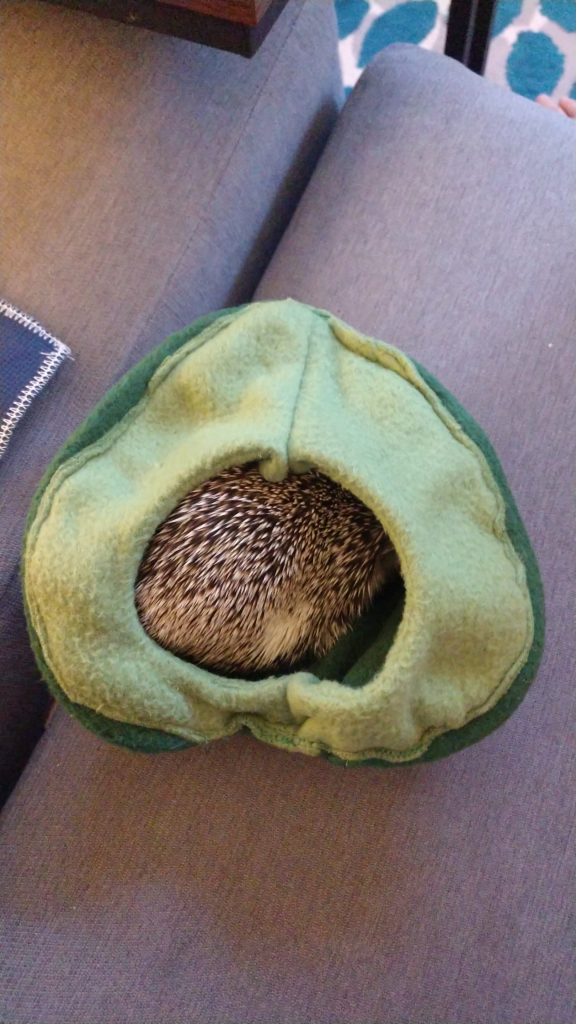
But it is hard to tell if she likes it or not… look at that grumpy hedgie face!
I have also been making a Star War’s Rey costume but that has been on hold for a while now. I have the shirt mostly done.
Craft Three: Painting
I started painting last year way before coronavirus was even a thing. My goal back then was to produce an artwork for the Lunar and Planetary Lab’s art show. Which I did! Since then I have been doing some color studies of mountians. I finished the last in that series after quarantine began, though I started it beforehand.
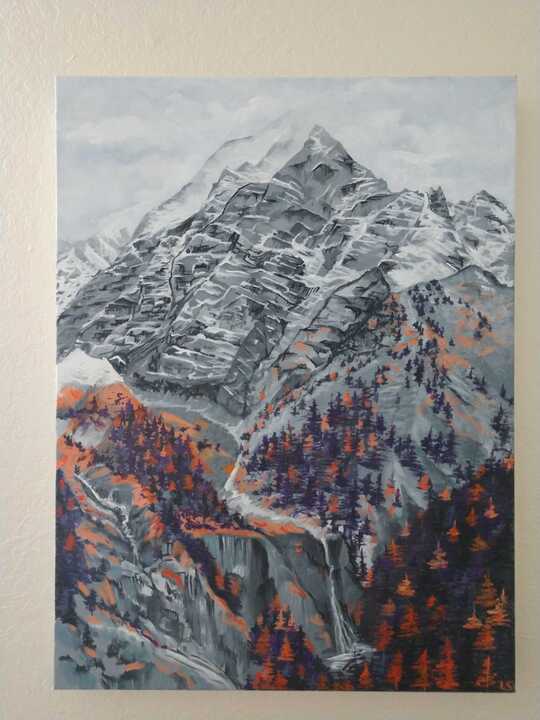
This is the last work I’ve done trying to be ‘realistic’. I’ve been inspired by an impressionist Acrylic painter I found on instagram and since then I have been working towards a more impressionist style. Impressionism favors movement and color over realism.
Attempt one in new style:
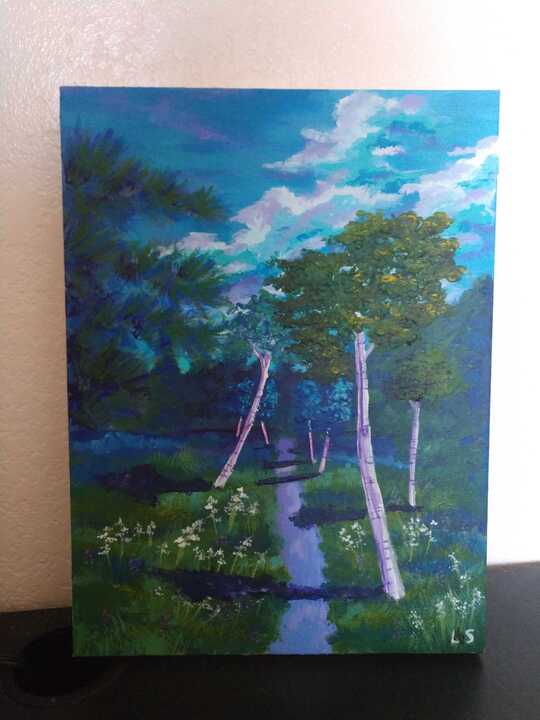
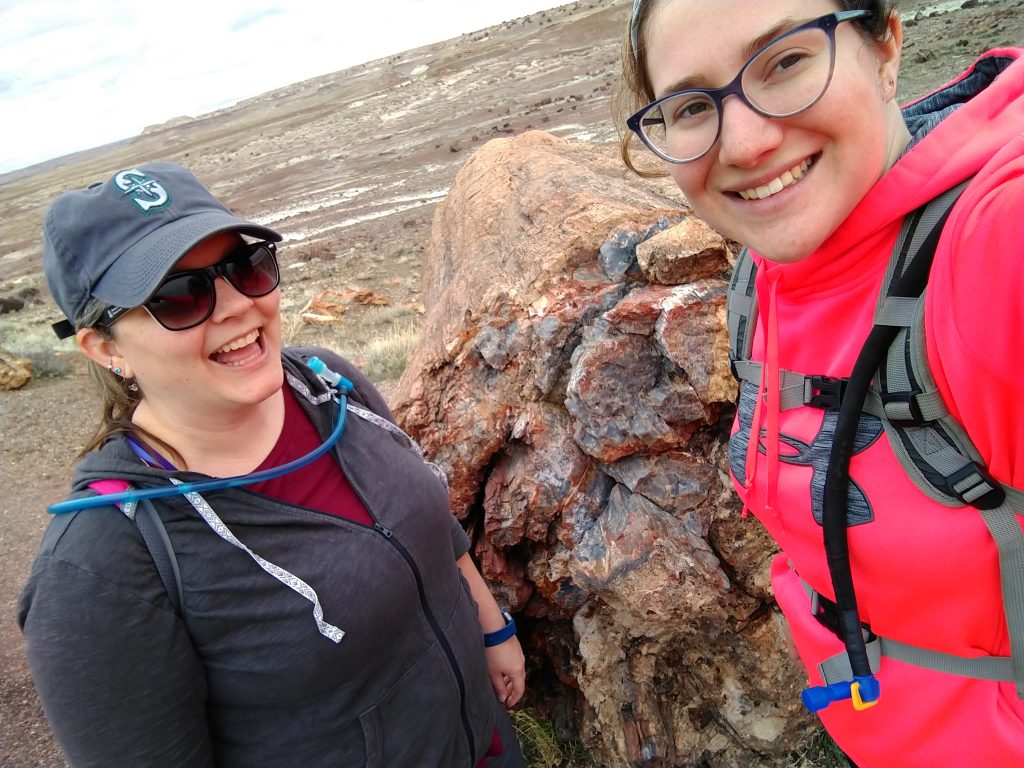
This one was based on a photo I took when hiking in the Rockies with my best friend a year ago. I am still unsure if I like this painting or hate it. For now it lives on the floor in the corner of my office.
Attempt Two:
For this one I decided to learn from the master. It is inspired a work from @atrusovaartist and I watched all of her timelapse painting videos over and over again to try to glimpse at some of her techniques. I am really happy how this turned out, but I acknowlege that it isn’t very original because it is inspired by another work.
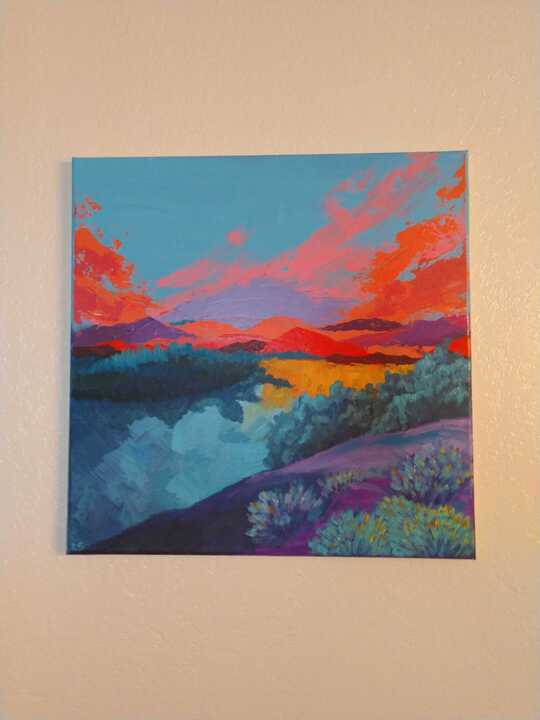
Attempt Three:
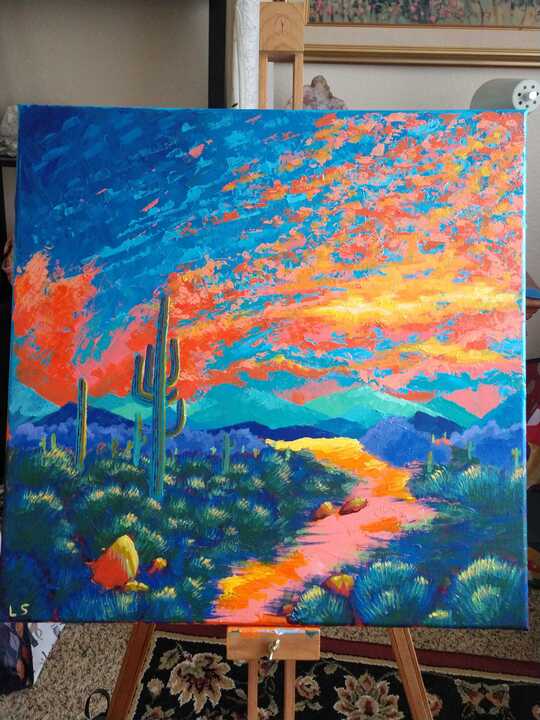
I am starting to get my stride here! This one was inspired by several photographs I found of our beloved sonoran desert.
Attempt Four :
I finished this one only a couple of days ago, and it is the last piece I have created so far.
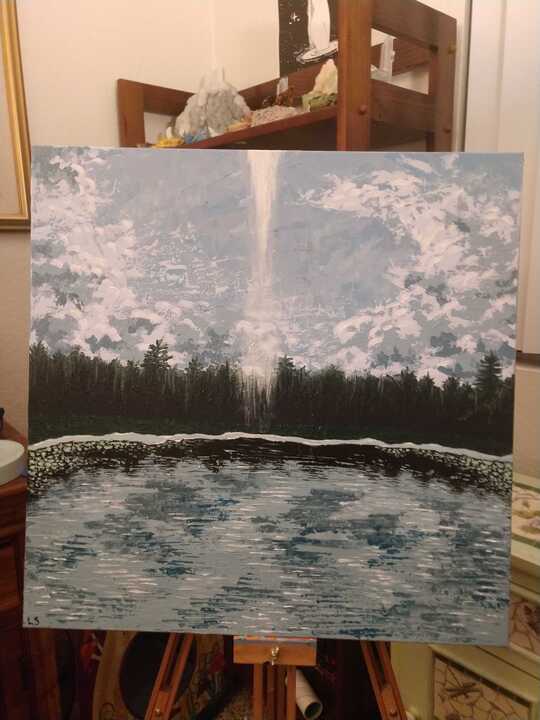
This one is baded off of a photo I took during my family reunion in Wisconsin last year. We rented a boat and we all hung out on the lake all day.
If you haven’t guessed it by now, I think the common inspiration to my artwork is ‘places I want to be right now’. I love the mountians, but lately I have been craving the water. My apartment complex has restricted access to the pool because of ‘rona. I have a feeling water will feature more heavily in what I paint from here on out, but who knows!
In case you were wondering, yes I am running out of wallspace to hang things up. Perhaps by the end of quarantine my house will look like my own personal art gallery.
Song of the Day: Some Dad music as Joseph would call it


