Hello, and thanks for joining me. Today marks the end of week three of self-isolation and quarantine for a lot of us here in Tucson. Based on what I have been seeing on social media and my own personal experience, a lot of us are starting to get a bit stir crazy from staying at home everyday. The self-isolation survival advice that I have heard the most is to try and cultivate a new hobby. For me, I have started playing Stardew Valley, a farming simulator game. A lot of hobbies however, require a lot more materials then a video game, making it frustrating and expensive to start up a new one. I thought I would share one of my oldest hobbies, painting. I may be Blog Ross, but I am no Bob Ross. Regardless I will try and step you through a simple painting, and give some advice on how to start painting using cheaper materials to keep the cost down.
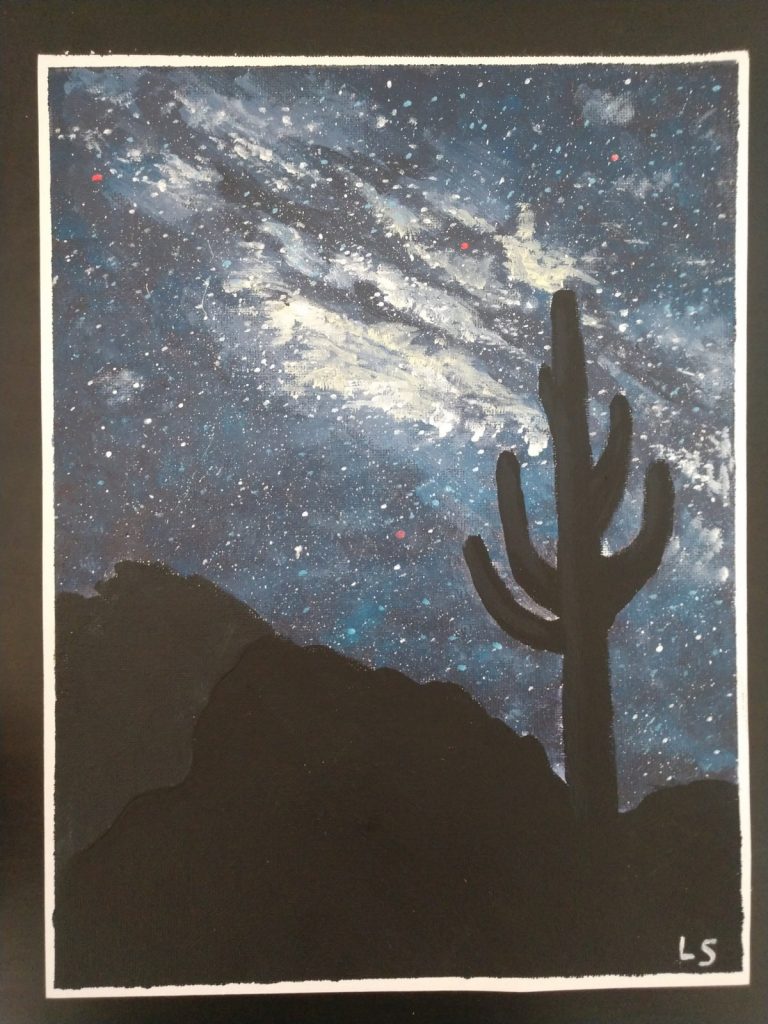
A lot of us are missing astronomy and the great outdoors. Today I thought it would be nice to combine the two into a simple night sky in the desert painting. To give you a preview of what we will be painting today, here is my finished result.

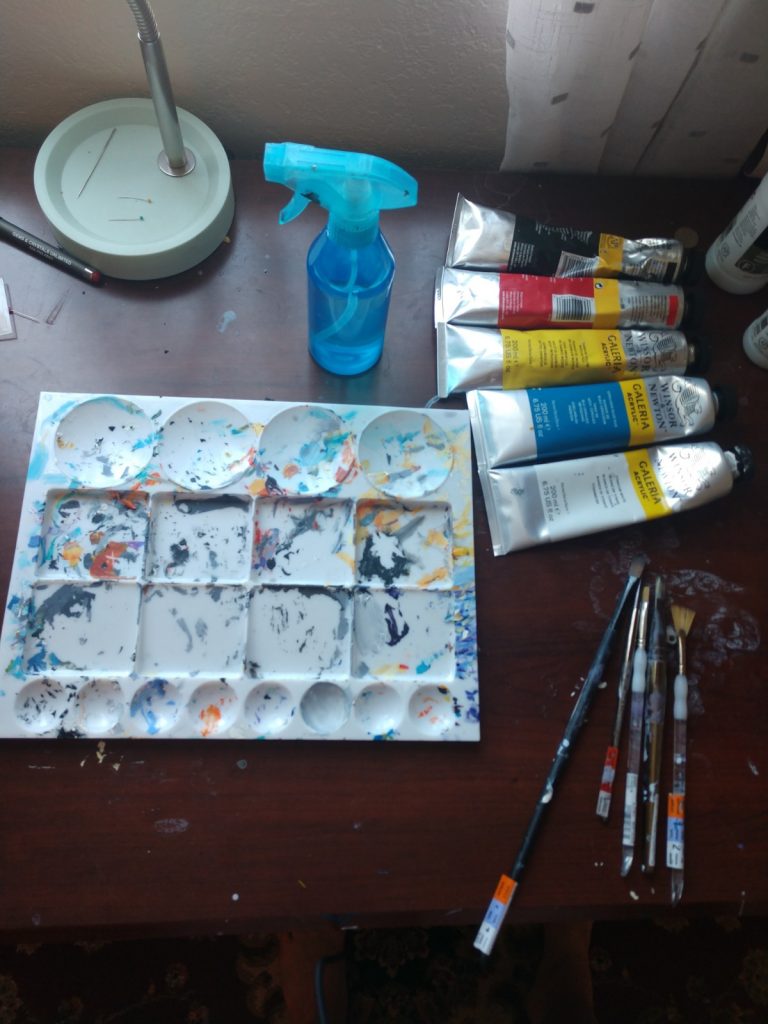
To start, collect your materials.
For this painting I used five colors of acrylic paint: black, white, cadmium red hue, cadmium yellow hue, and cerulean blue hue.
My favorite brand of paint is Winsor & Newton Galeria Acylic. This is found in the Level 2: Artist section in Michaels. Almost all of my canvas, paints, and brushes are from this section. I have bought from their Level 3: professional level but couldn’t see a noticeable increase in quality to justify the steep increase in price. I do see a big increase in quality from the Level 1: Academic, and the price increase isn’t much between level 1 and 2 so I do suggest investing a little if you plan to continue painting.
Brushes: I used four of my go to brushes for this painting. A medium sized brush with a rounded tip, a small brush with a clean square edge, a fan brush, and a tiny detail brush.
Other materials: palette (a plastic TV dinner tray from the dollar store is a good alternative), and some water.
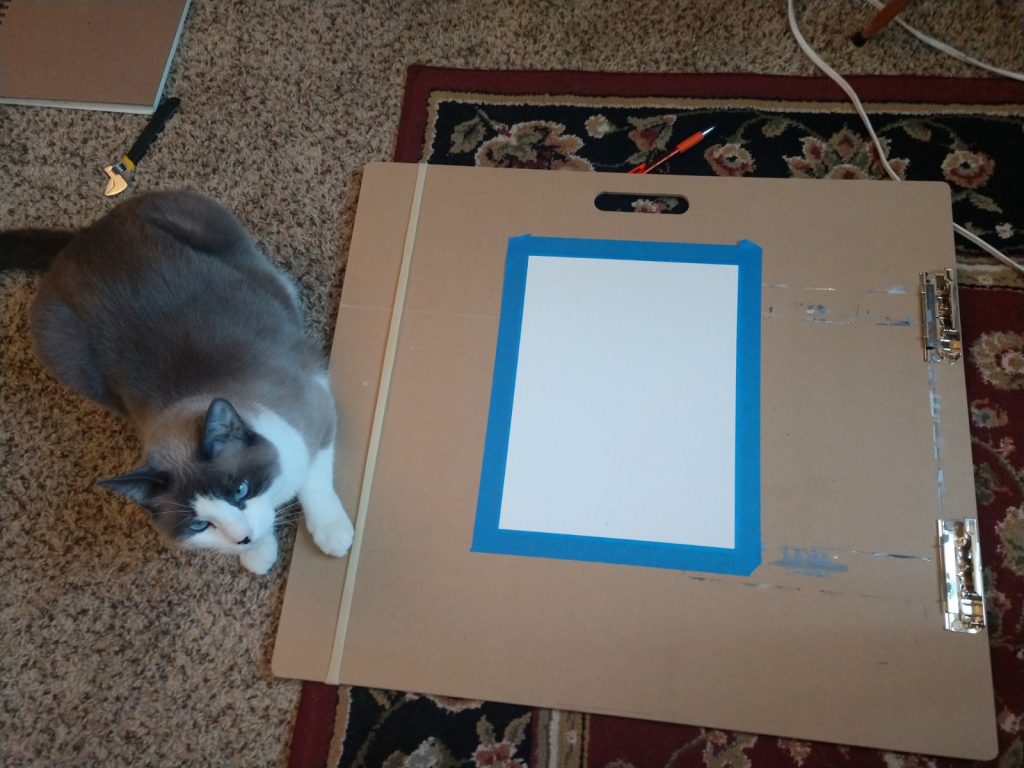
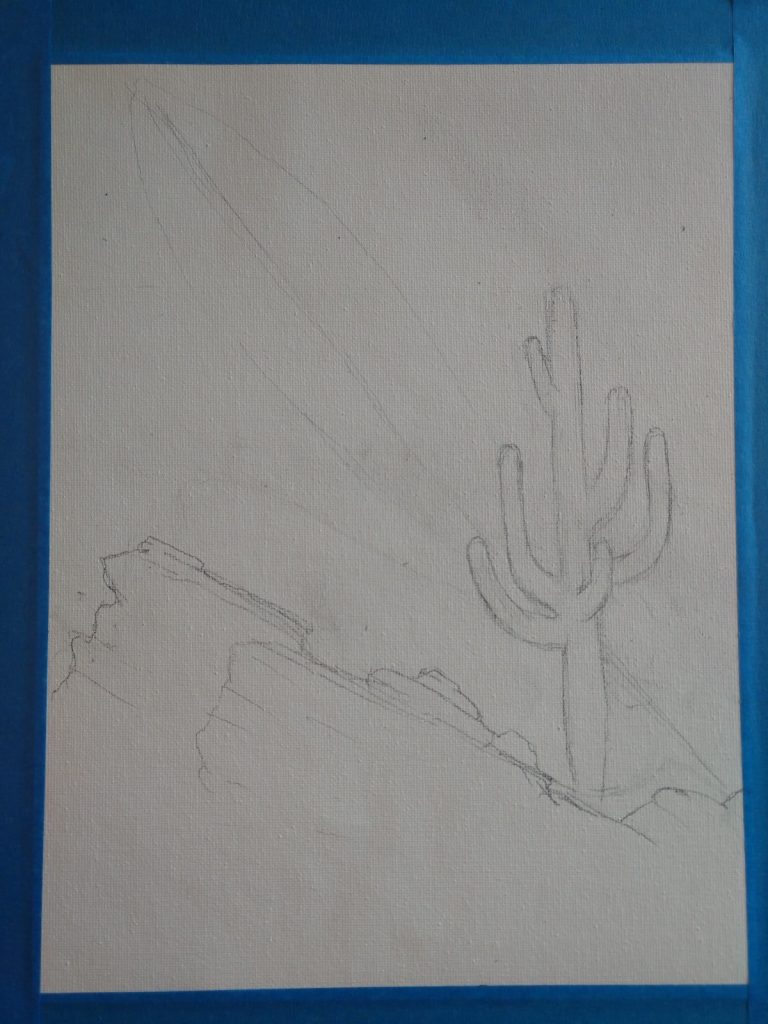
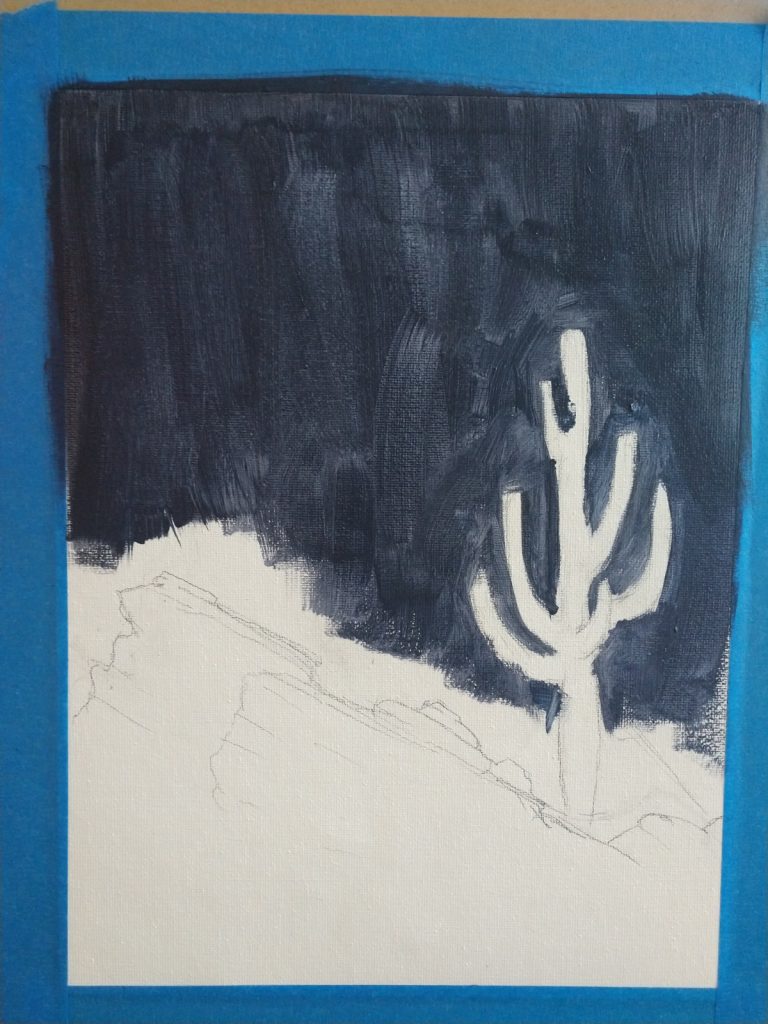
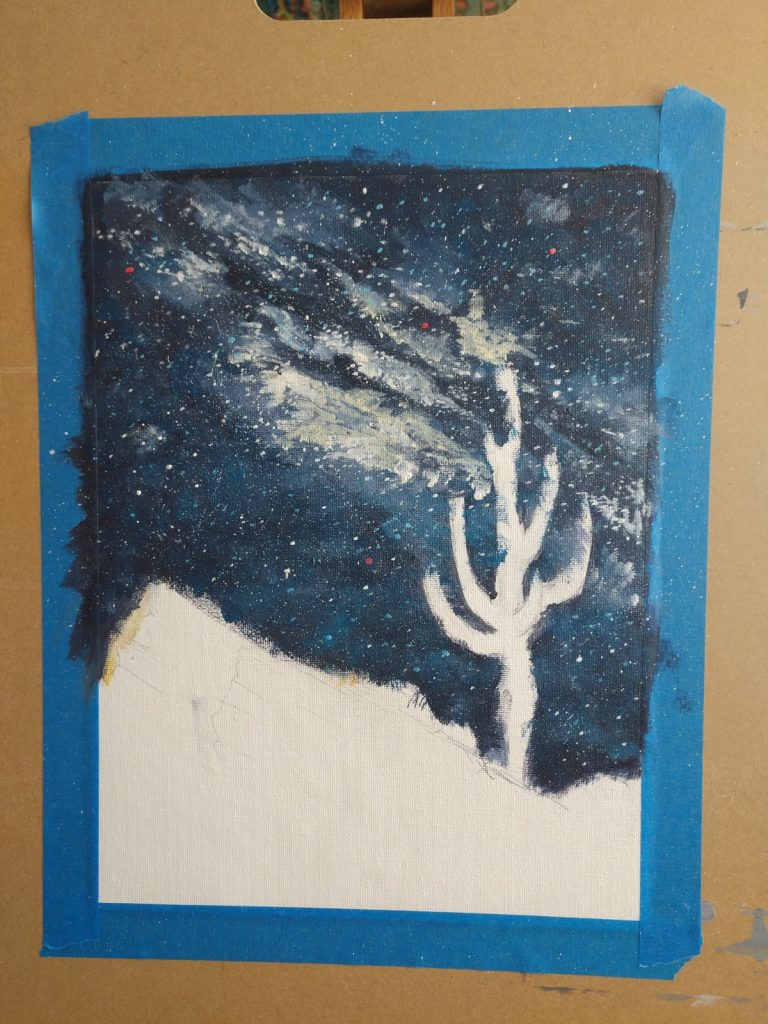
I used a canvas sheet that can be bought in a pad, as a cheaper alternative to a full canvas. I taped it to a board, and then drew some reference lines. I looked up some photos of saguaros for inspiration, and based the rock features off of Javelina Rocks at Saguaro National Park East.
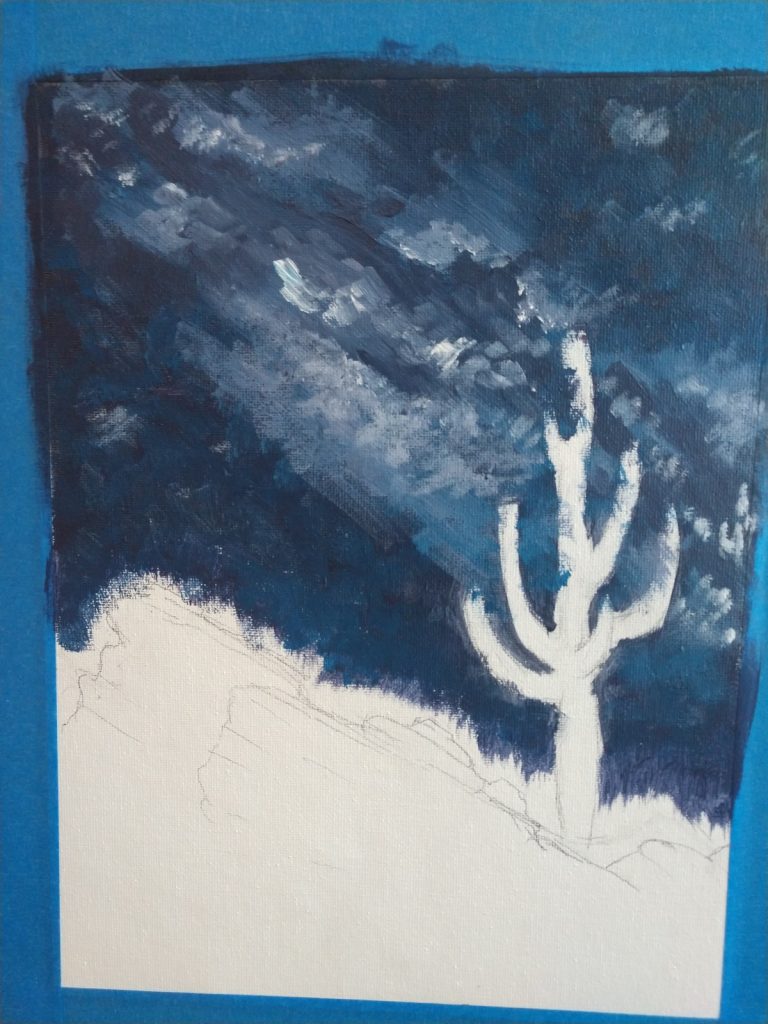
To start painting we work from the background to the foreground. For our base color mix a Navy/dark-purple (2 parts blue, 1 part red, and a little black). Paint onto canvas using an up and down stroke, all the way to the rocks and around the saguaro. (I didn’t go all the way because I wanted to add a sunset effect that I decided later on was unnecessary and fixed that mistake). If you accidentally get some in your saguaro or rocks it is not a problem.
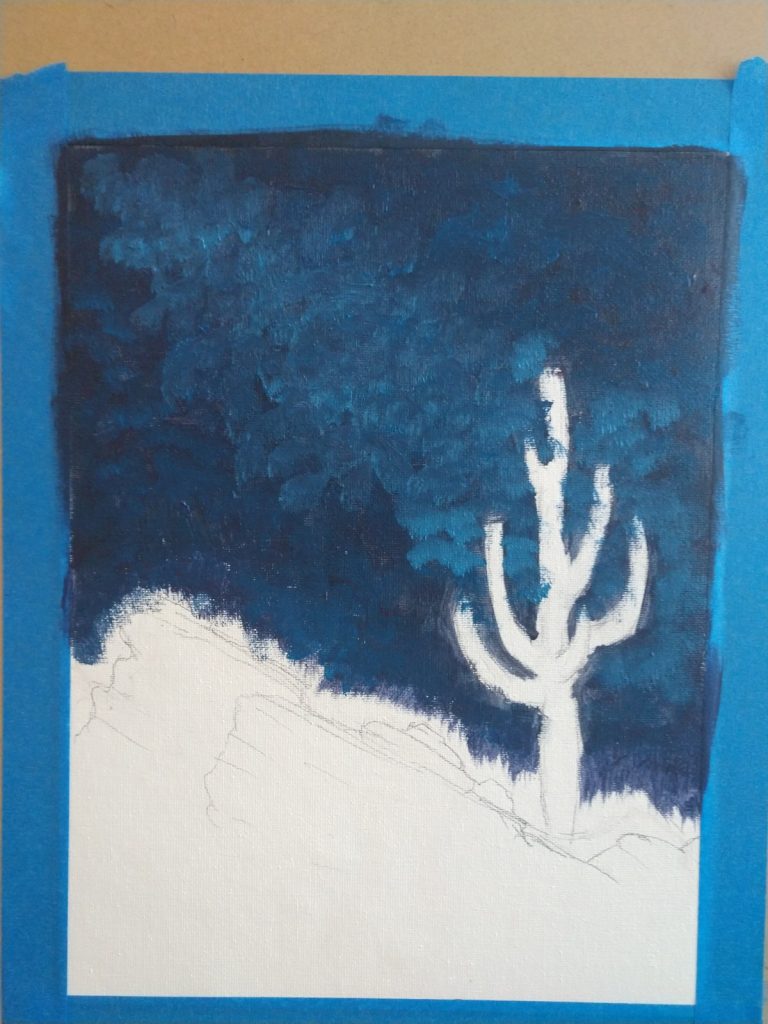
Looking at long exposure photos of the night sky, we see that it is not a uniform color. To add contrast mix 2 parts blue and 1 part red. Taking the medium size brush with the rounded edge, use a dabbing brush stroke over the background color. Don’t completely cover the background.
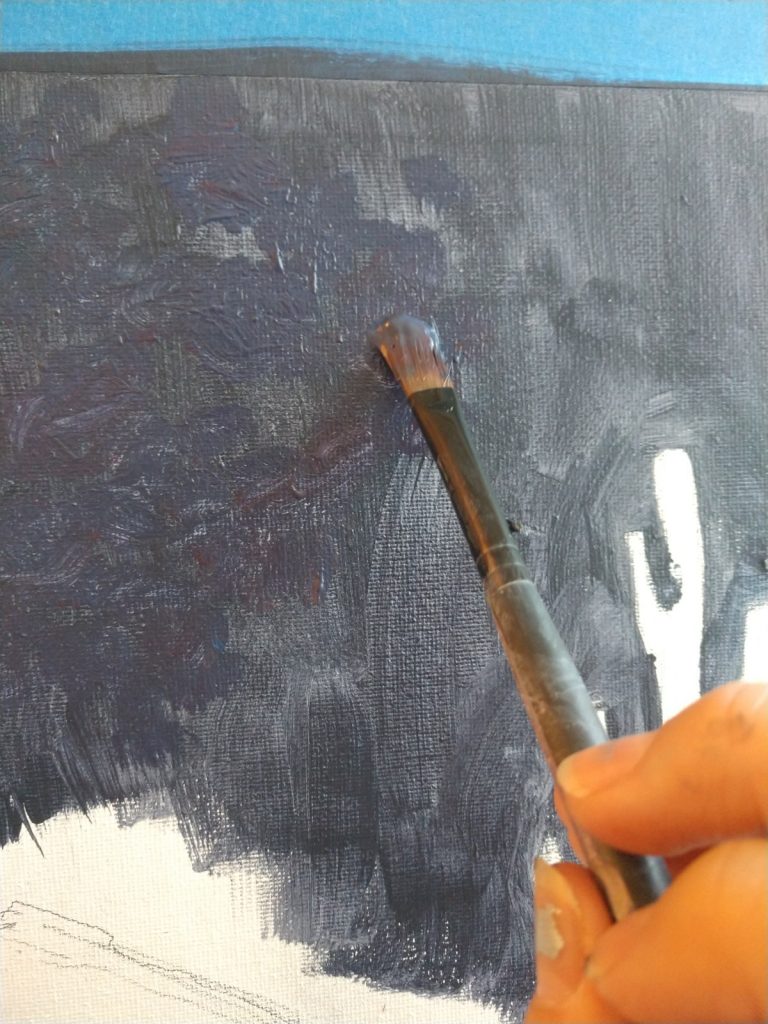
With the leftover paint from the last step, add in a little bit of white (should be: 2 parts blue, 1 part red, a little white). Dab onto canvas again, concentrating the density to the band where you want the Milky Way to be.
To start making the Milky Way I mixed a lavender color ( 1 part white, with a little bit of equal parts blue and red). I used a back and forth brush stroke to make a line/ steak effect. You could probably continue dabbing the color on if you like that look more. Put this color over where you want the Milky Way to be. Over the lighter color you just laid down, add some darker color for the dust lanes in the Milky Way. I used dark purple (1 part red, 1 part blue, a little black), but dark blue would work too.
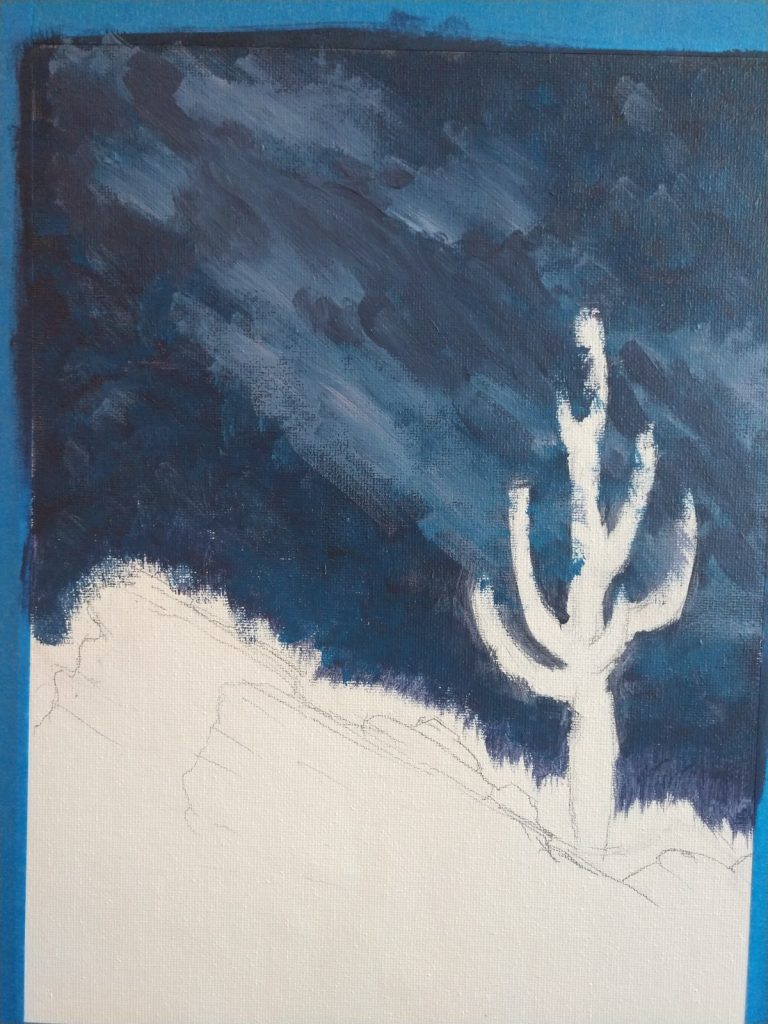
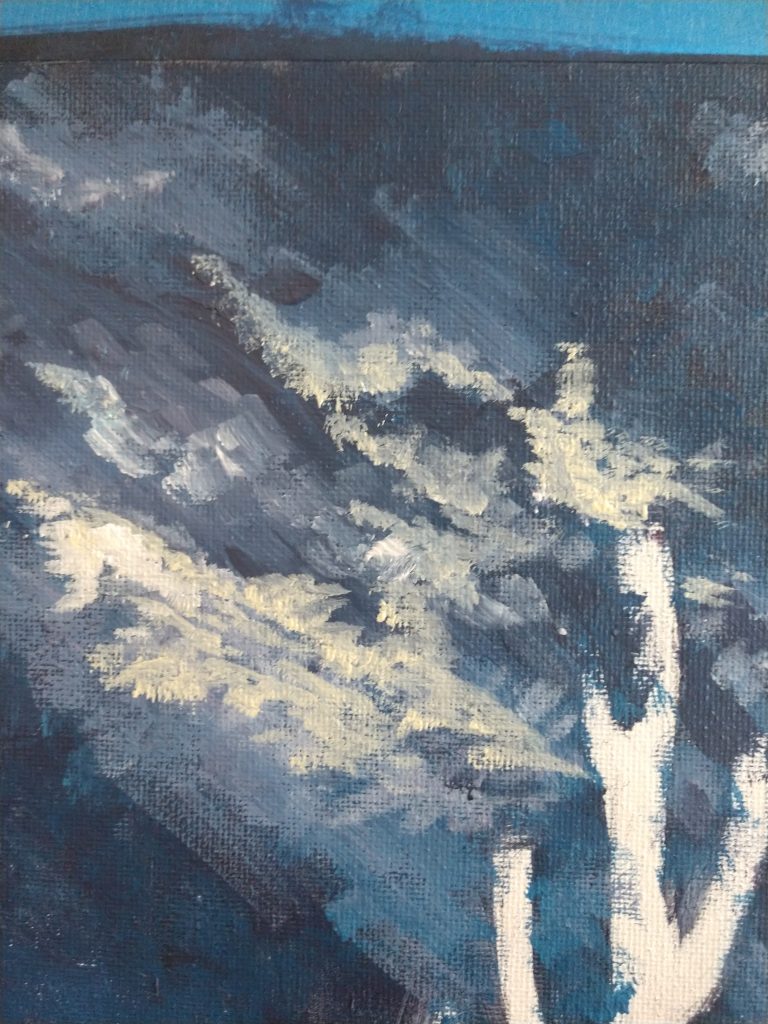
Now I took my smaller brush with the square edge and white paint, and added highlights and small dust clouds to my Milky Way. I used both small dabbing brush strokes, and some half-circle brush stokes. There is a bright bulge in the Milky Way that faces towards the ground. Decide where you want the bulge and concentrate more white in that area. There is a second smaller bulge on the opposite side at that location. If you go too wild with the white (like I did) go back in with your dark purple or blue and add back in some dust lanes.
Looking at photos of the Milky Way, near the bulge the color is more yellow and less white. Mix a very light yellow (1 part white, a little yellow), and add in some yellow to your light spots. I used my fine detail brush to do this. I then went back over the edges of the yellow parts I put down with some white, to blend the colors a little better. I used a dabbing brush stroke for this.
Once you are happy with how your Milky Way looks (maybe adding in more dust lanes, maybe more bright spots) its time to add stars! Mix white paint with water (something like 2 parts water, 1 part white). Mix it well so that there are no clumps, should look like milk. Take the fan brush, or any large, flat brush and using your fingers flick the hairs of the brush to create the stars. If this explanation is confusing you can find a tutorial on YouTube. Do this until you are satisfied. I found that this made a lot of really small stars, so I took my small fine detail brush and added in some larger stars concentrating them in the Milky Way. I added a lot of these white stars into the brighter areas of the Milky Way.
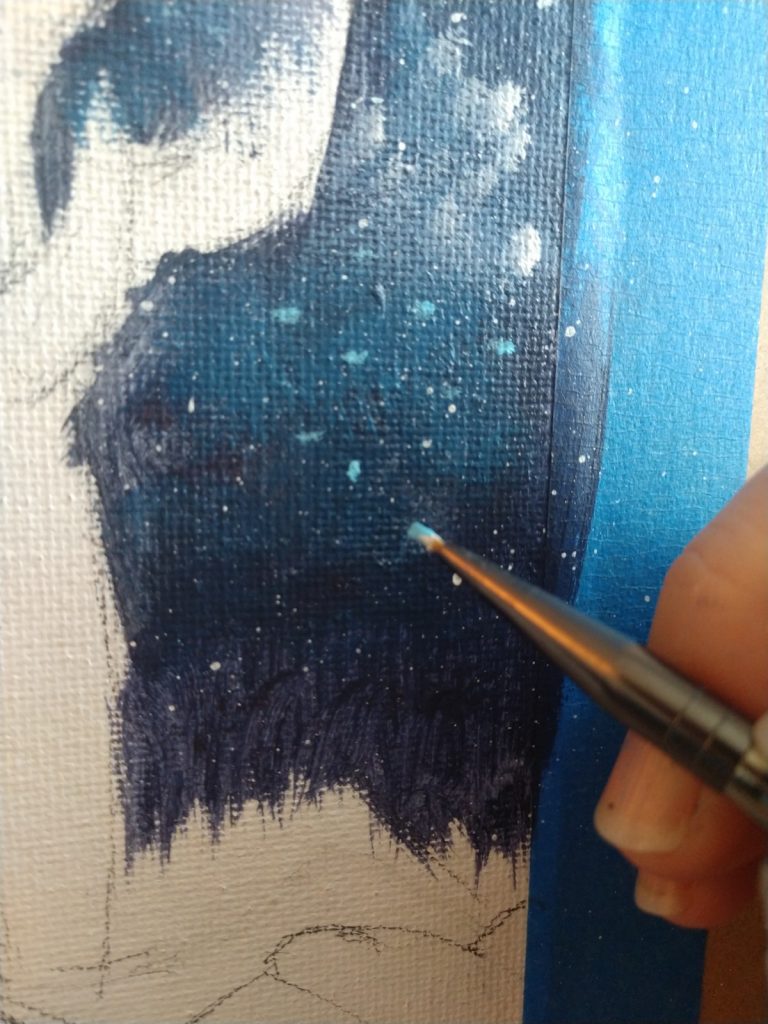
As we know from astronomy stars aren’t all the same color, so lets give the white stars some friends. Mix some light blue (1 part white, a little blue), and using the fine detail brush add in some blue stars. Concentrate these outside of the Milky Way. I even added 2 or 3 red stars.
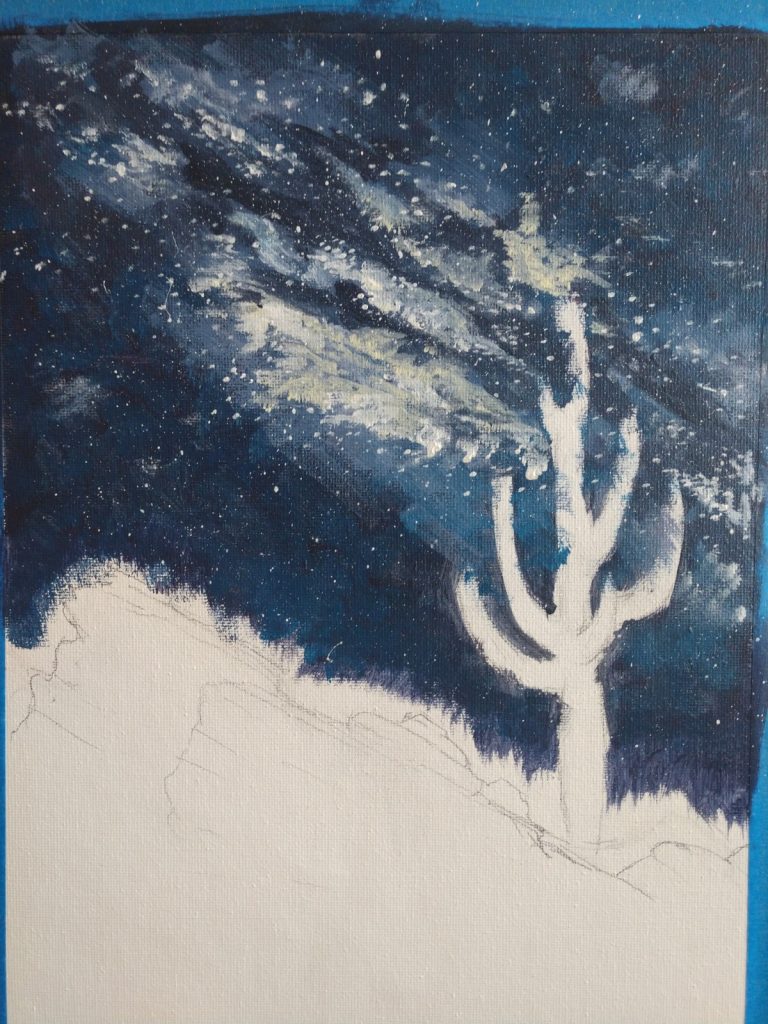
At this point my painting looks like the image below. (Noticed I fixed that mistake I made earlier. Acylic is great for beginners because it is very forgiving).
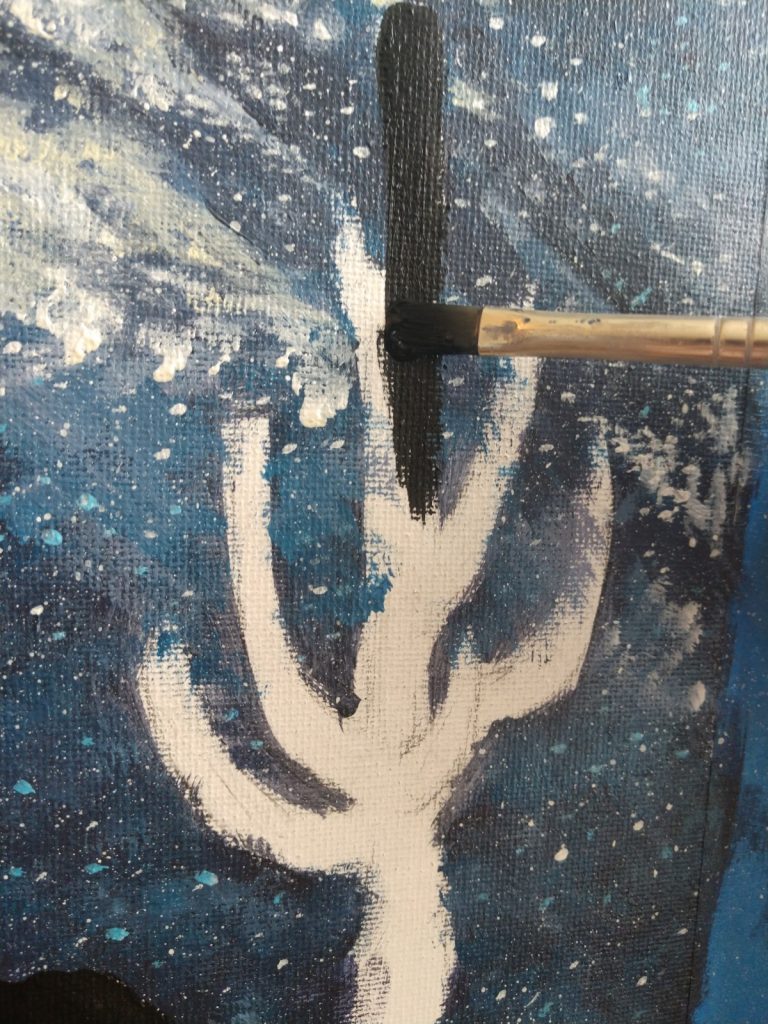
Now it is time to paint in the rocks and the saguaro! Take black paint and the small brush with the clean square edge and fill in the saguaro and rocks with black. I decided to mix a little bit of blue into the black for one of the rocks, so it would look like one rock is in the foreground, and the other in the background.
Now wait for the painting to dry, then add in your signature and it is done!
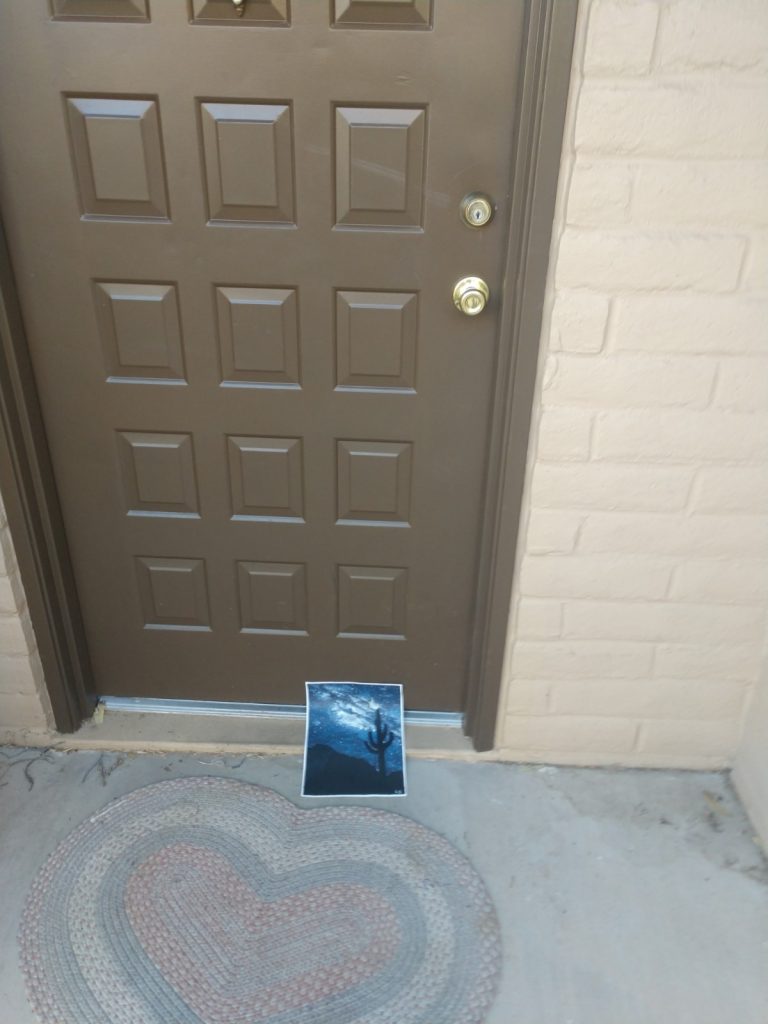
And don’t forget the important last step, give the painting to a friend who is struggling with isolation :). (While maintaining proper social distancing guidelines.)
Happy painting,
Blog Ross
Here is a relaxing song to paint to for the song of the day.