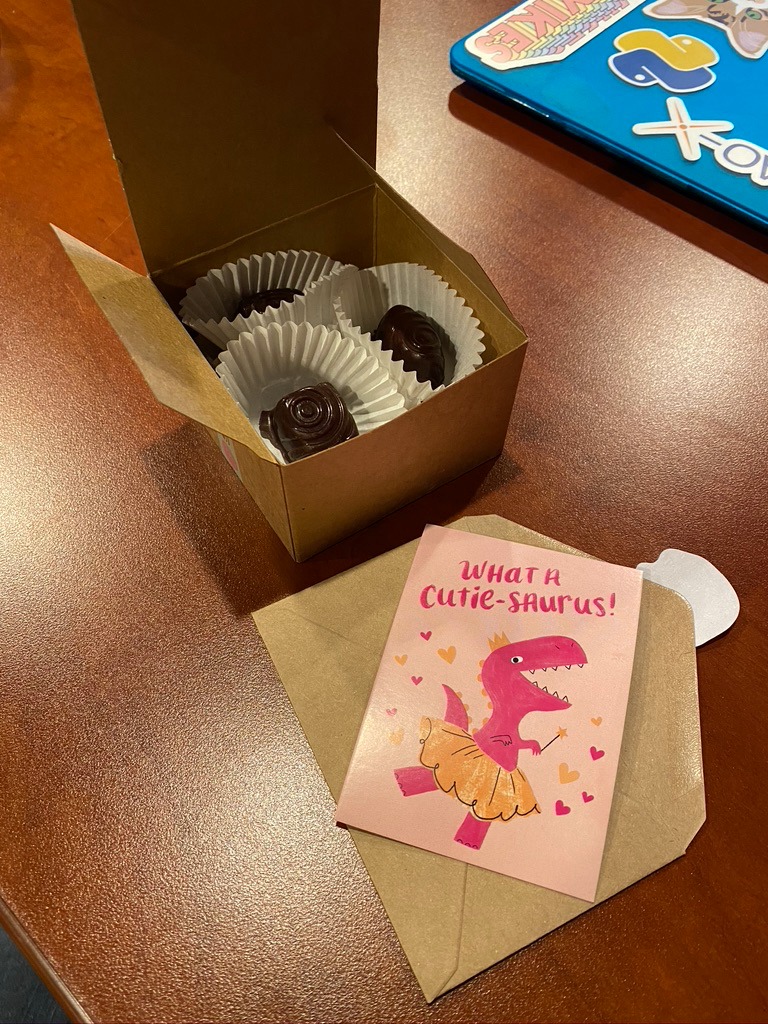
It has come to my attention that it’s already February, which means CHOCOLATE. Every Valentine’s day, I prepare boxes of chocolate to give away to everyone in XWCL and my friends. It’s one of the Hallmark holidays I look forward to the most for chocolate making. Not that chocolate needs an excuse, of course.
Unfortunately, the pandemic discourages in-person meetings, including our weekly research meeting. With no avenue to give away chocolate I make, I’ve been in a bit of a chocolate confectionery slump. But, it’s February, the last time I made chocolate was a year ago, and I really want to make chocolate again. Instead, I’ve decided to share this unique chocolate making experience.
RAINBOW CHOCOLATE?
A few months ago, there was a phenomena where someone made rainbow chocolate without the use of food coloring painted on the surface. The secret is imprinting a diffraction grating on the surface. A diffraction grating produces a rainbow-like effect when light shines on it. At the correct lighting, the chocolate surface should produce a rainbow-shine effect. As an amateur chocolate confectioner, a few friends sent me video variations of this challenge. I forgot about this for a while, until I was reminded that this week is Prism Week at OpSci. I figured, why not celebrate Prism week with some diffraction rainbow chocolate?
MELTING TECHNIQUE: DOUBLE BOILER
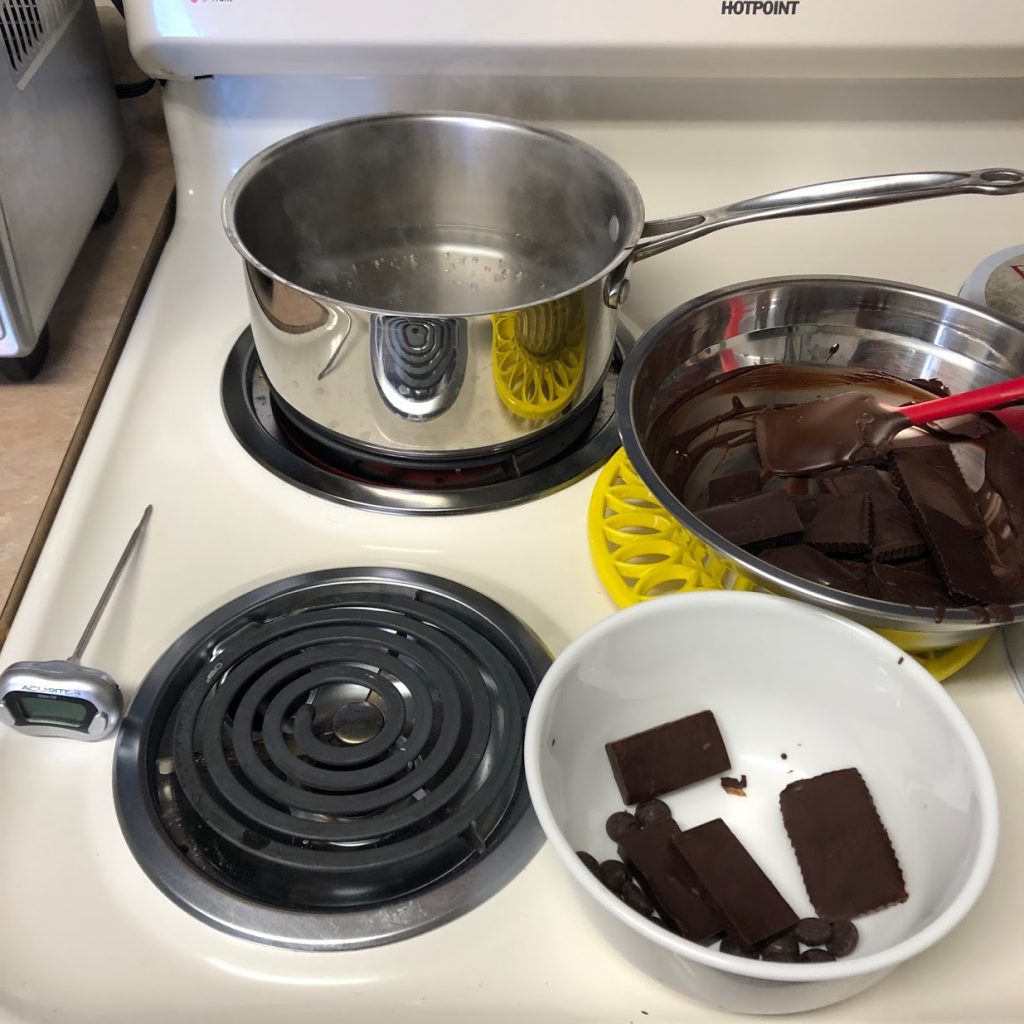
The approach I take to melting chocolates is the double boiler (bain-marie) method. You can definitely use the microwave method; I have a friend who is the head pastry chef at a restaurant and her at-home chocolate melting technique is using the microwave. The double boiler method uses steam generated by the bottom pot to heat up the underside of the top pot, which transfers heat to whatever is in the top pot. The double boiler method technique requires a bit more setup, but I have found to enjoy it better than the microwave method.
MATERIALS
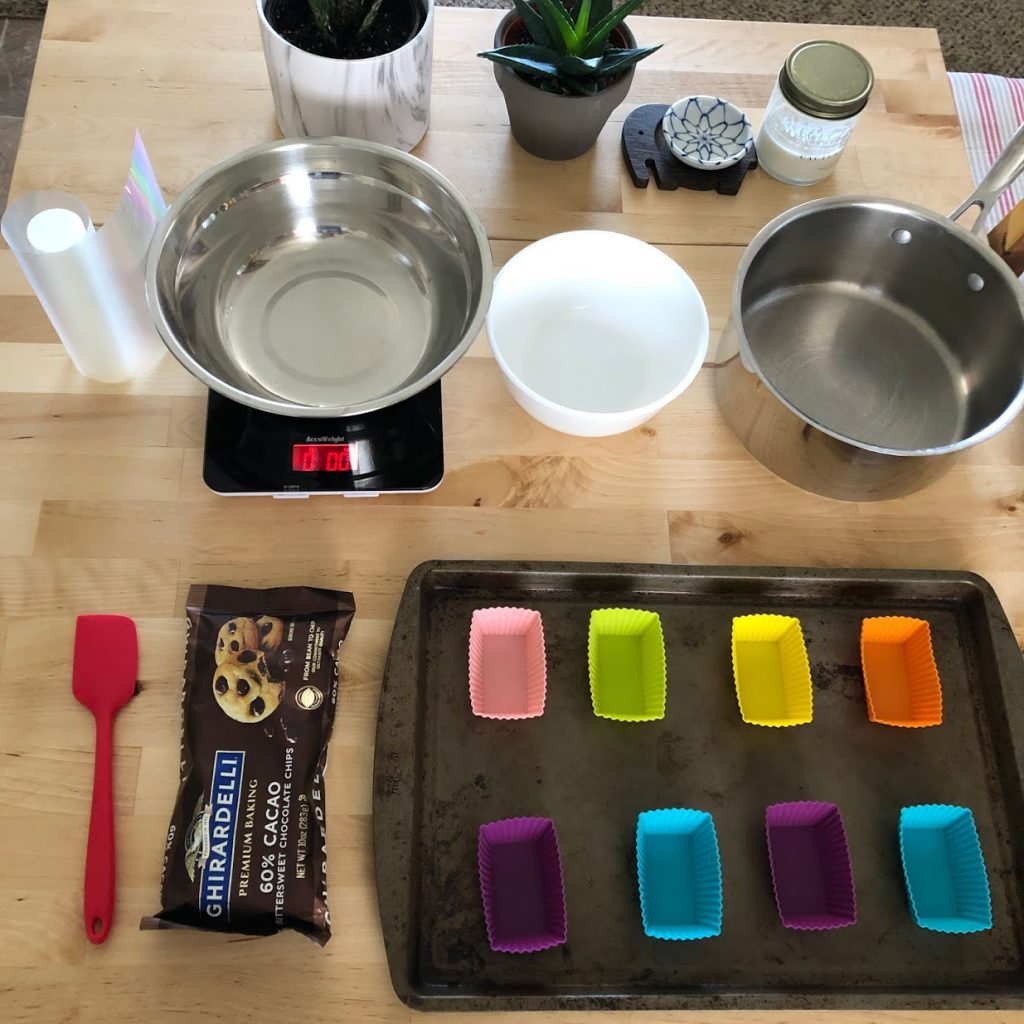
PROCESS
Chocolate tempering: Epicurious
Diffraction Chocolate tutorial: Ann Reardon
Note: Melting chocolate goes very fast. Be diligent with the whole process.
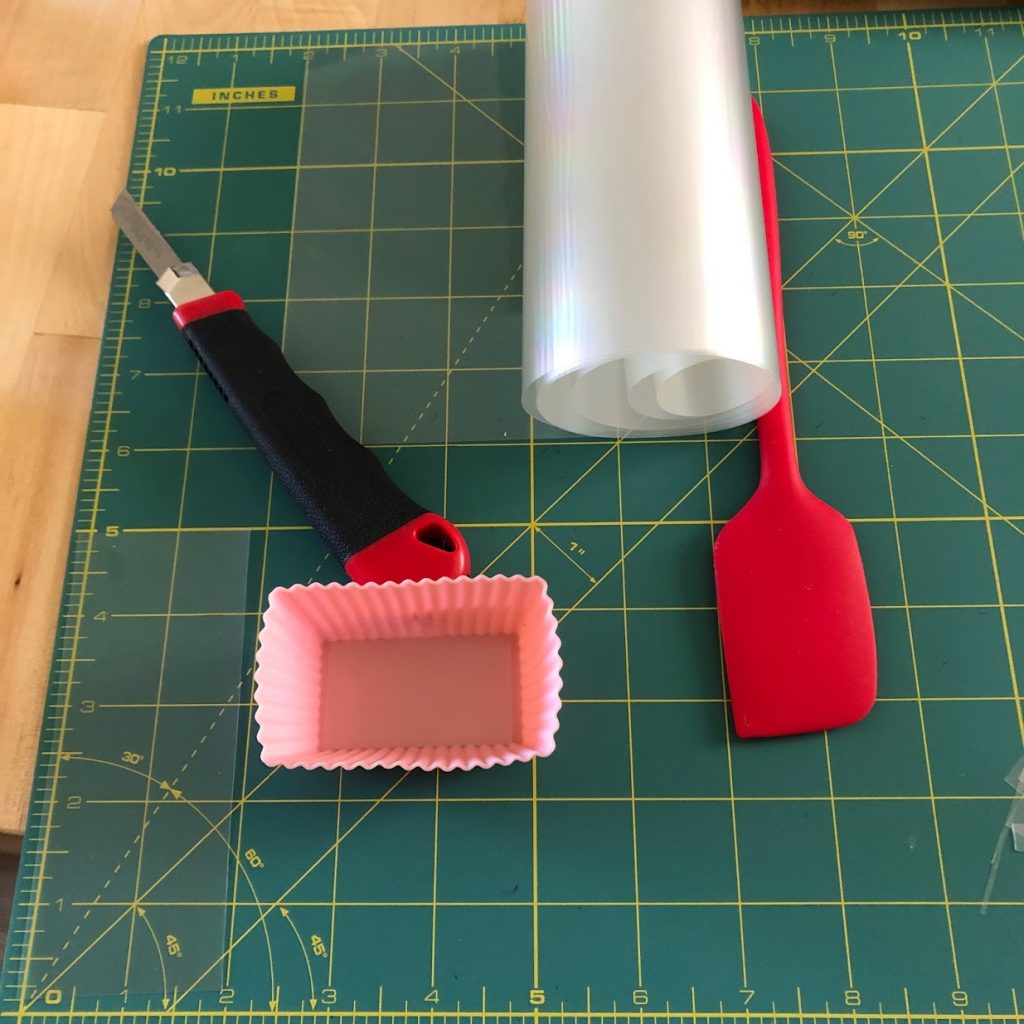
STEP 1: Cut the diffraction grating film. The gratings will be at the bottom of the cups, where they will be molded onto the melted chocolate as it solidifies. Make sure it is diffraction side up, so the pattern is in contact with the chocolate. I put these on a tray, so when it’s time to cool, I can transfer them around easily in my kitchen.
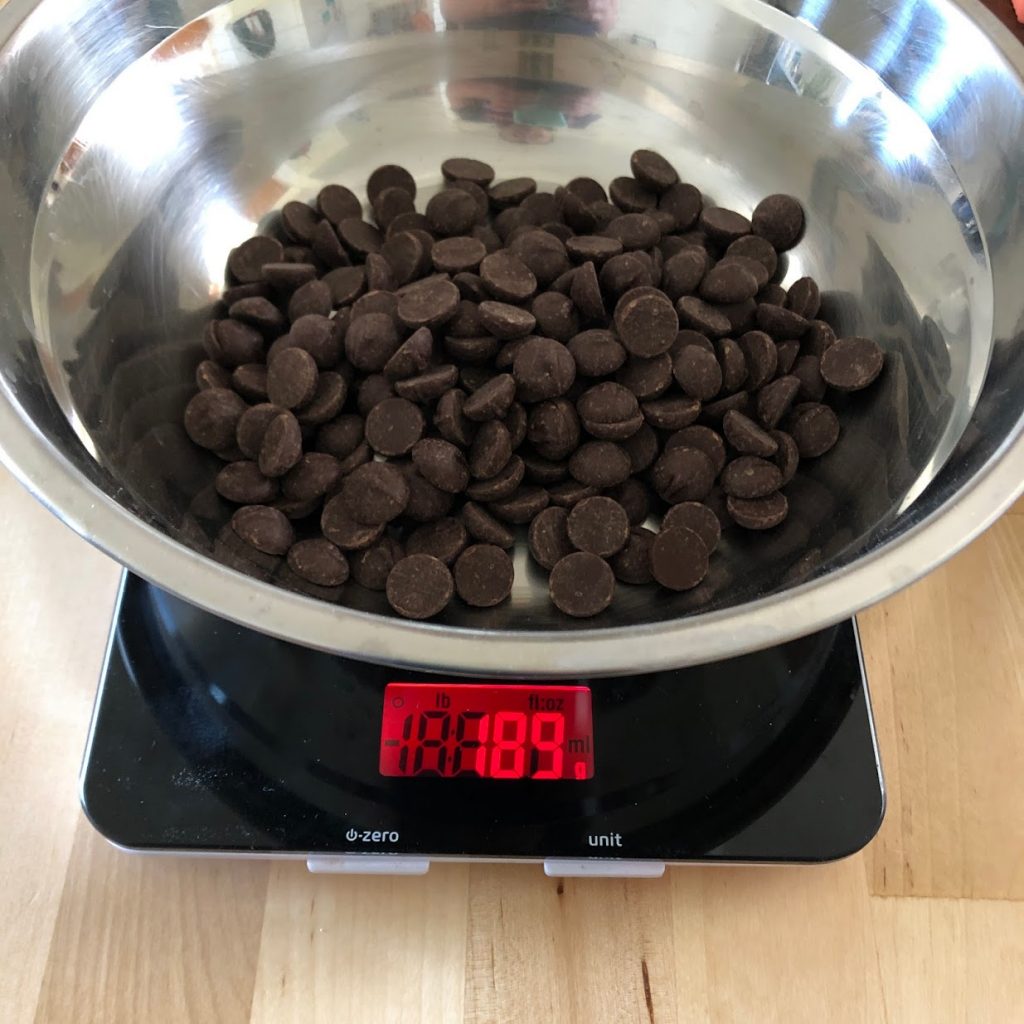
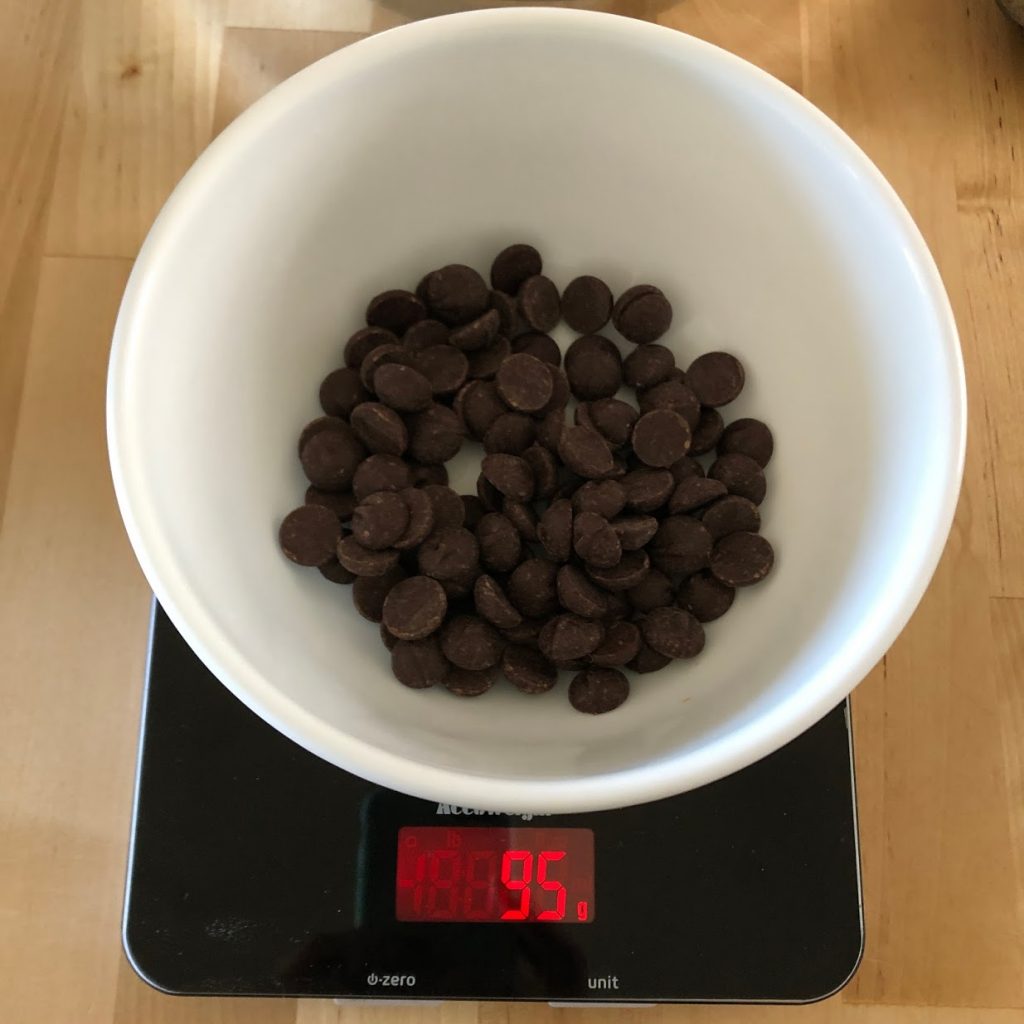
STEP 2: Measure the chocolate. I set aside 2/3 for the first melt, then 1/3 for the seeding portion. I do the tempering method, which is when you heat up chocolate to a certain temperature, then you use the seeding chocolate to cool it down, then finish the tempering to a certain temperature. This helps the chocolate stay in liquid form for working with and produces a nice shine.
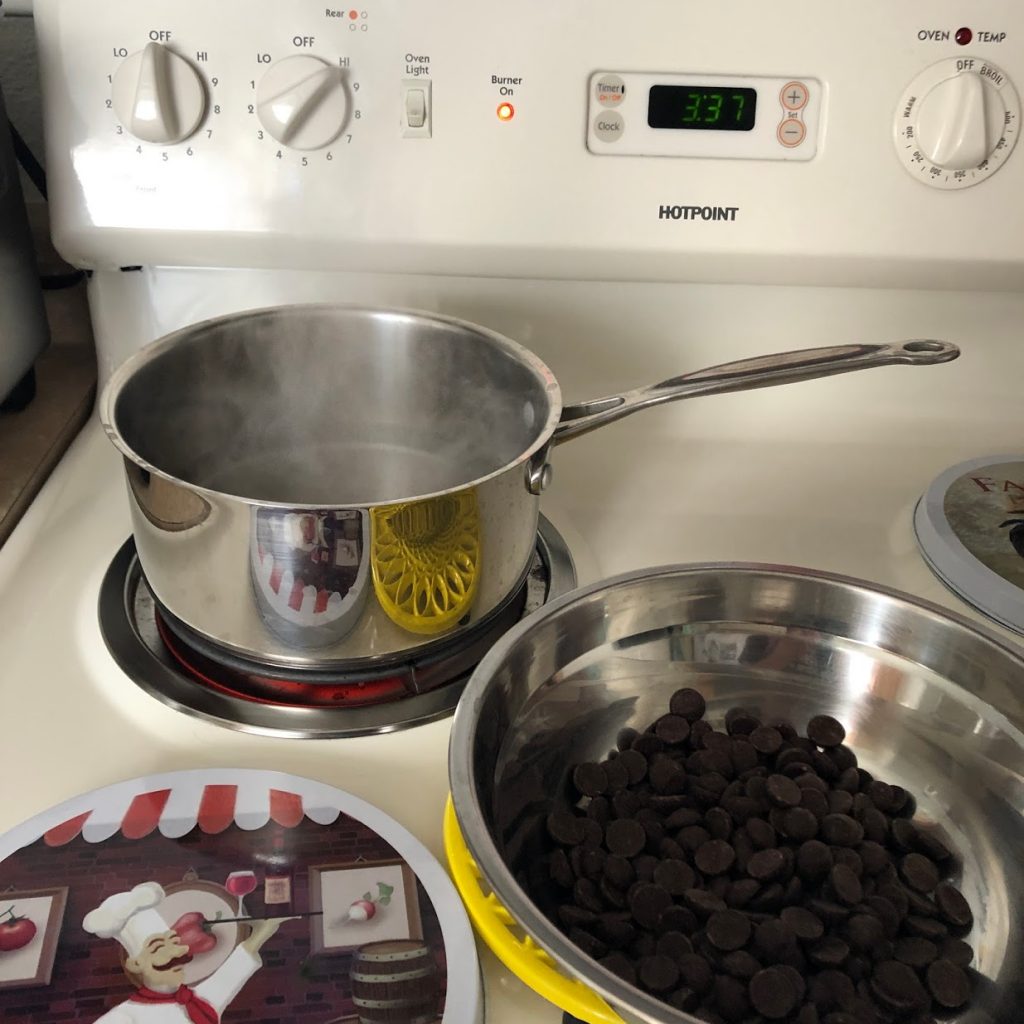
STEP 3: Boil water. Do not fill the pot with too much water. The water should not come in contact with the mixing bowl. This will otherwise burn the chocolate when we put it in for melting. When the steam is getting strong enough, lower the heat to a simmer and put the chocolate bowl over the pot.
CAUTION: Be VERY CAREFUL to not get water in contact with the chocolate. This will “seize” the chocolate, which makes it look grainy. The goal is to make the chocolate look smooth. This happened to me during my first chocolate making attempts when I used a wooden spatula not fully dry.
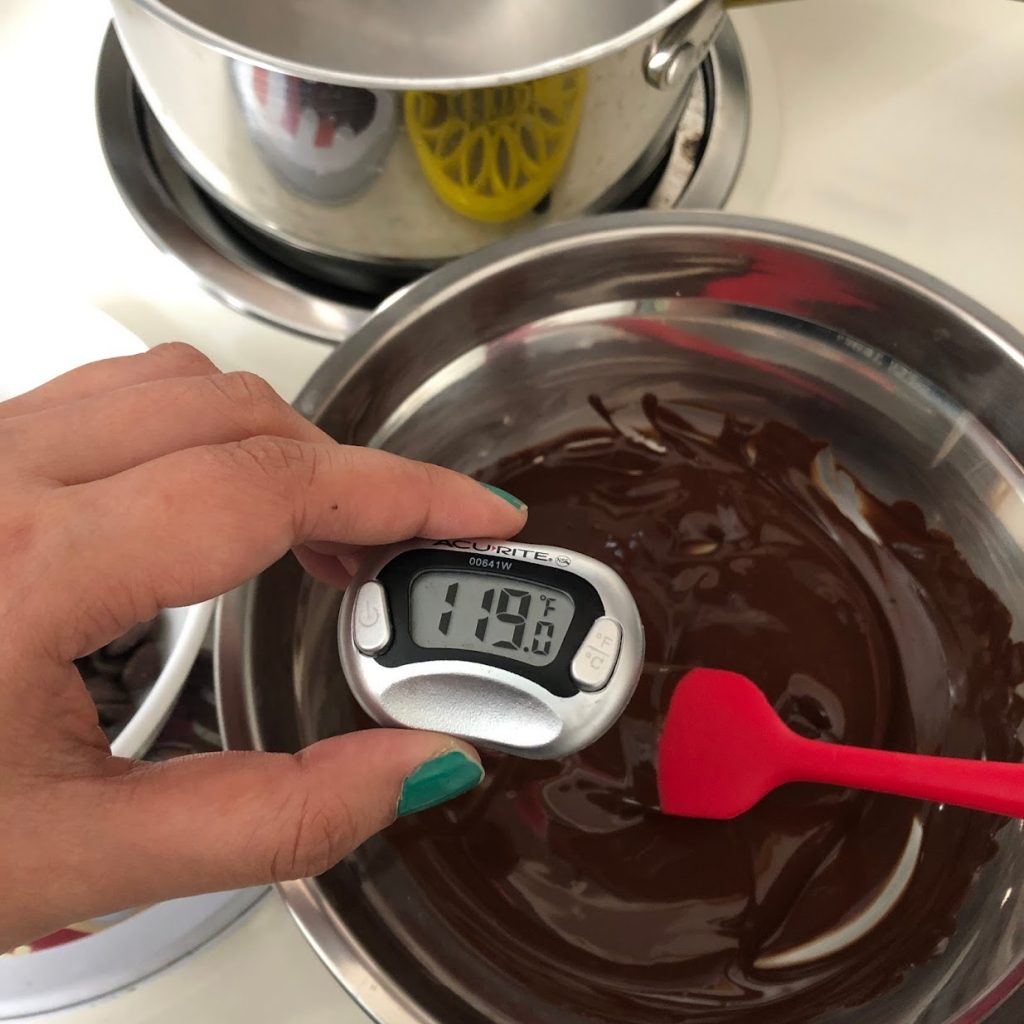
STEP 4: Melt the chocolate. Mix the chocolate with a rubber spatula and monitor the temperature. For dark chocolate, do not let it exceed 120F. When the chocolate is at temperature, remove the bowl from the pot and wipe the underside of condensation. Do not turn off the burner, we’ll need it for the next step.
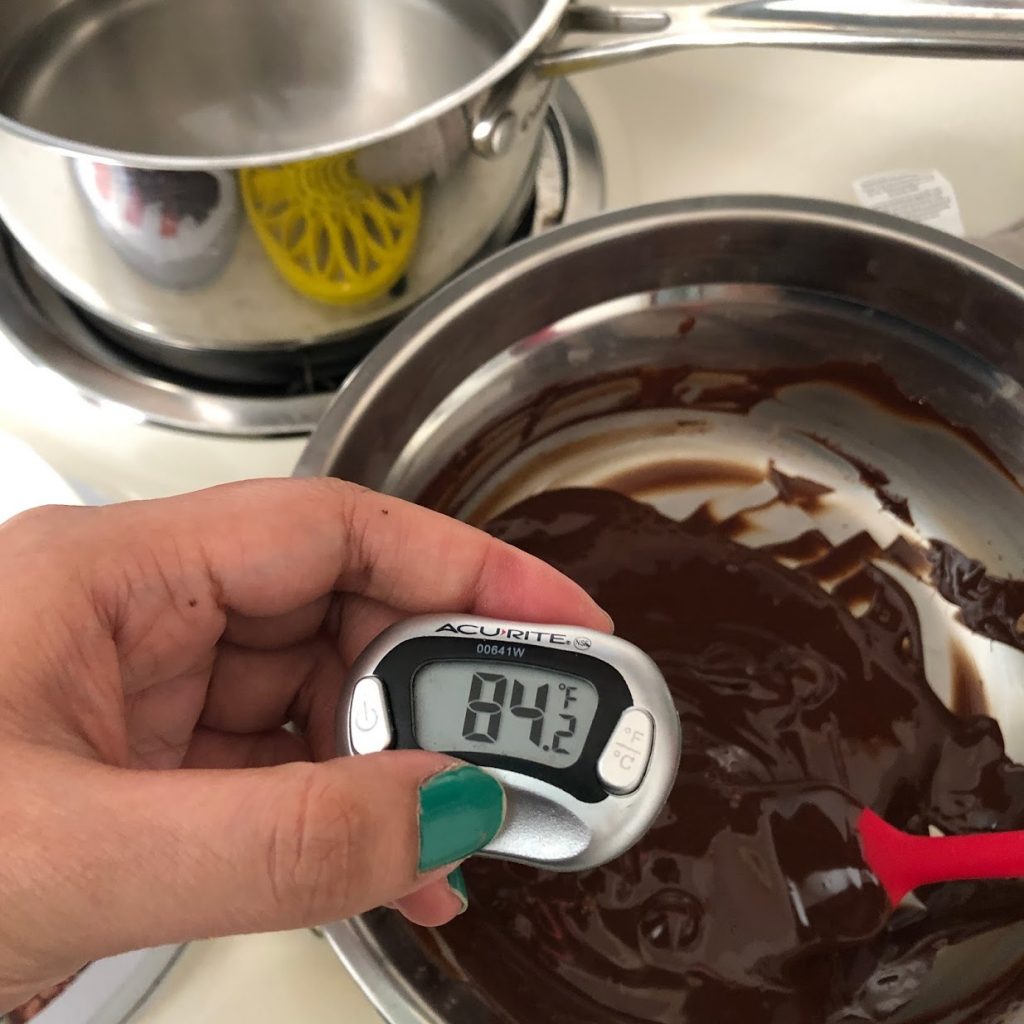
STEP 5: Seed the chocolate. Add in the seeding chocolate, bit by bit, until the temperature reaches 82F. If you run out of chocolate for cooling, just keep mixing until it reaches temperature.
STEP 6: Temper the chocolate. I didn’t take a photo because things were moving very fast. Here, you would put the seeded chocolate back over the bottom pot and reheat the chocolate to between 88F – 91F. I went with 90F. It doesn’t take very long to do this. Remove the mixing bowl from the pot when temperature has been met.
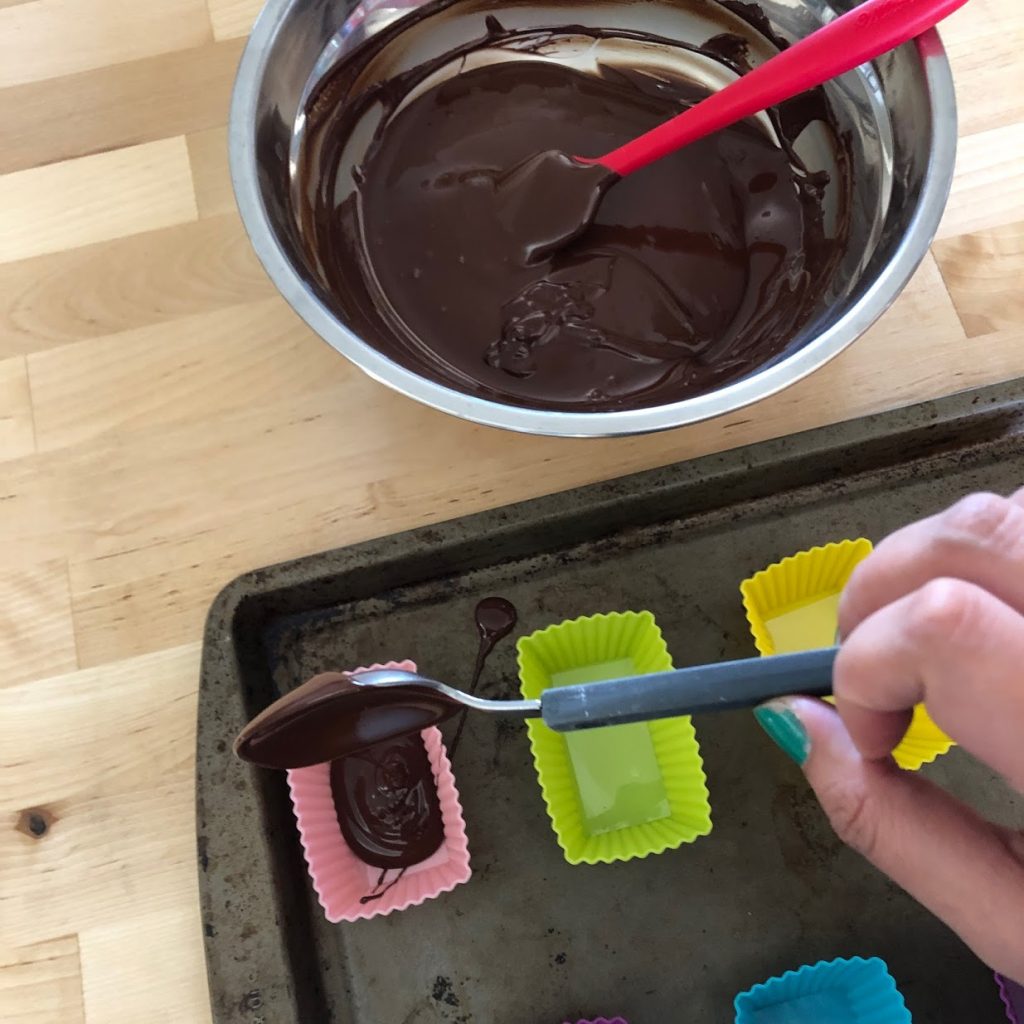
STEP 7: Transfer the chocolate. Put the chocolate in the cup molds with the gratings. I use a spoon for quick application. A pastry bag is also really good to use, since the chocolate won’t be too hot to the touch.
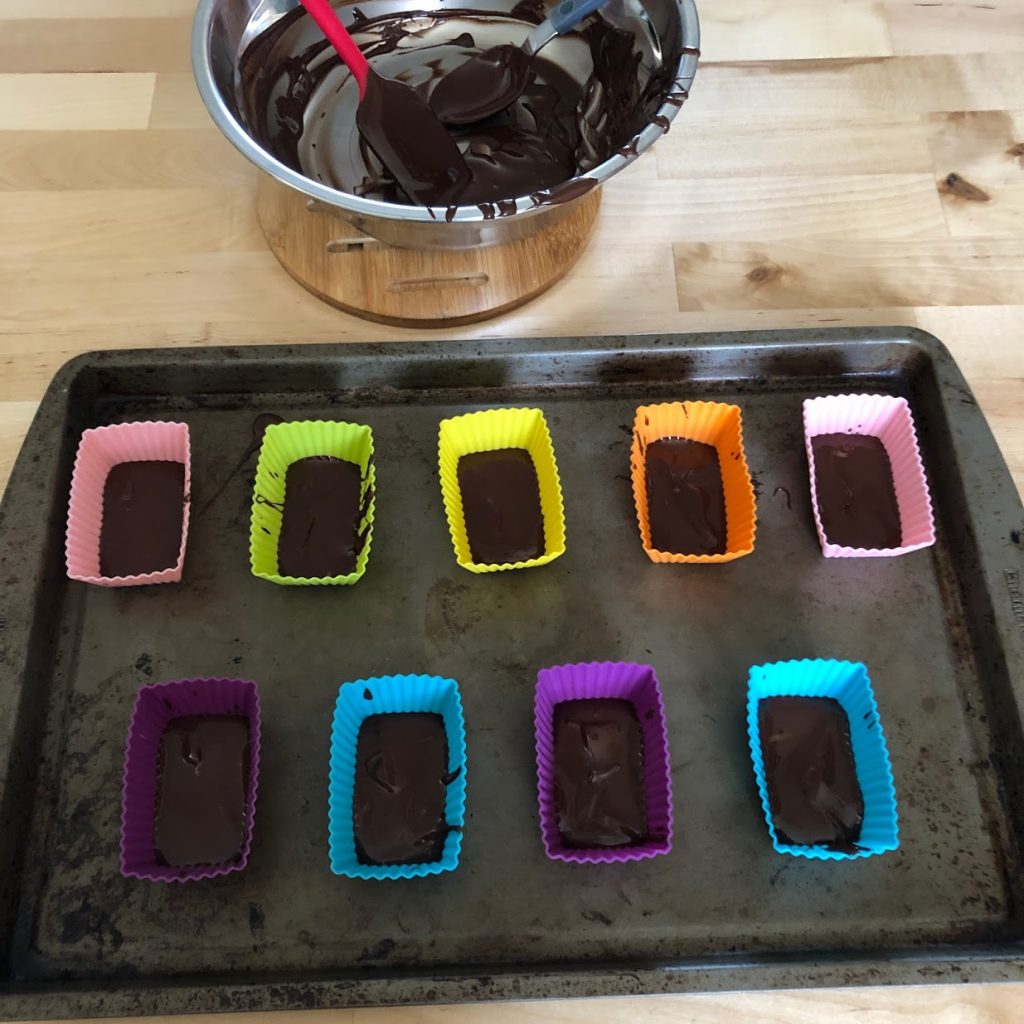
STEP 8: Let the chocolate cool. You can put it in the refrigerator, which is why I had the tray for easy transfer. You can also let it cool in room temperature, if the weather is suitable. When the chocolate is hard to touch, then you can push them out of their molds.
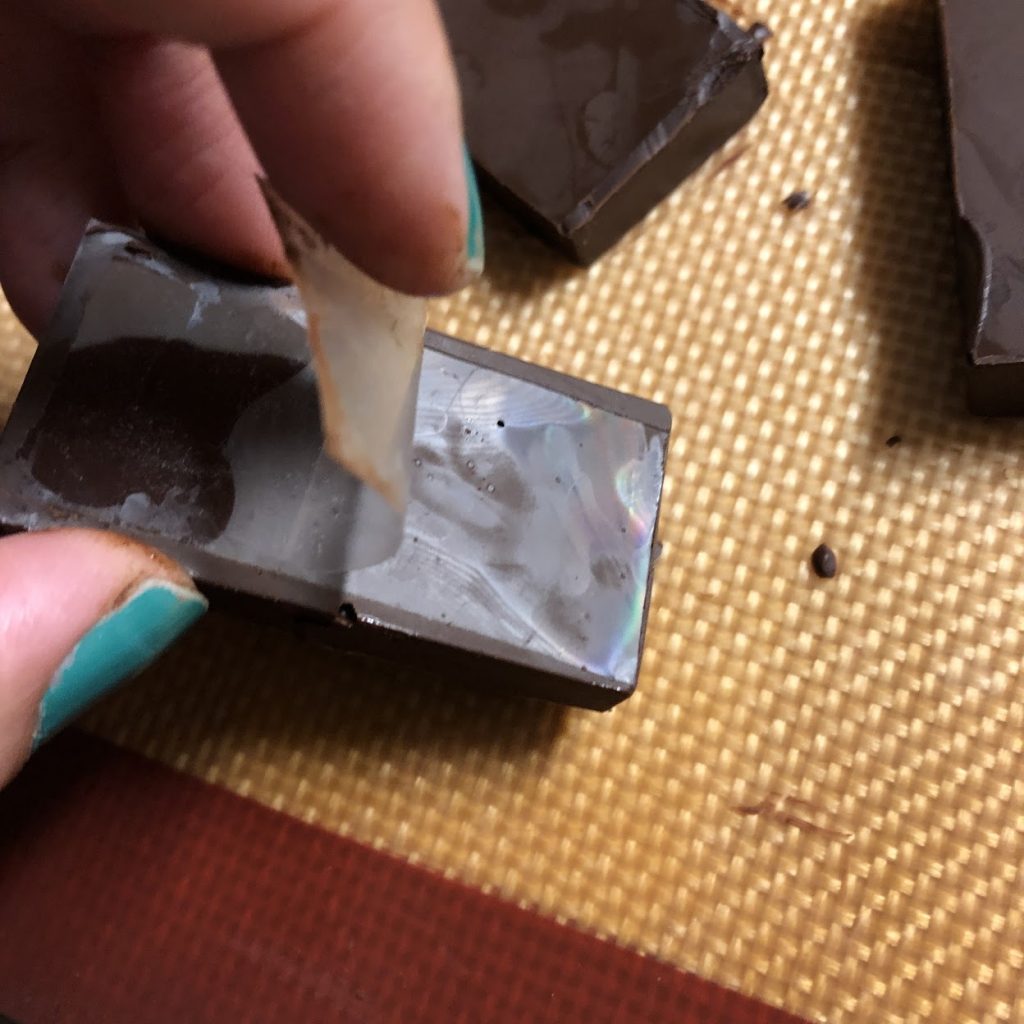
STEP 9: Remove the film. The film is not edible. (If there is an edible film though, I’m interested!) The film acts like a mold, so the chocolate copies the grating pattern.
FIRST ATTEMPT RESULTS
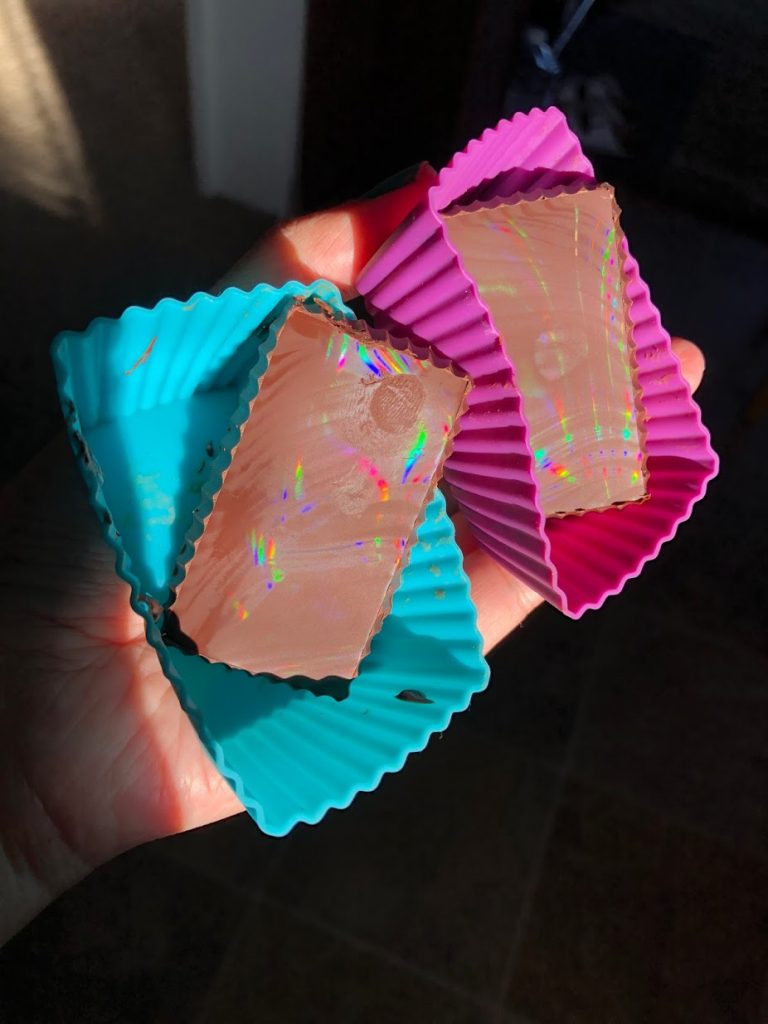
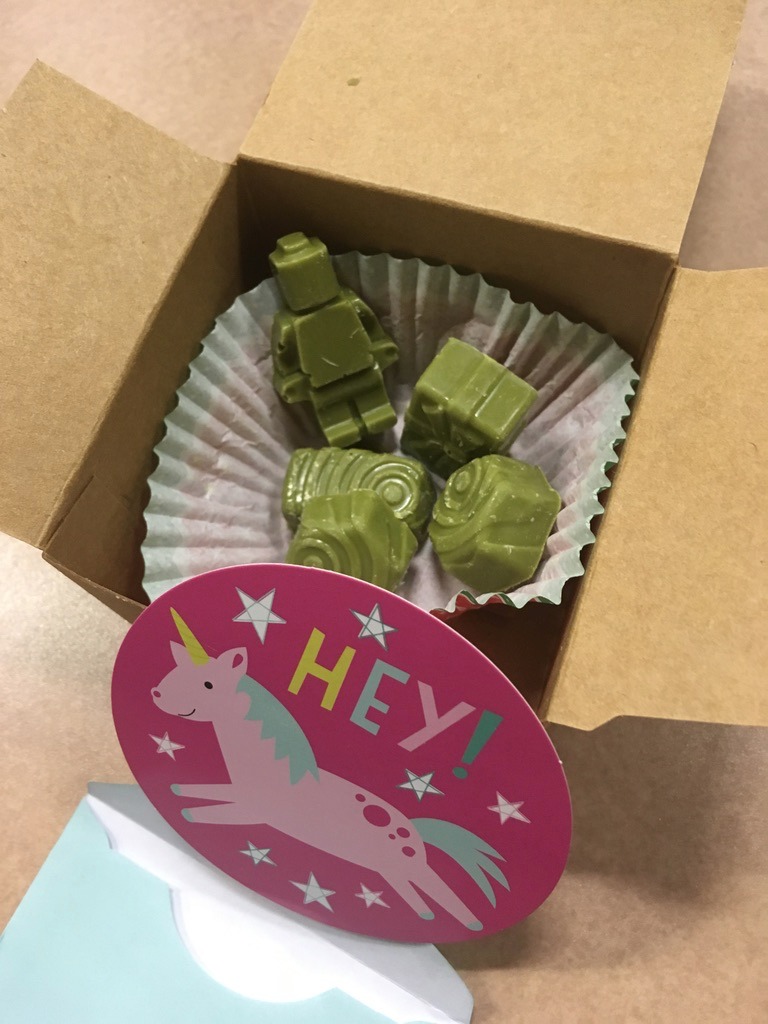
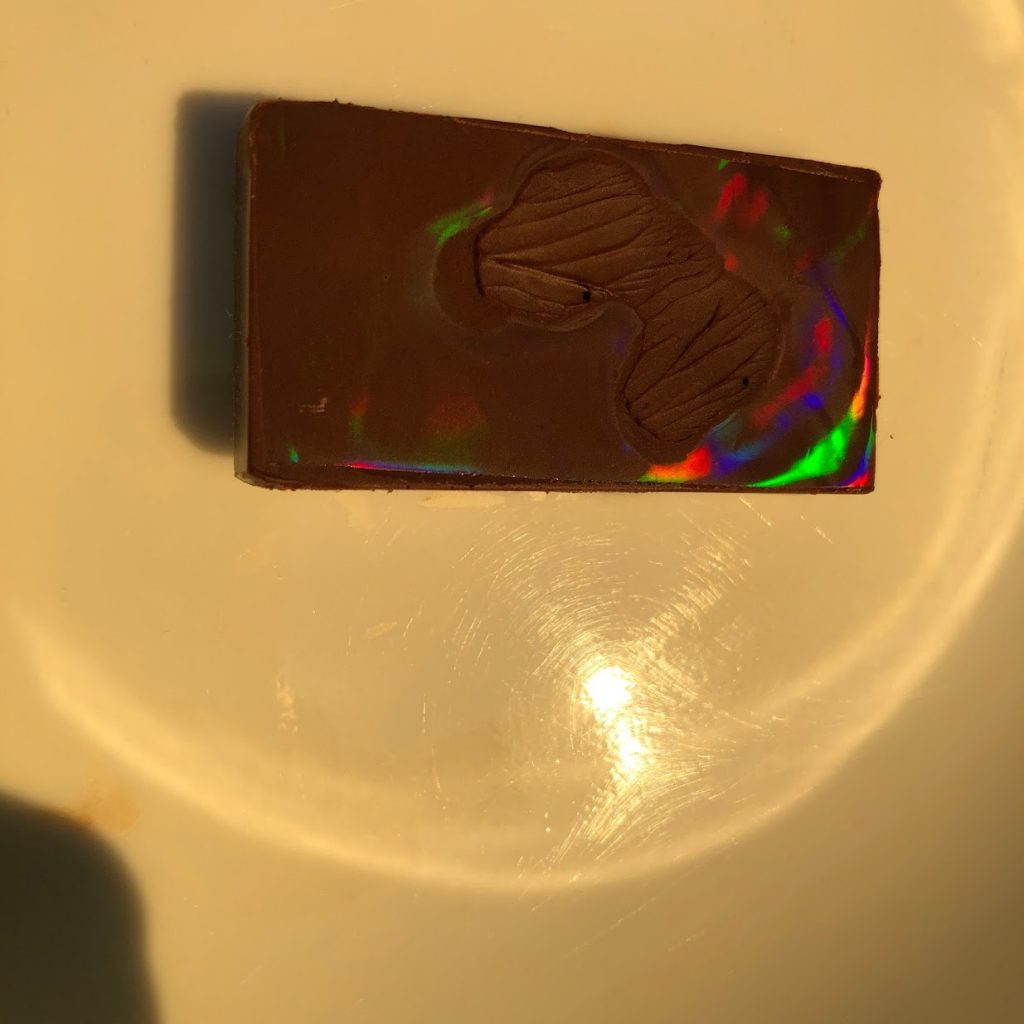
I put the chocolate up against the sunlight, and you can see the diffraction rainbow patterns! It didn’t come out too well on the chocolate. The big circles are smudge marks from my fingers, since it’s very tricky to pry off the diffraction grating. But yay, I’m pretty excited this worked, even if only a little bit!
LET’S TRY IT ONE MORE TIME
The great thing about chocolate is that it can be melted again. I wanted to see if I can do better, so I did a remelt and tried again.
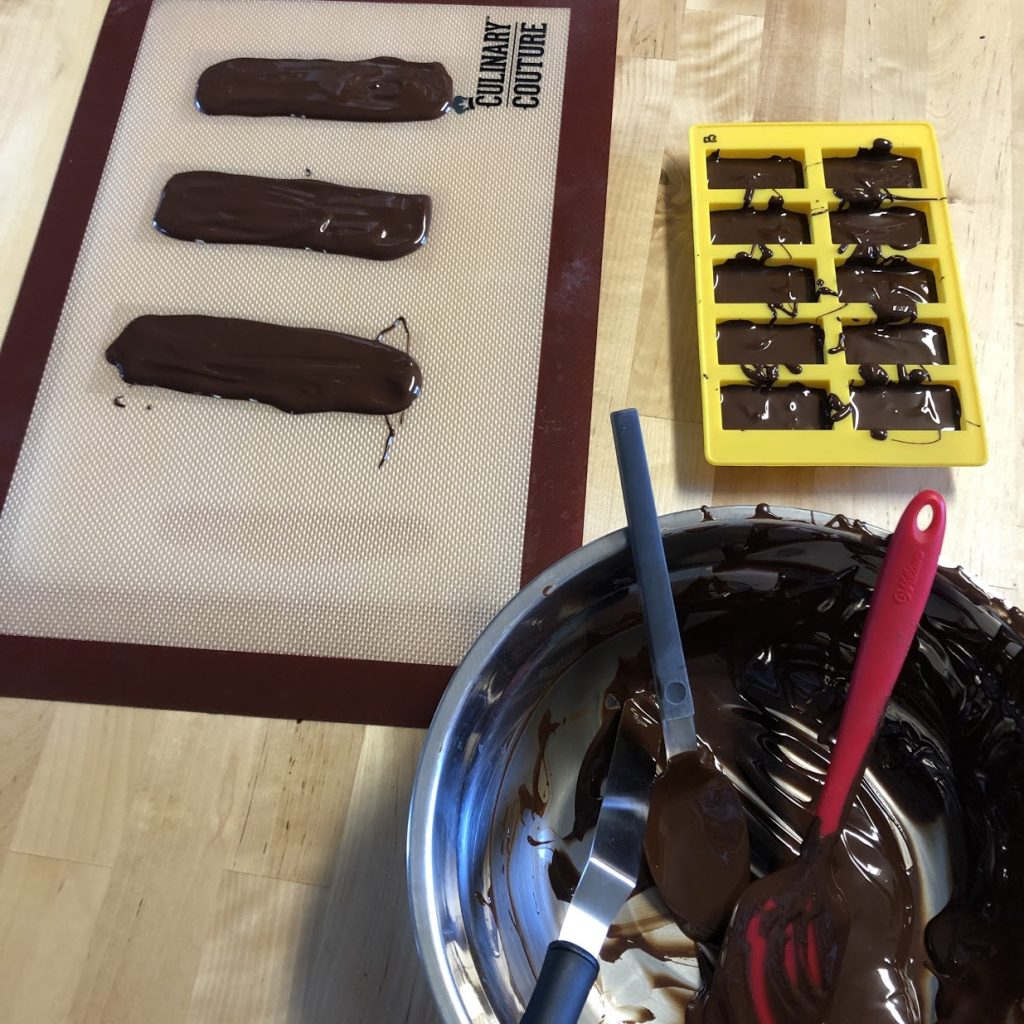
This round, I tried with a different mold pattern. I also tried to spread the chocolate over the grating itself, like what Ann Reardon did in her video. Back they went into the refrigerator to cool.
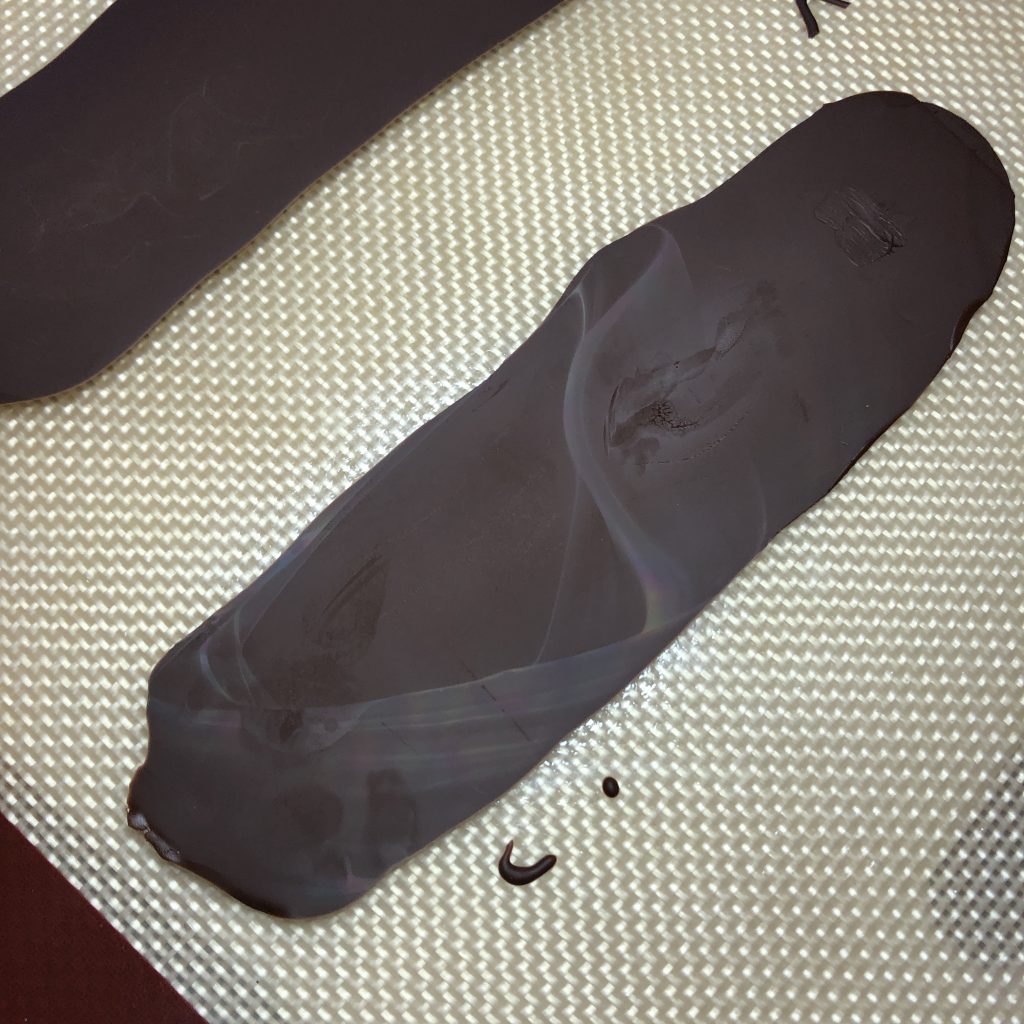
It looks like I did a little bit better the second attempt! It was already getting close to sunset, so the sunlight isn’t the same as the first attempt. The slab refraction came out very faint under the ring light. It was too difficult for me to take a photo with it in the sunset. But the block piece came out pleasantly well, despite the lighting! I’m very satisfied with these results.
SO WHAT ABOUT THE CHALLENGE?
I think it was a fun challenge. It was definitely a bit difficult. I’ve been very out of practice with chocolate making. I could have avoided all the finger smudges if I was a bit more patient. Choosing the correct side for the diffraction pattern was also a trial and error. I didn’t have a microscope available (rather, I didn’t want to drive to campus for this one thing), so I split my batch with one for the top side and the other for the bottom side. The results also did not yield much – for all the chocolate pieces I made, I only had maybe 3 or 4 successful attempts. Maybe with different setups, I could achieve a better yield.
I do recommend trying this out! Chocolate making is a very messy process though and it goes quick. It’s always satisfying to see fun results like this. It may be better to practice melting chocolate first before trying this challenge immediately.
SONG OF THE DAY
All this talk of dark chocolate made me think about black and white, like in chess. I binged watched all of The Queen’s Gambit over the winter holiday. It was the first show I managed to complete since The Mandelorian season 1 (I am very bad at watching shows). I originally came in expecting to drool over the fashion, but was rewarded with an excellent coming-of-age story.
On the topic of The Queen’s Gambit, I’d like to bring up Chess: The Musical. It also takes place during the Cold War, but in the late 1970’s as opposed to the 1960’s during The Queen’s Gambit. The musical was written by Tim Rice (famous for Evita, among other musical productions) and the music was by Bjorn Ulvaeus and Benny Andersson of ABBA. The most famous song to come out from it was One Night in Bangkok, which was a chart topper in the mid-80’s. Wilfred and I sang parts of this song when we had an overnight layover in Bangkok with Olivier, on our way to Bhutan. Olivier was very confused, but we were also in hour 25 of our 34 hour travel and already had been on 3 different airplanes by that point.
The original version I listened to was the Chess in Concert performance from 2008, featuring Adam Pascal (famous for playing Roger in RENT), Idina Menzel (Maureen from RENT and Elsa from Frozen), and Josh Groban. I low-key became a Grobanite when I first listened through this musical.
