As a thank you gift for Jared’s advising throughout my grad school experience, I wanted to give a knockout gift. Sebastiaan once offhandedly mentioned a useless box. Now, I LOVE useless boxes. When I was a teacher I stumbled across a useless box video which made me cackle; two years later my coworker gave me one as a christmas present on the staff work day before winter break. I showed it to everyone and wore the battery completely down that day. So what about a MagAO-X shaped useless box?
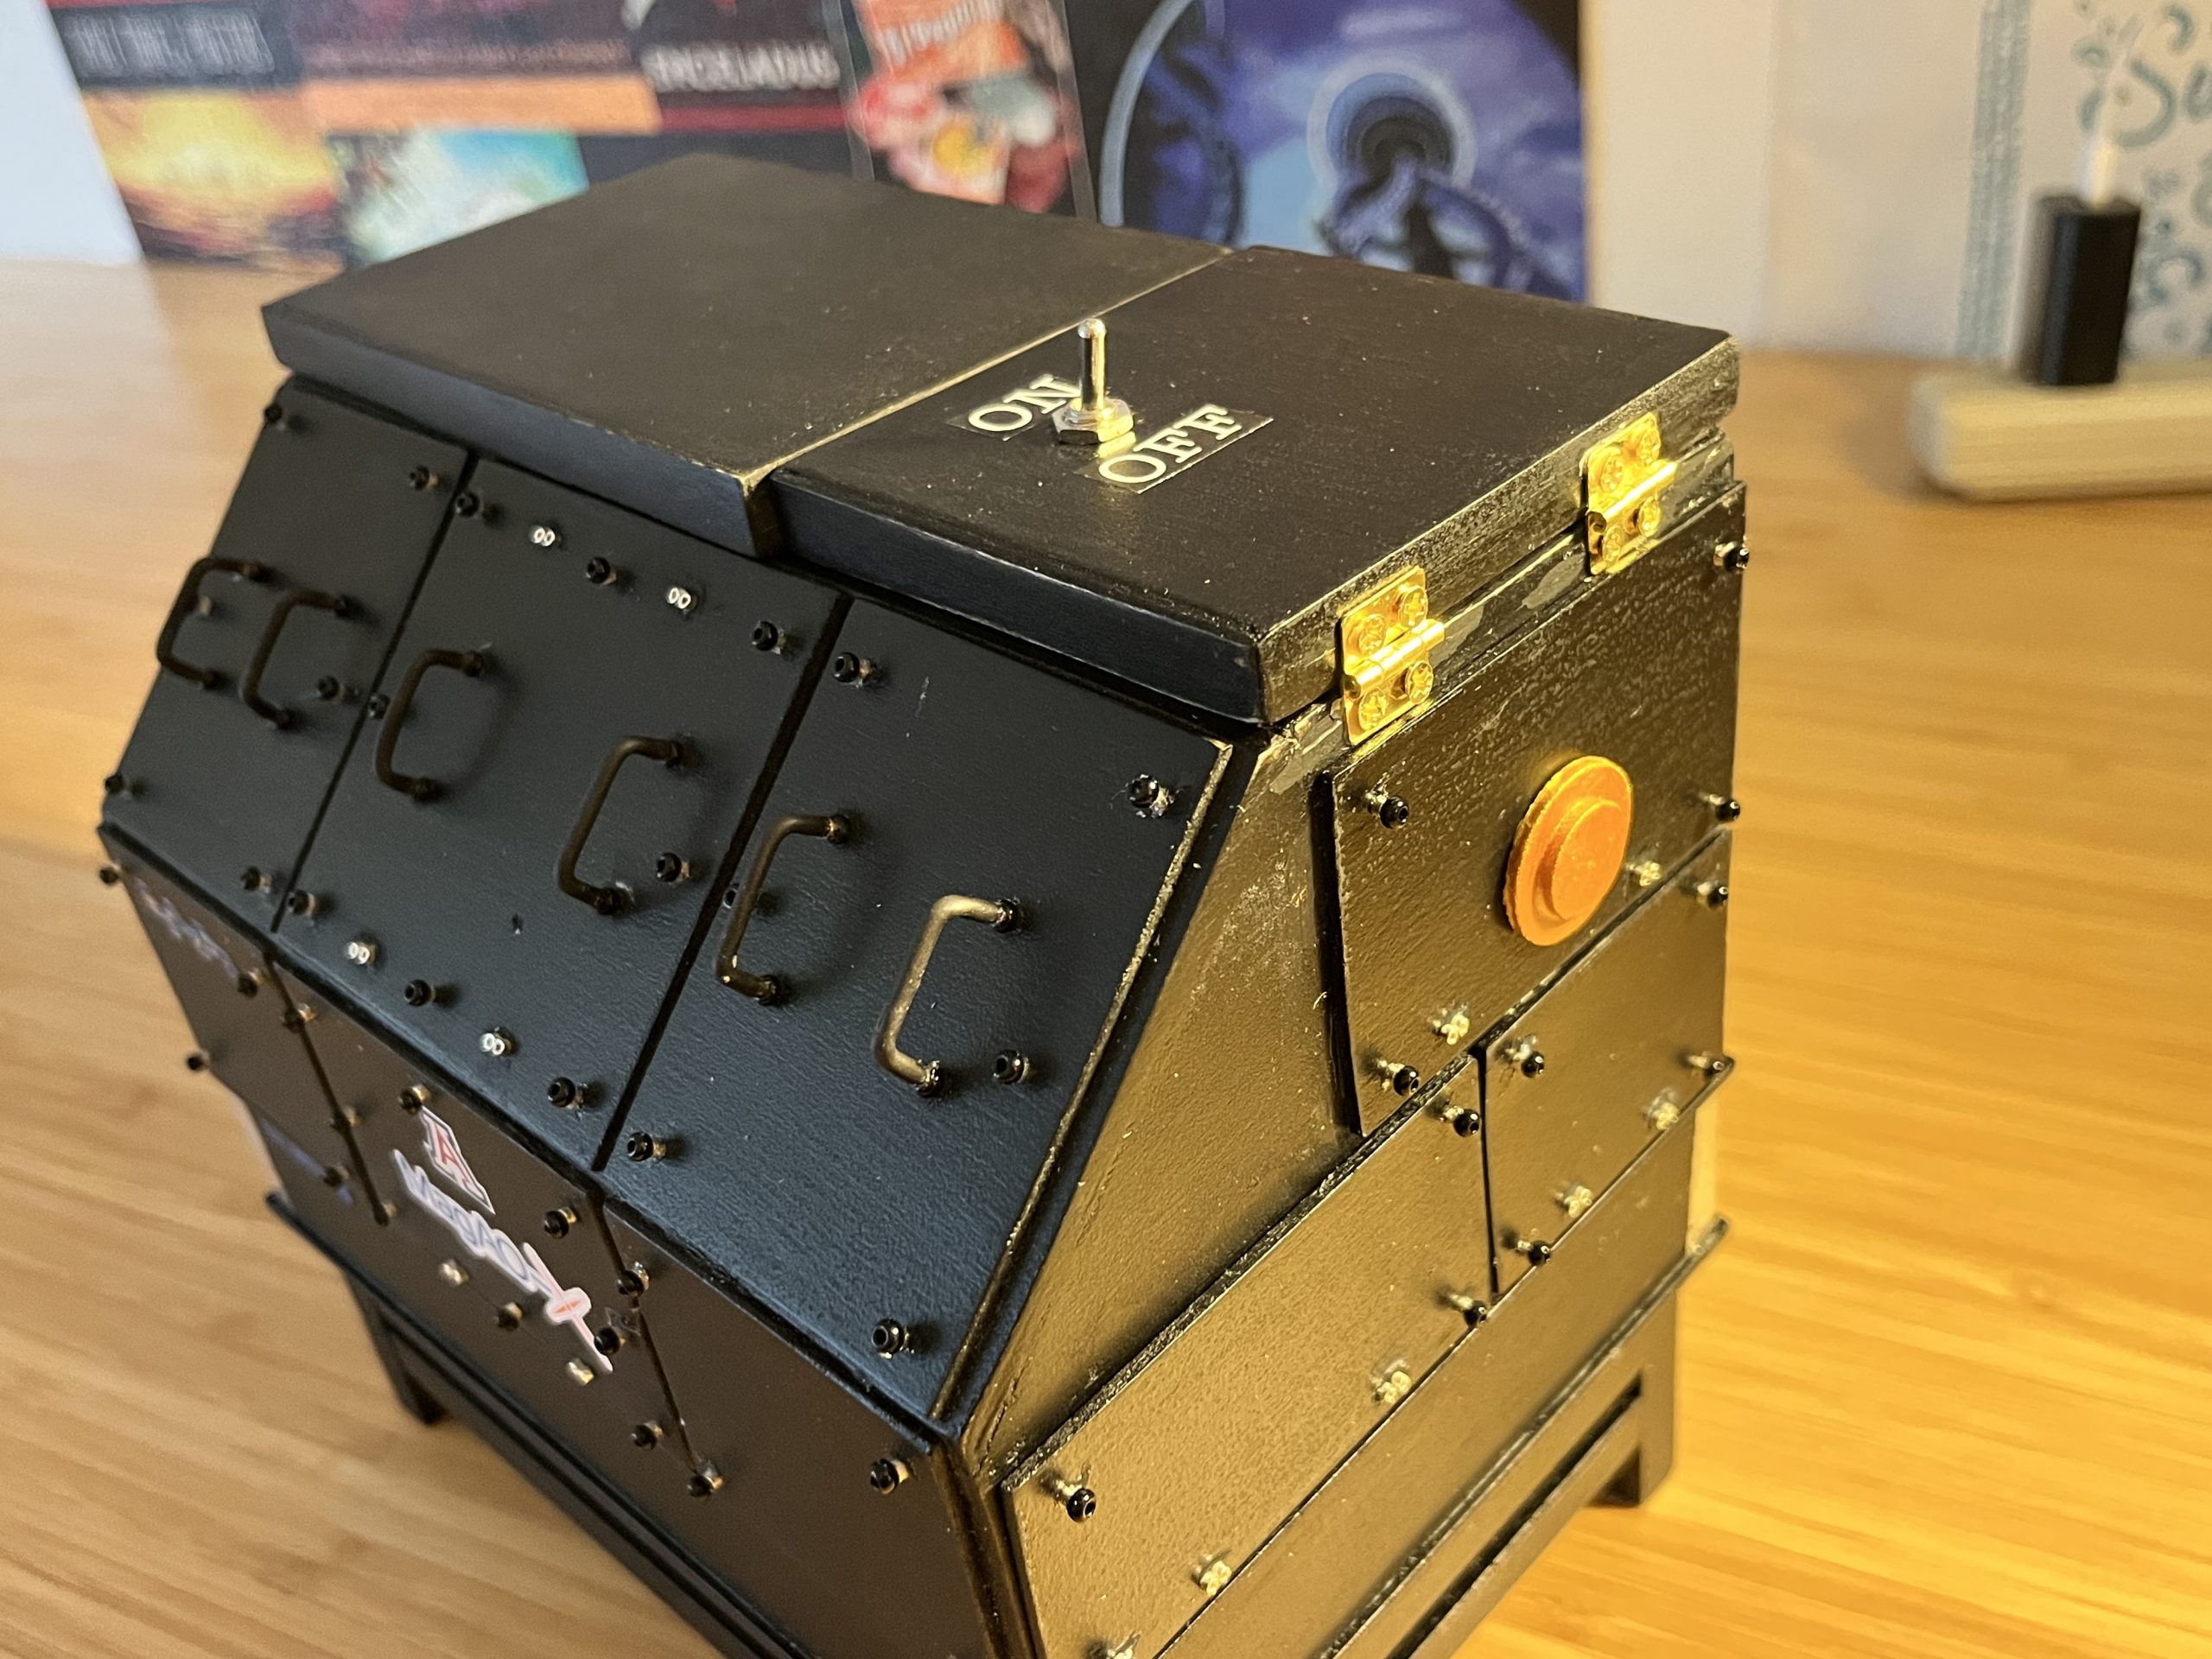
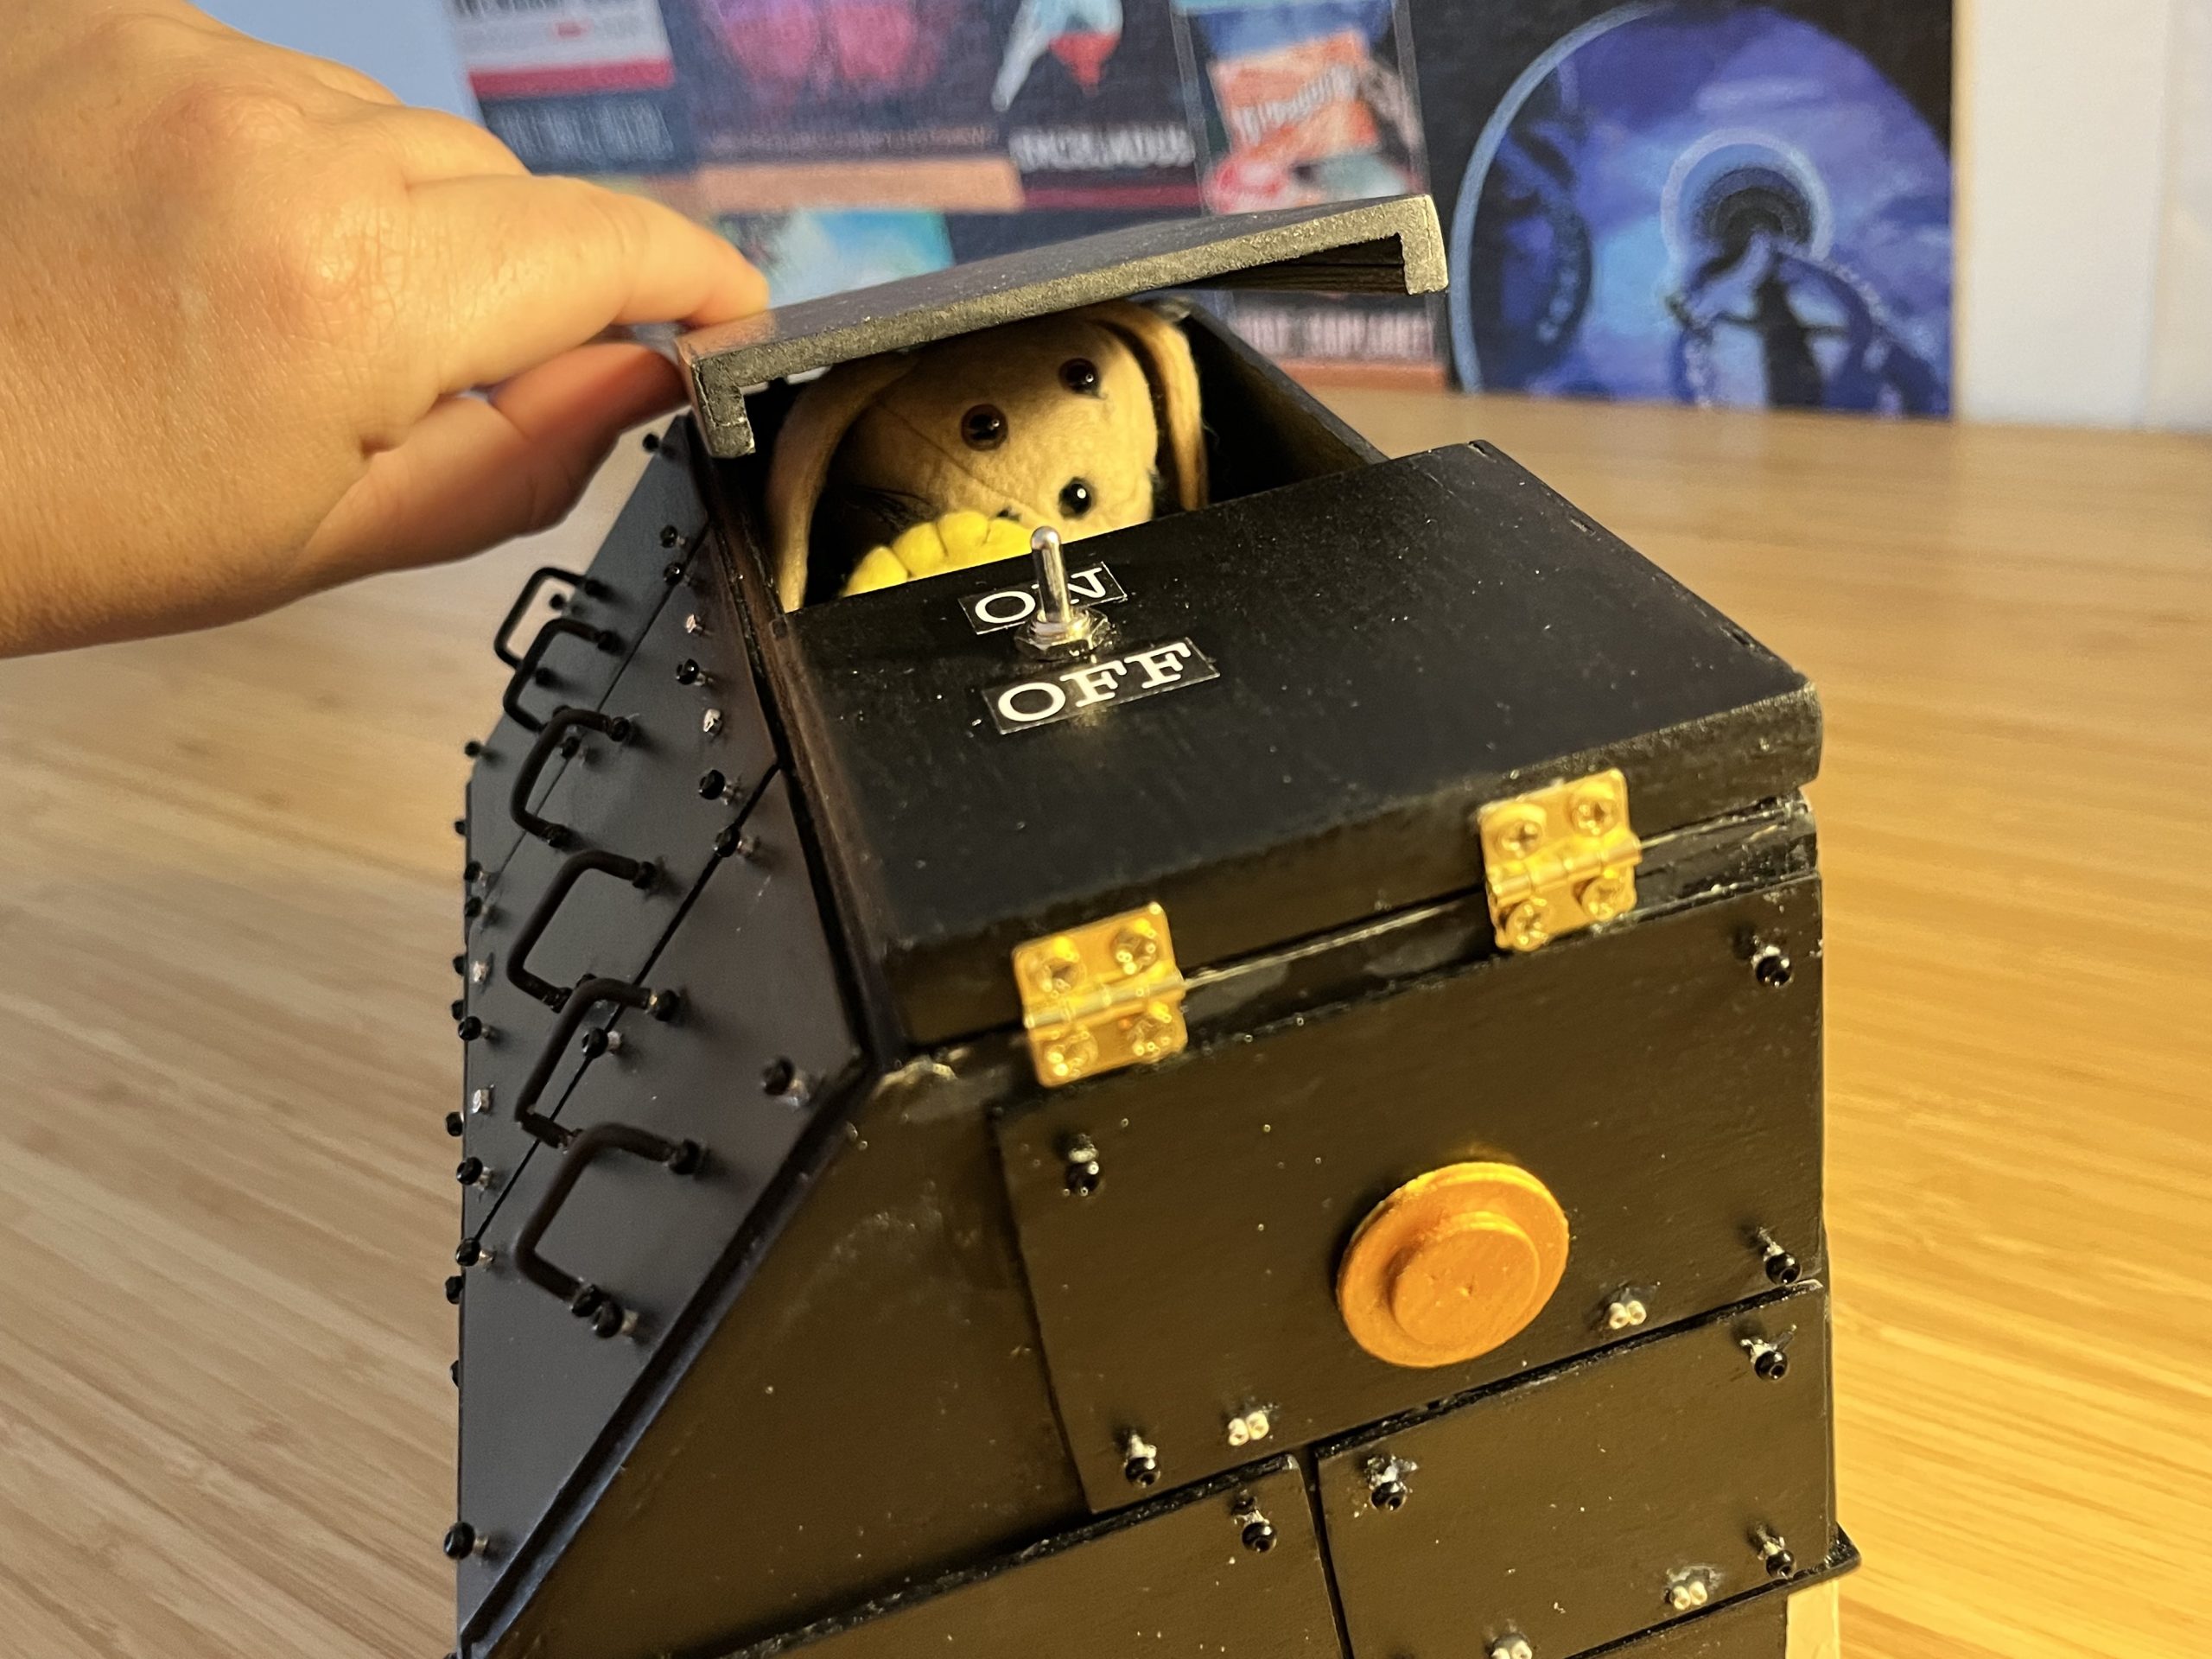
I’ll begin this post at the end with the final reveal. Behold, the MagAO-X useless box. Turn MagAO-X on and who is that turning it off?
Planning
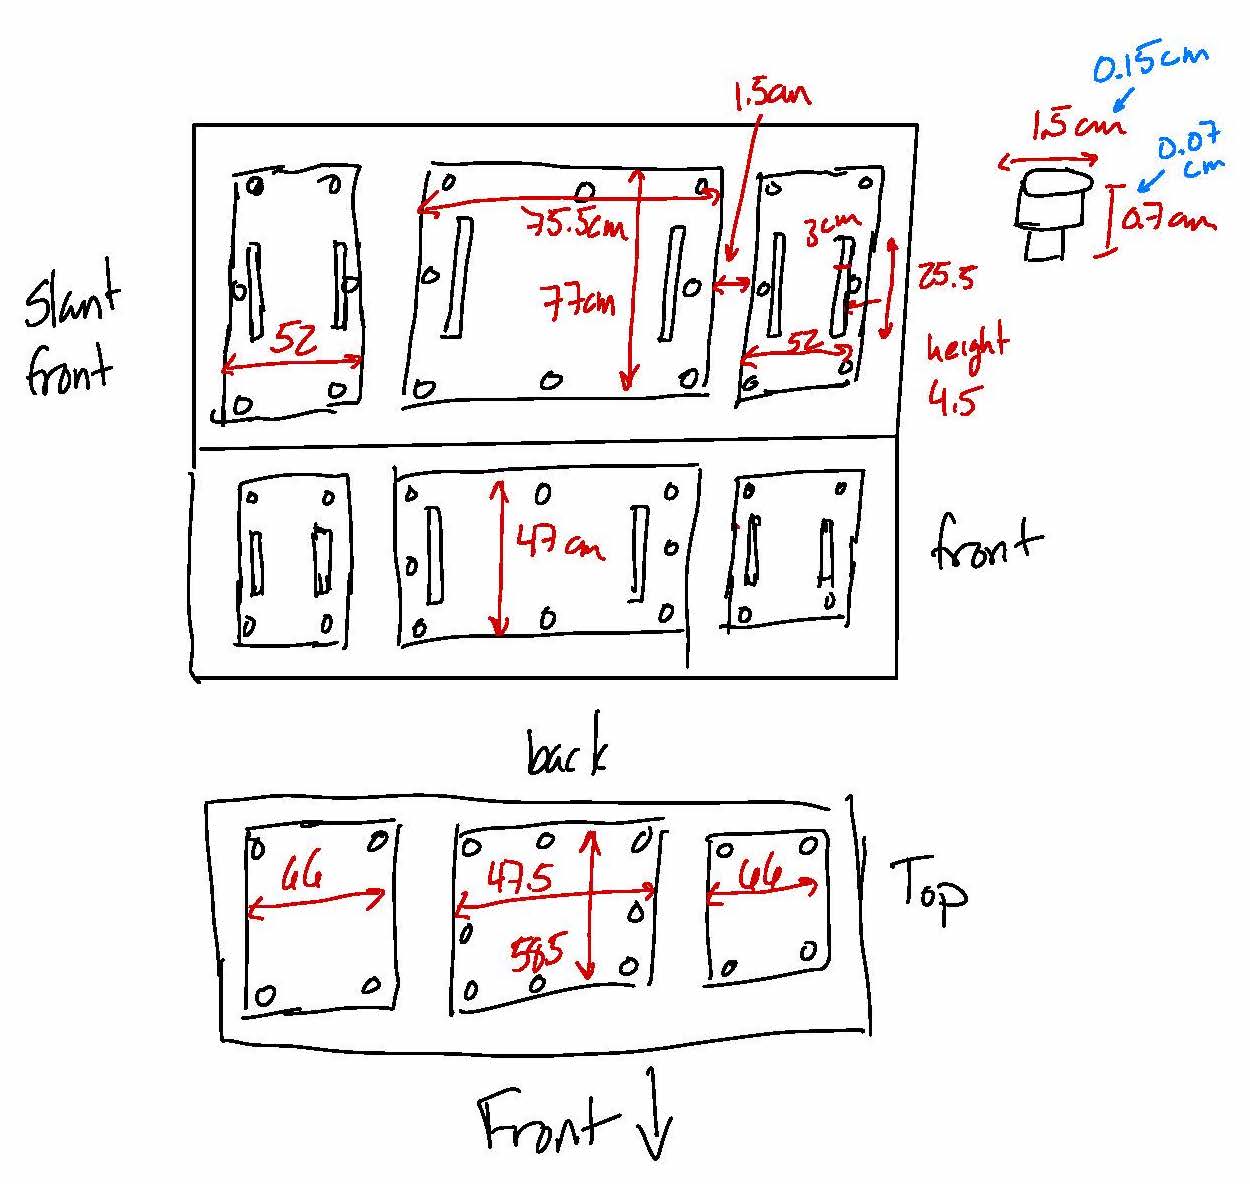
Here is the original sketch from my notebook. Except for the location of the switch it came together mostly as originally planned.
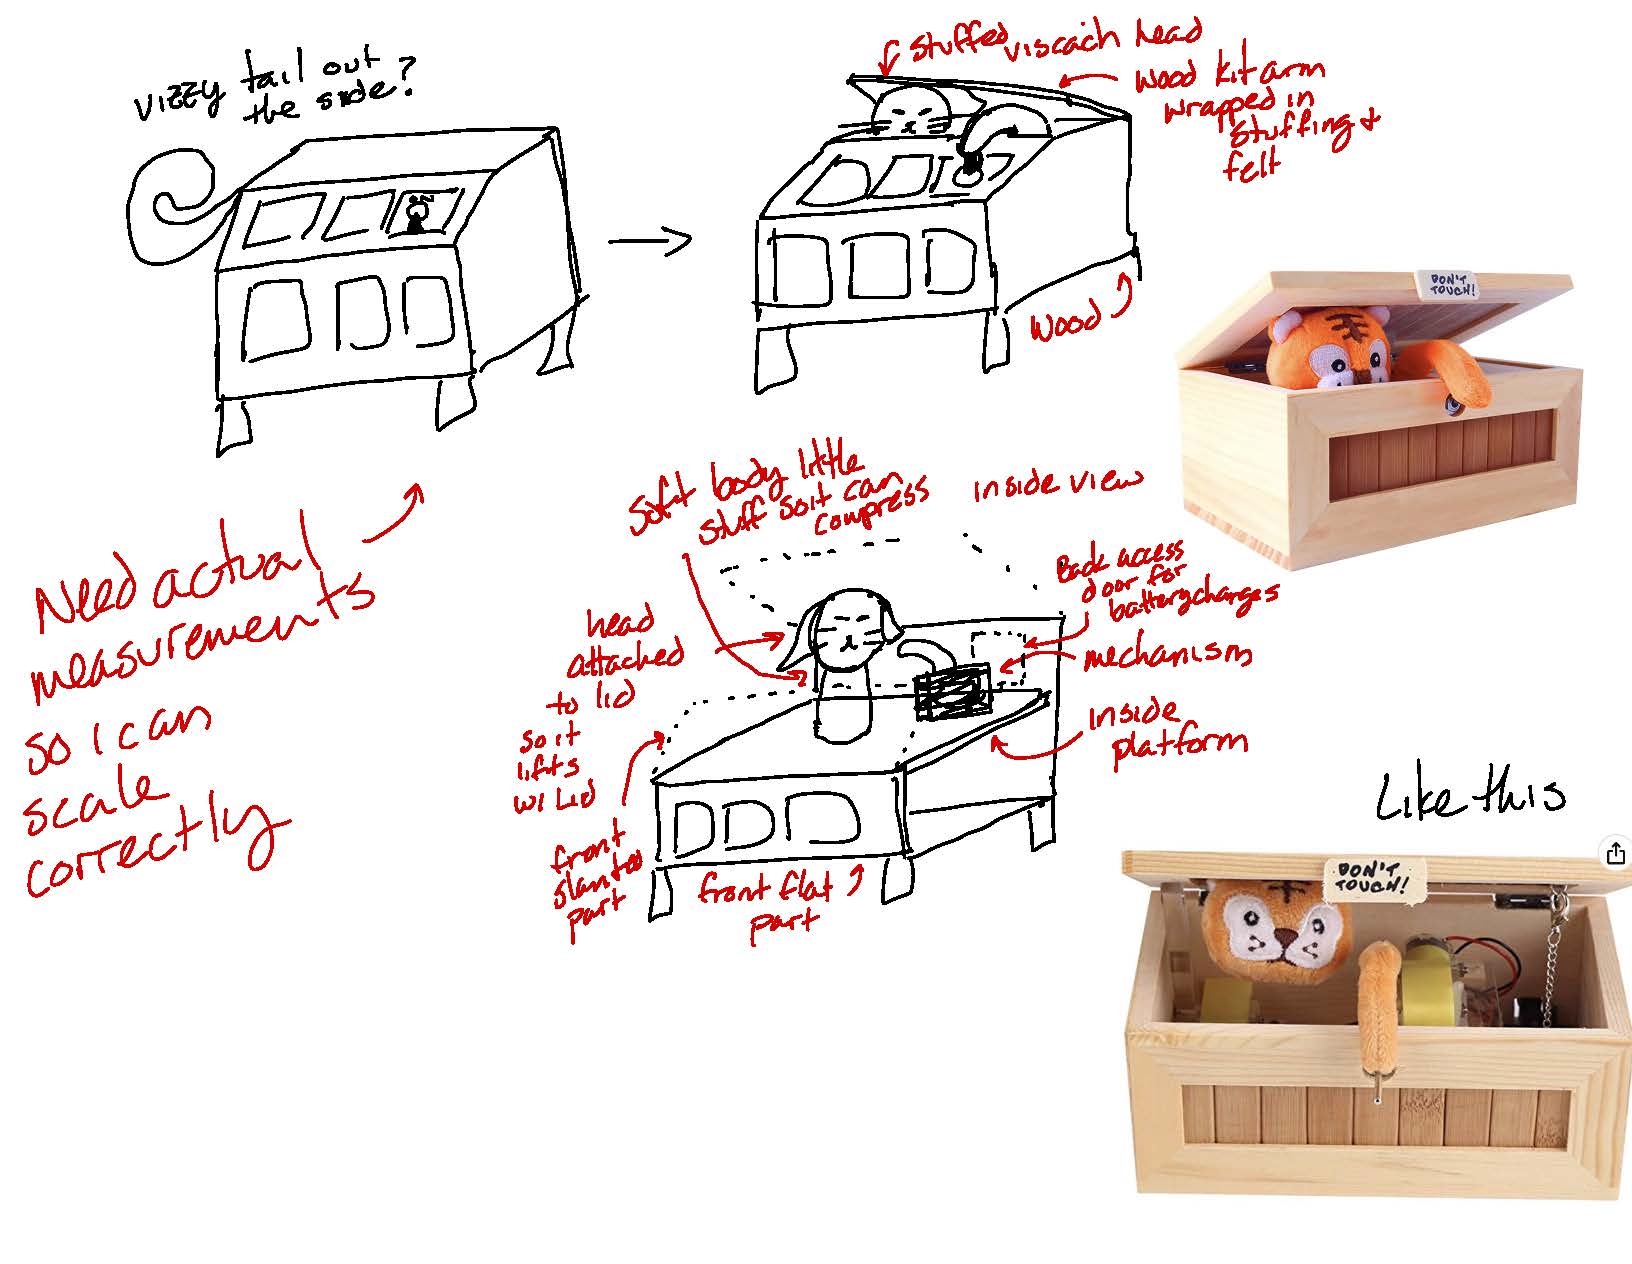
I took inspiration for the vizz from this little tiger version. For the mechanism I used the one from a build-it-yourself useless box kit.
Sebastiaan helped me break into the lab (jk I know the code!) and measure everything so it can be perfectly to scale.
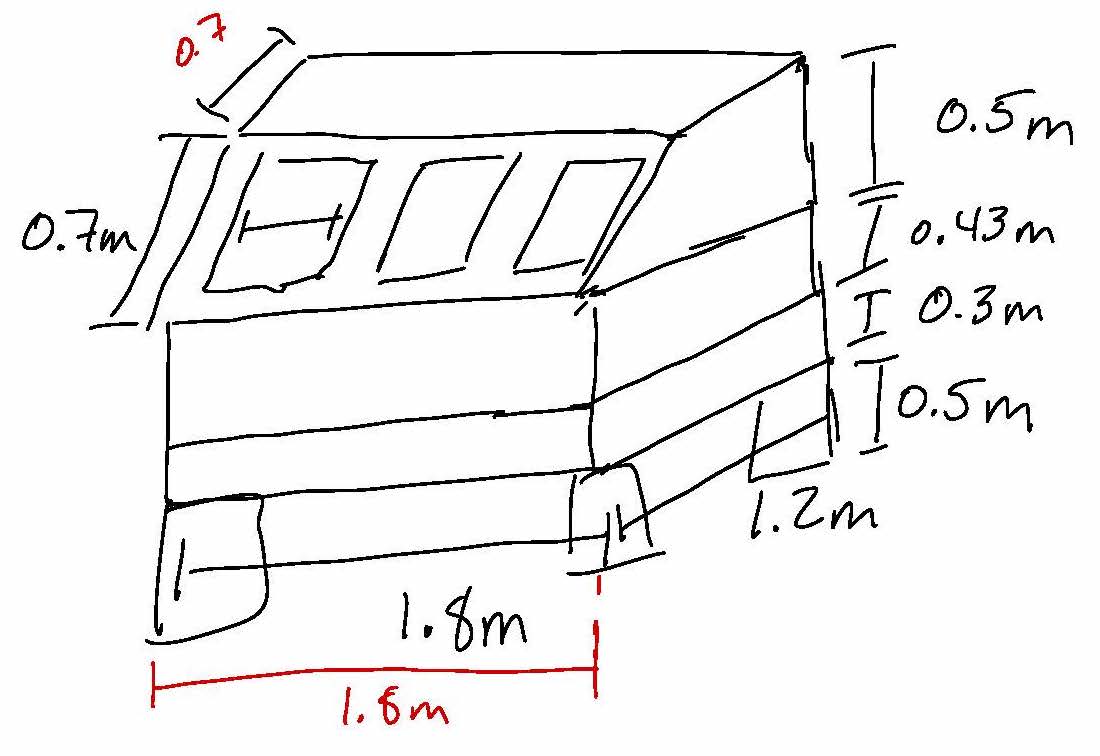
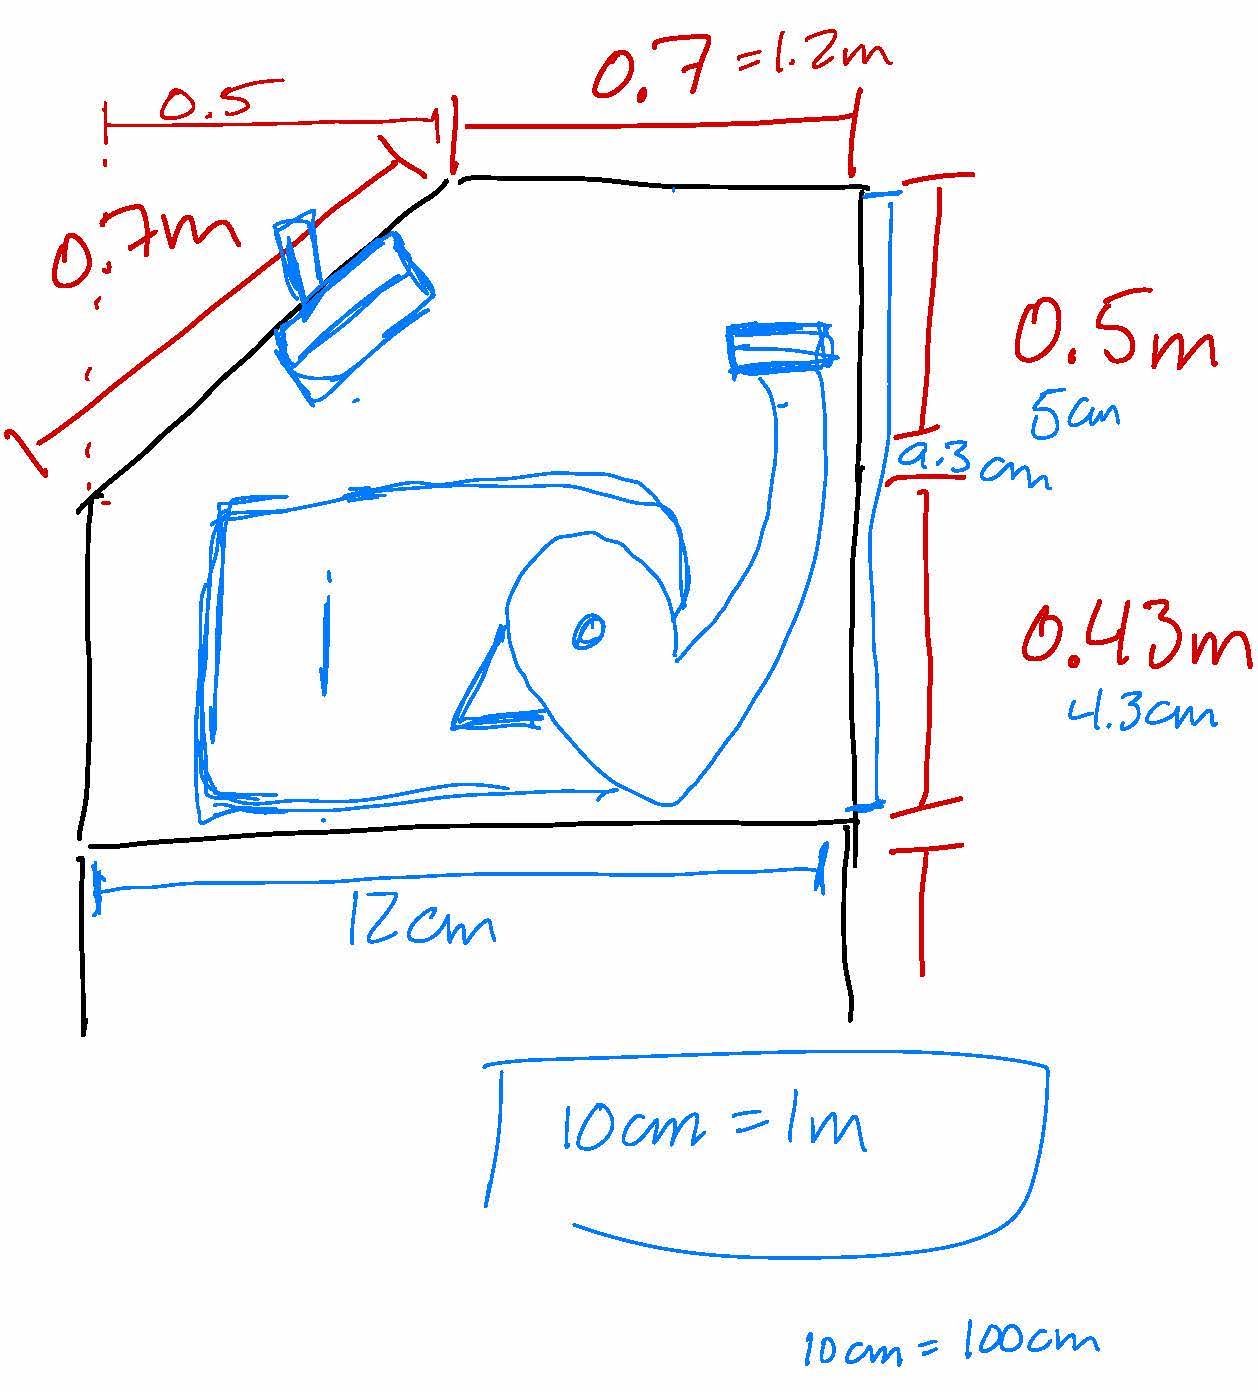
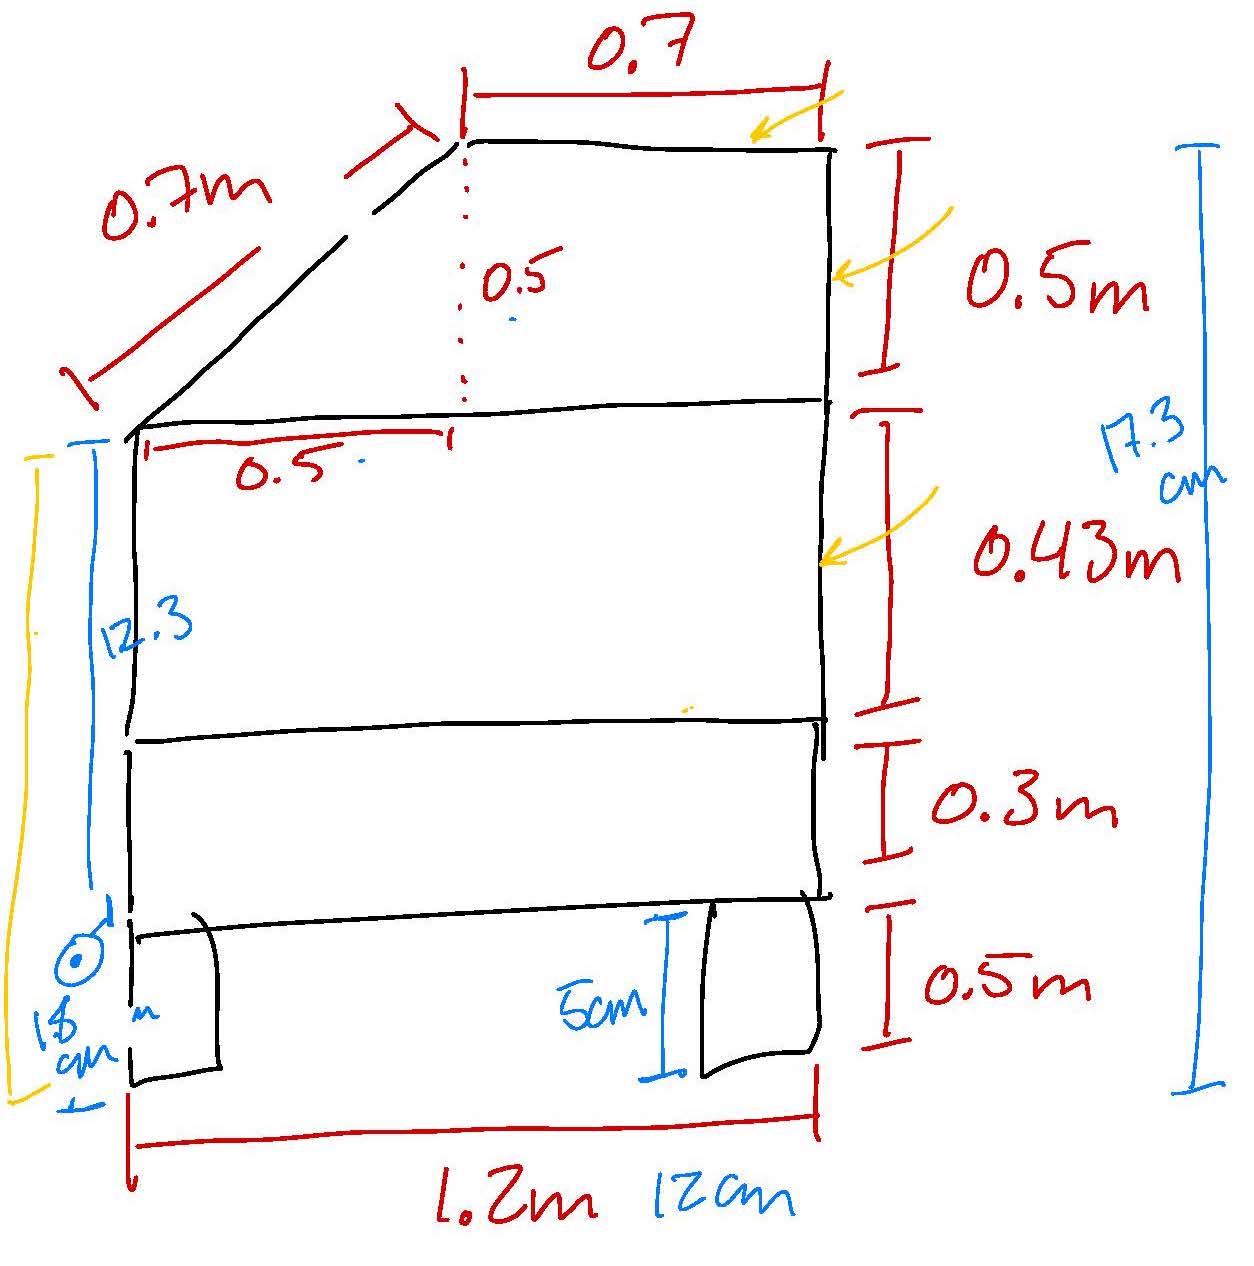
It is 1:10th scale.
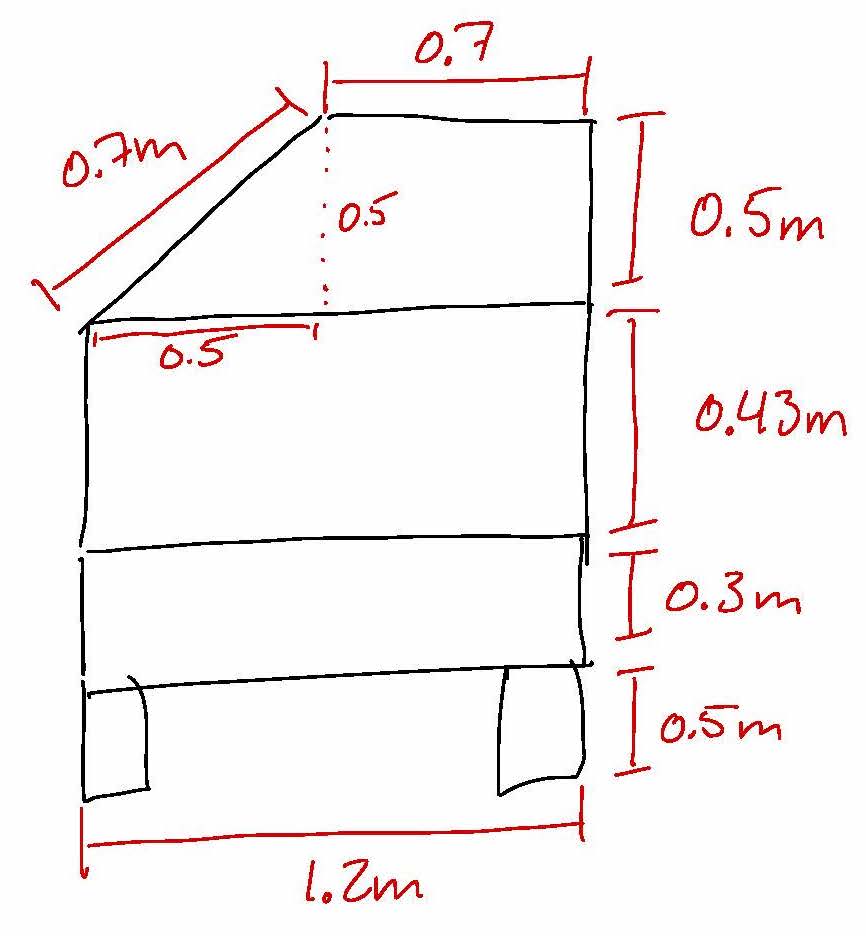
Design for the legs:

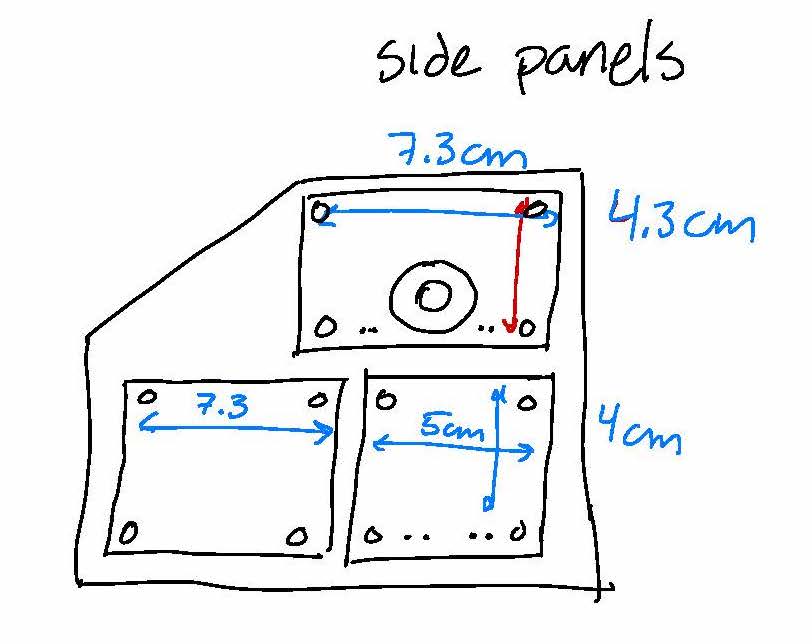
And panels:
Fabrication
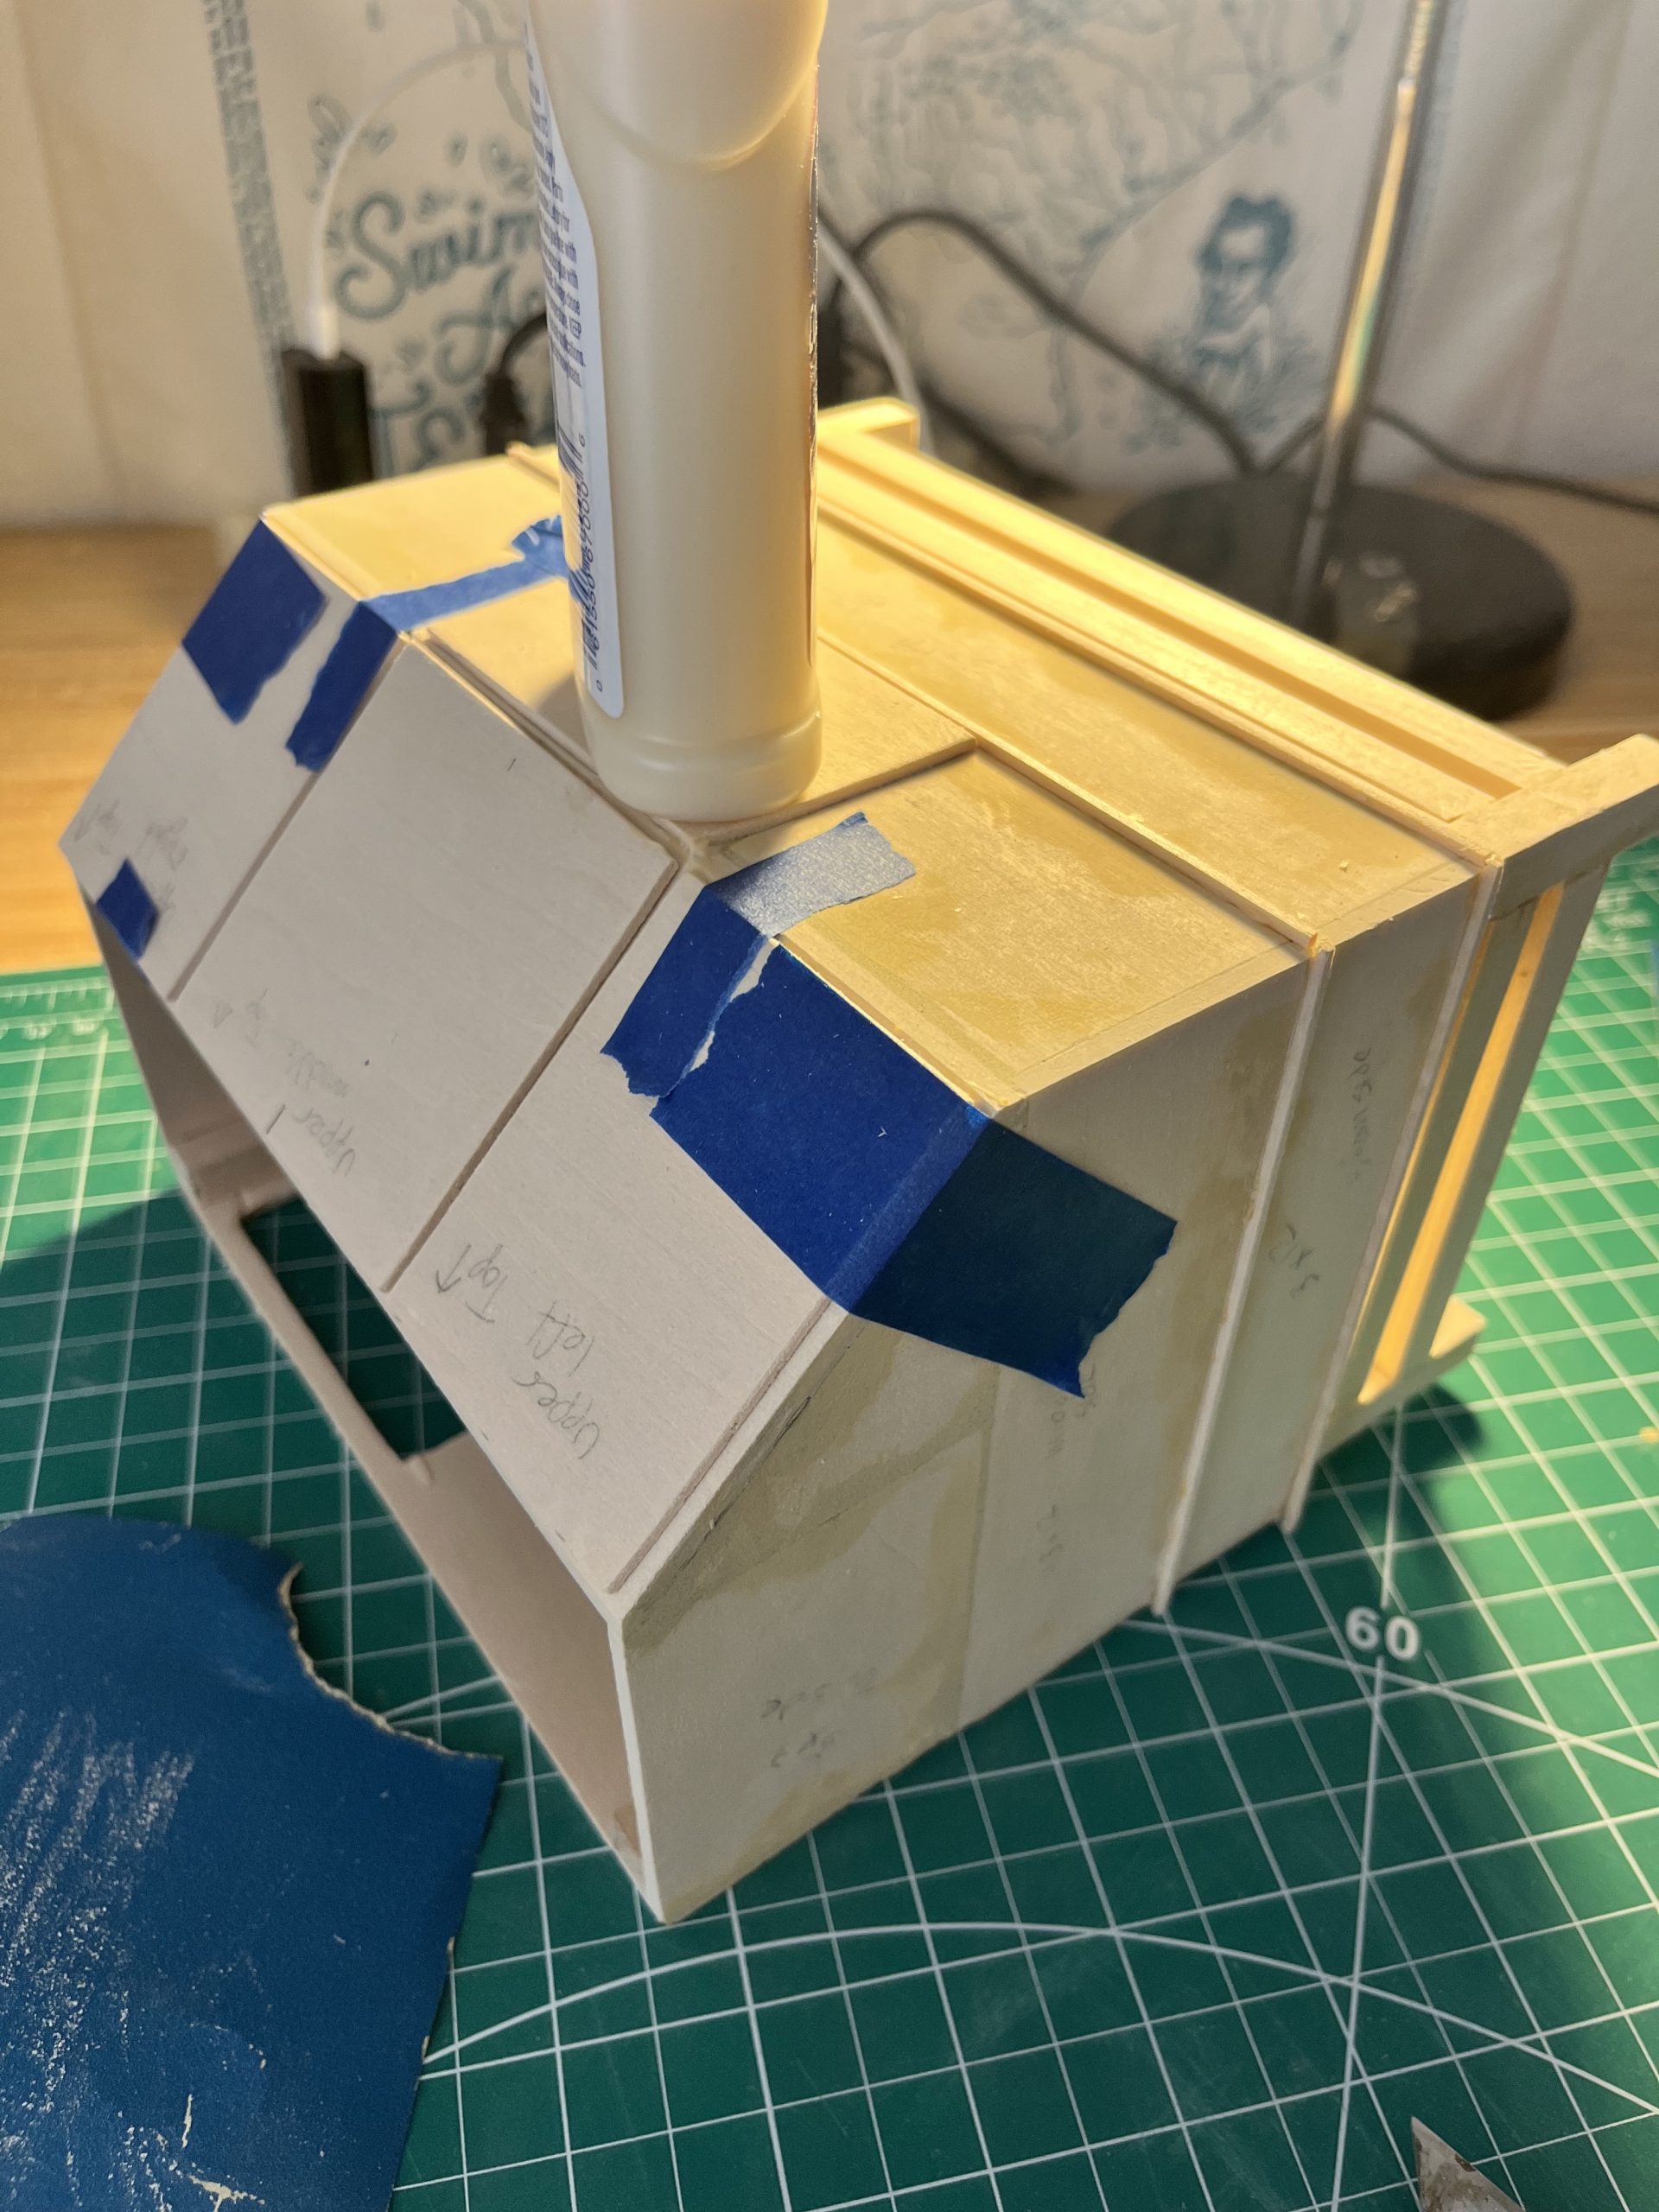
The box is made of wood panels and sticks you can get at any hobby store. I used a hobby knife the cut the panels and sticks, with lots of sanding to get them smooth. I didn’t get too many fabrication pics at this stage, which is a bummer. But once all the panels and pieces were glued I used wood filler to fill joints and places where the wood wasn’t flush. I bought a hand sander from Harbor Freight ($10! Bless Harbor Freight) and sanded everything smooth and flush.
I then glued on the wood panels and the little wood stick pieces around the top of what is supposed to look like the air table. The thinner panels tended to curl with the moisture from the wood glue so here I am using the glue to hold it down while drying.
One thing I wish I had pics of was that the DIY kit mechanism required me to buy a soldering iron and learn how to solder!
Because of the design of the DIY box kit, putting the switch on the front panels as originally planned didn’t work, because the gear box would have to positioned in such a way that the lid wouldn’t sit down all the way. So I improvised by cutting the lid and placing the switch so that it opened to the side. Here is the video of the first operational test of the mechanism.
You can’t see it here (but you can in later pics), but I put little hinges on the lid with the switch to enable opening it, and I used the hinges from the DIY kit for the side of the lid that needs to open. I also cut a door out of the back panel to enable changing the batteries.
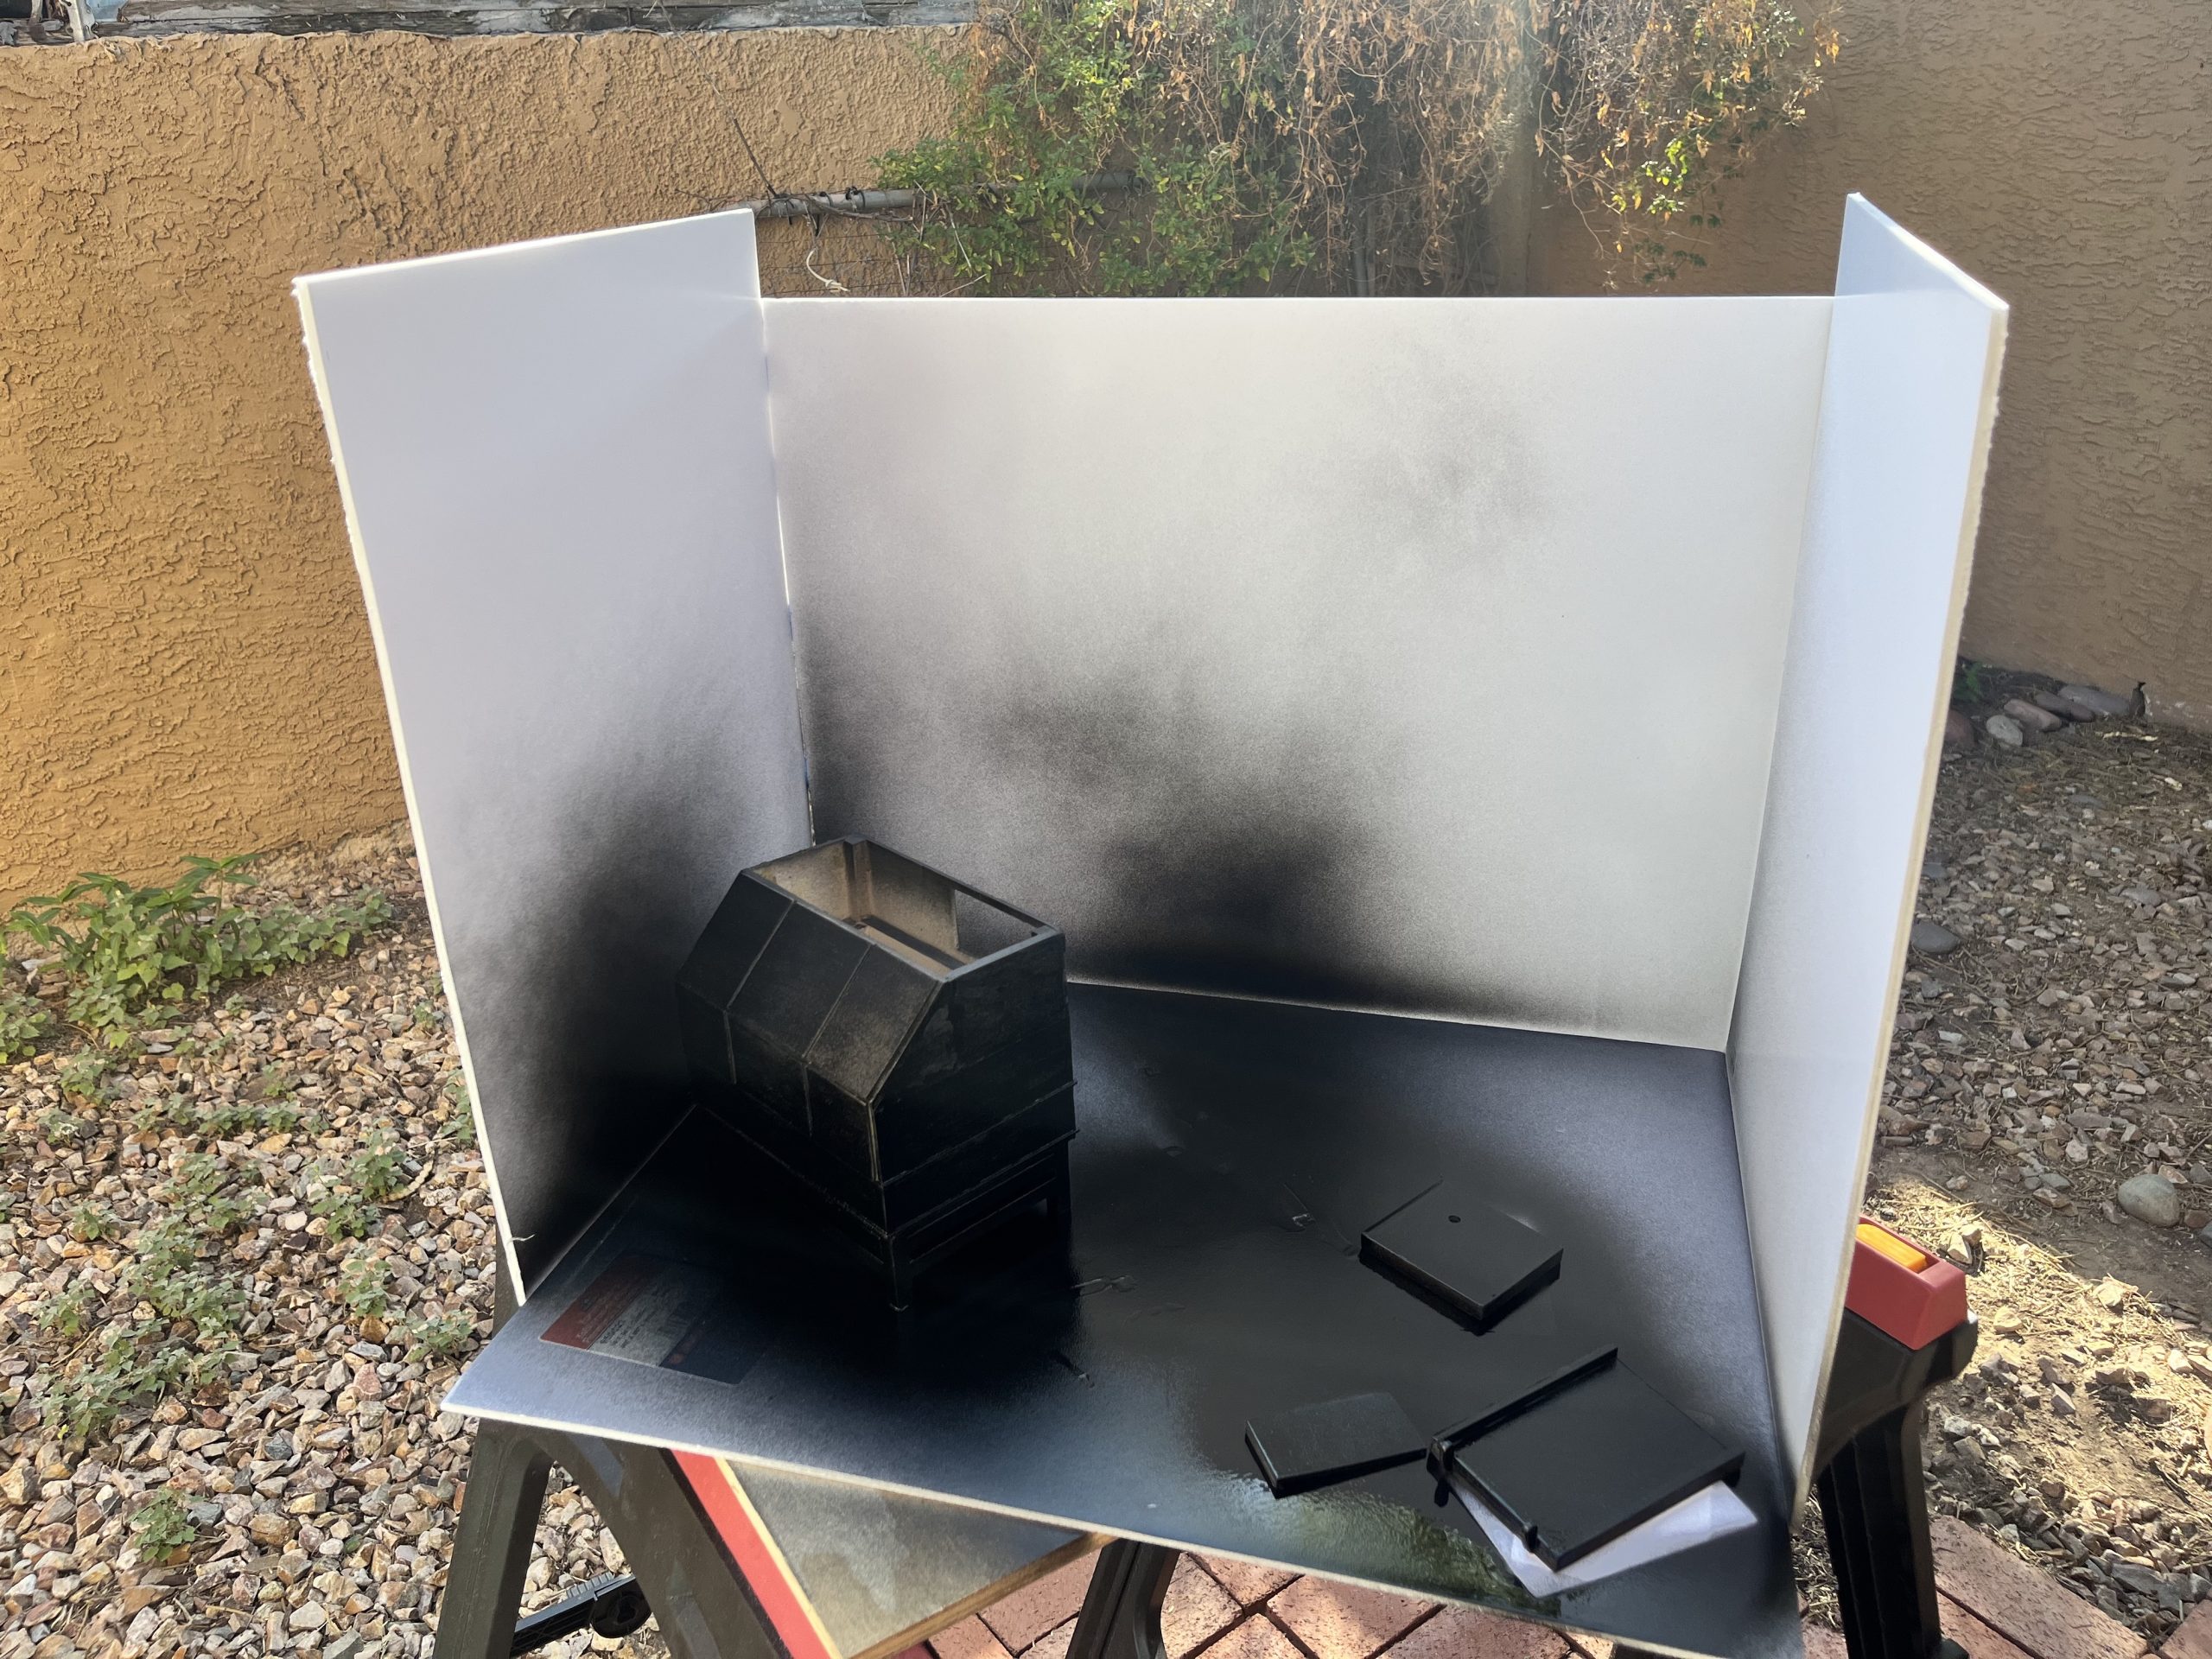
I then set up a makeshift spray booth in my back yard. I removed the mechanism and gave it many coats of black, sanding in between to make the wood soft, and finished with a sealer.
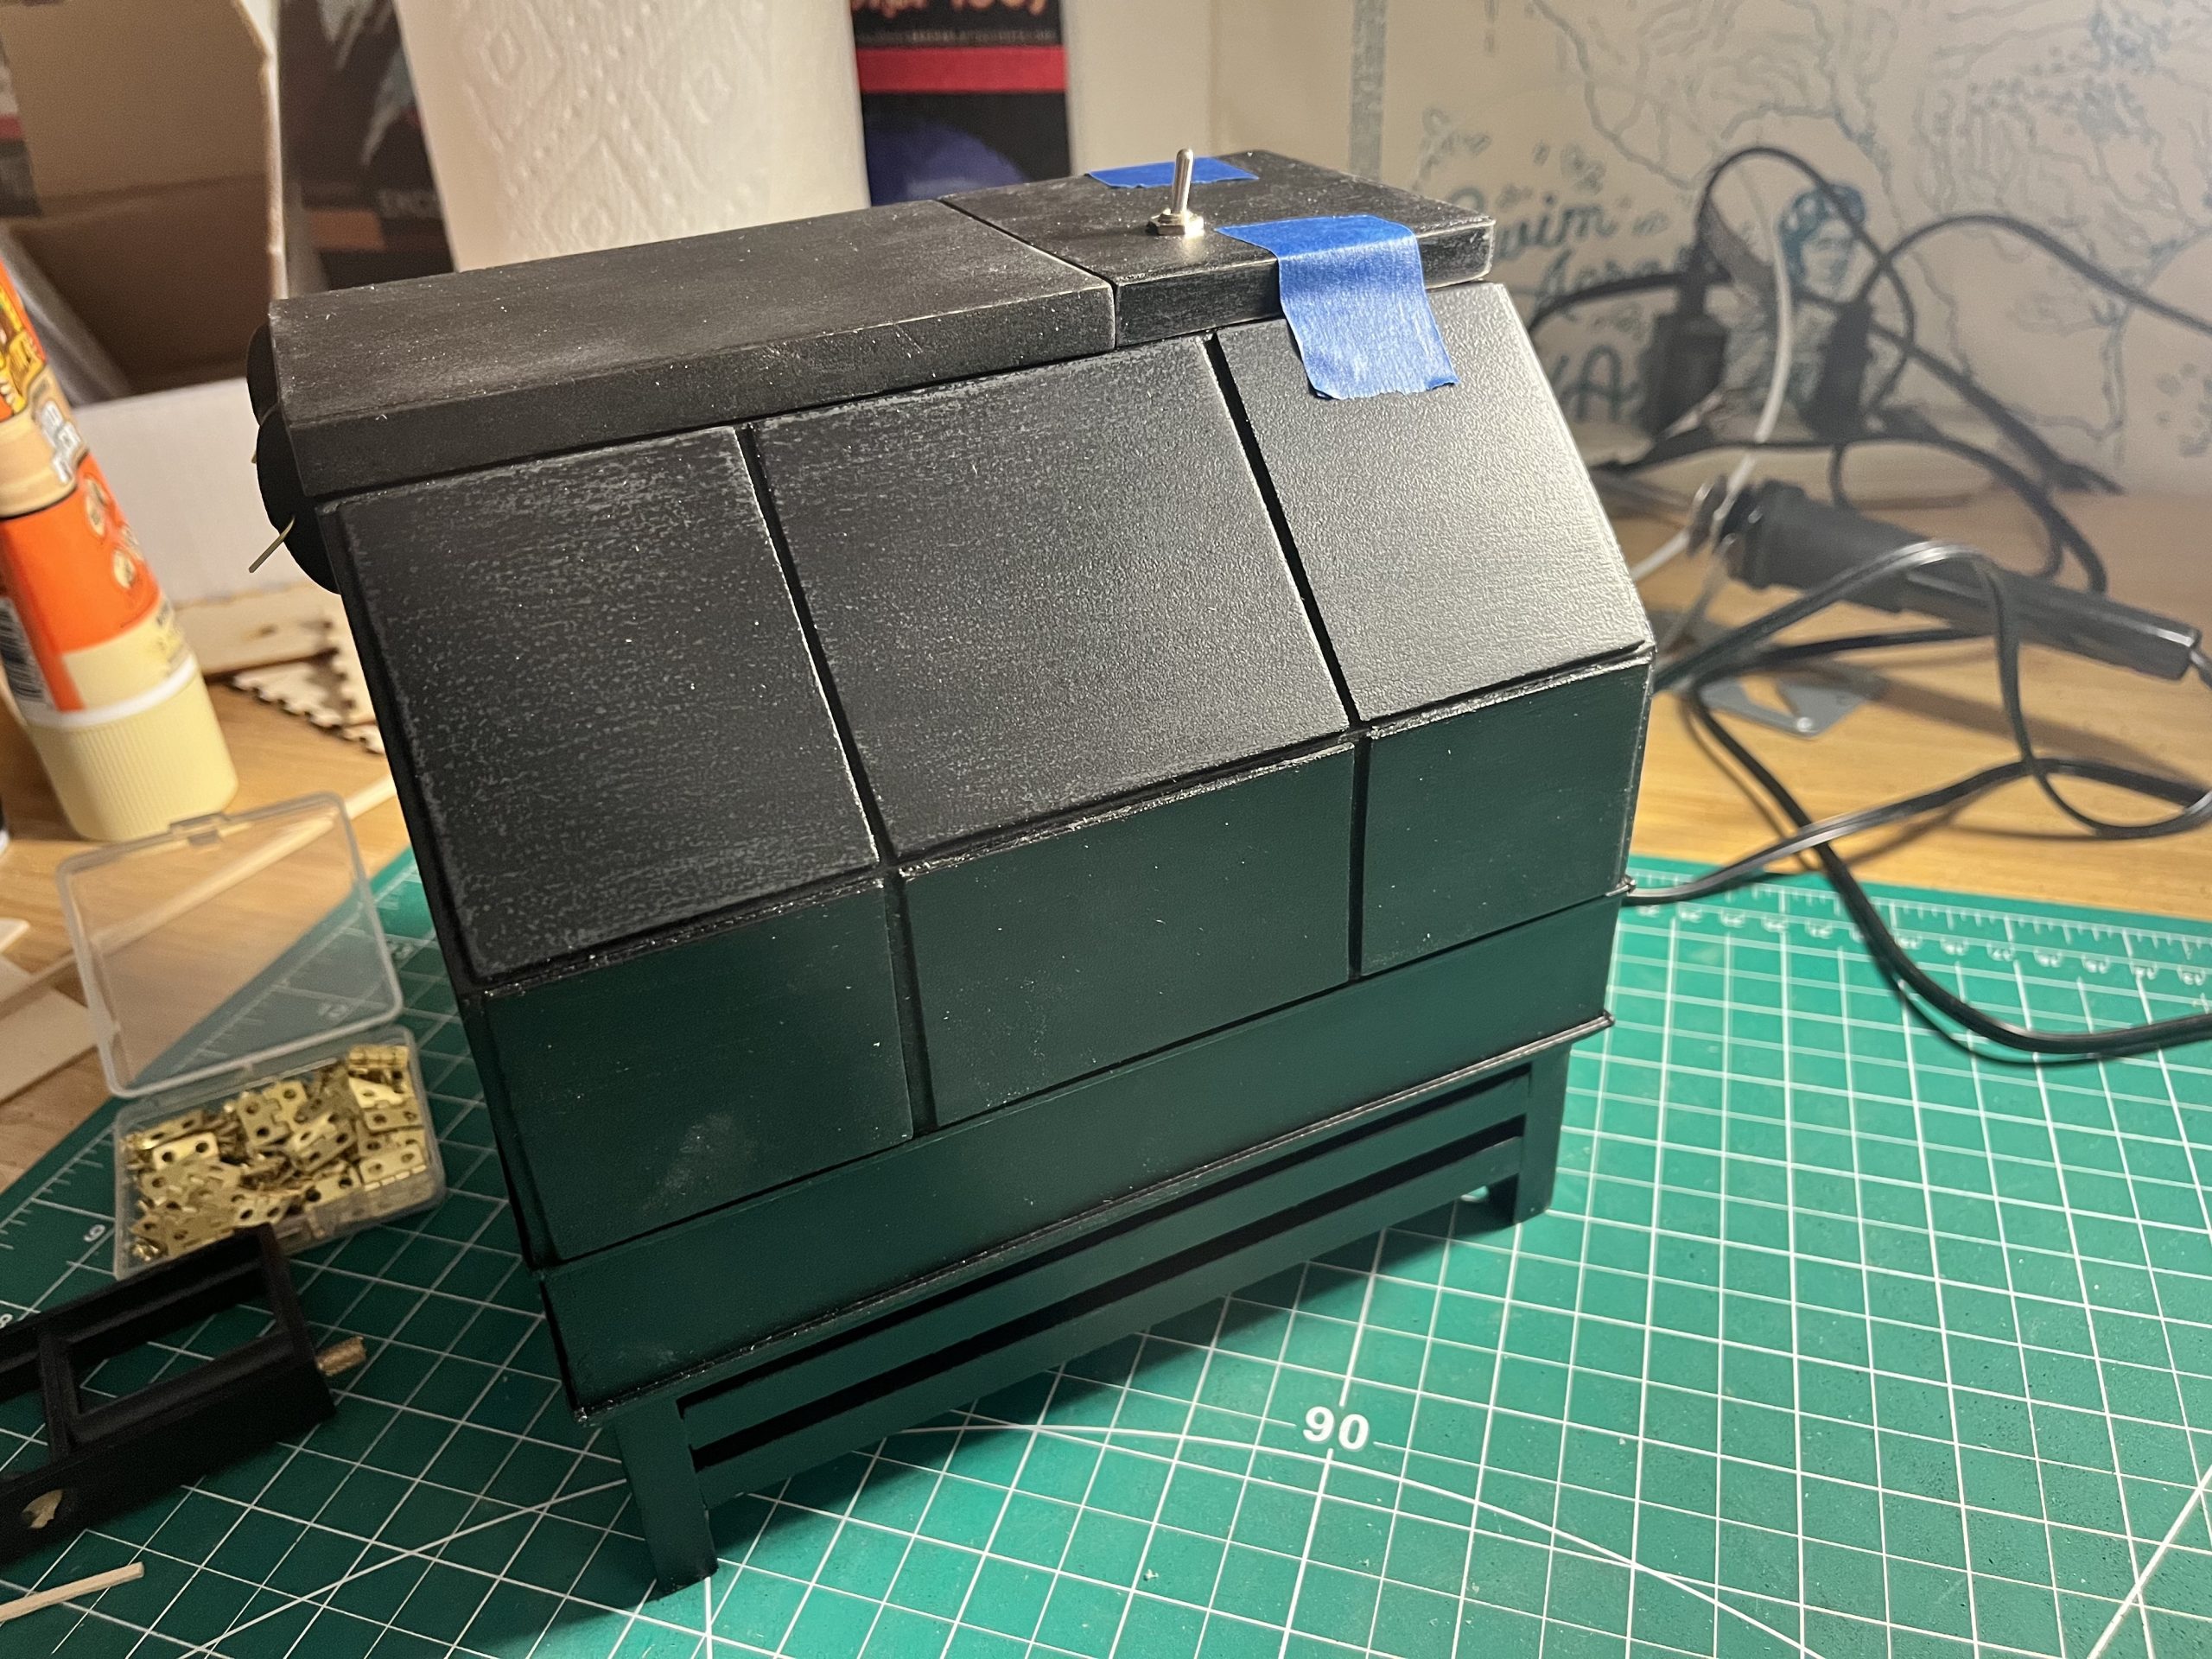
Here is the assembled painted product. Notice the box of tiny gold hinges and the brand new soldering iron in the background!
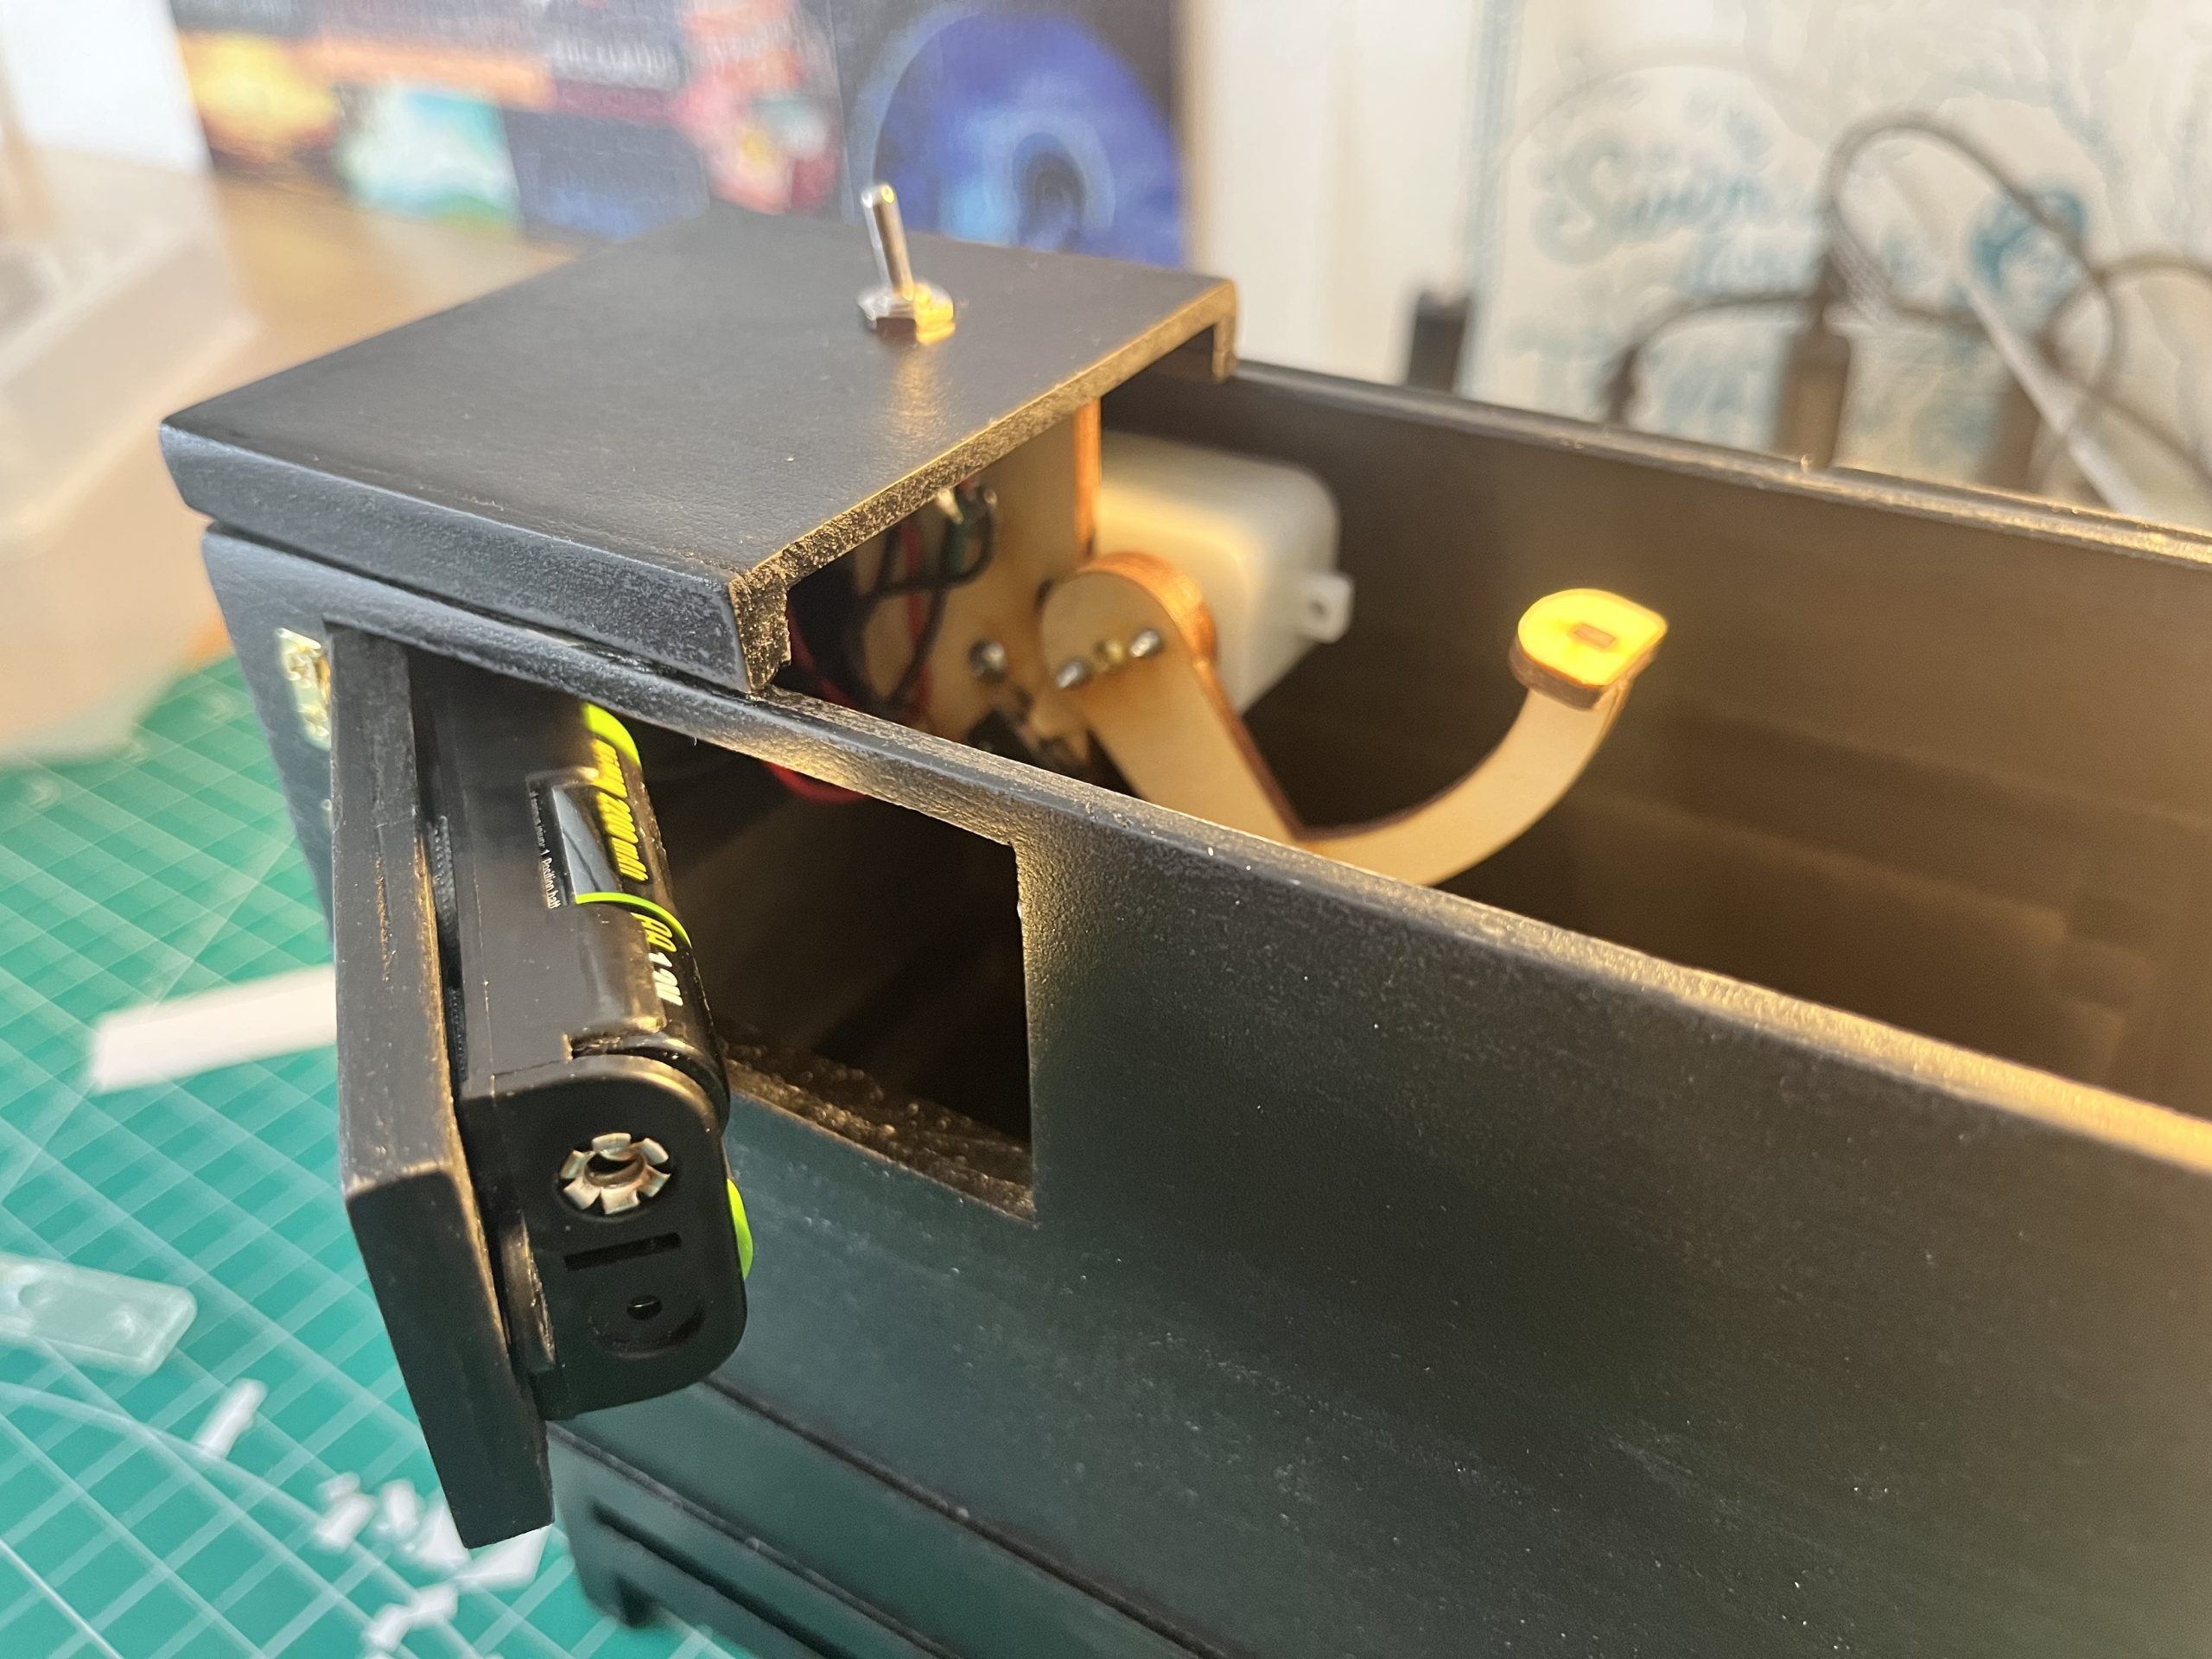
Here is the mechanism from the DIY box kit. It’s mounted the bottom of the lid so that it rests down flat when not on, then pushes up the other side of the lid when turned on. There is a little reed switch behind the arm which opens the circuit, and a little wood protrusion from the back of the arm which depresses it. When the switch is flipped on, the current turns the motor to raise the arm up, the protrusion releases the reed switch. When the arm flips the switch, the current reverses and brings the arm back down until the protrusion depresses the reed switch again and breaks the circuit.
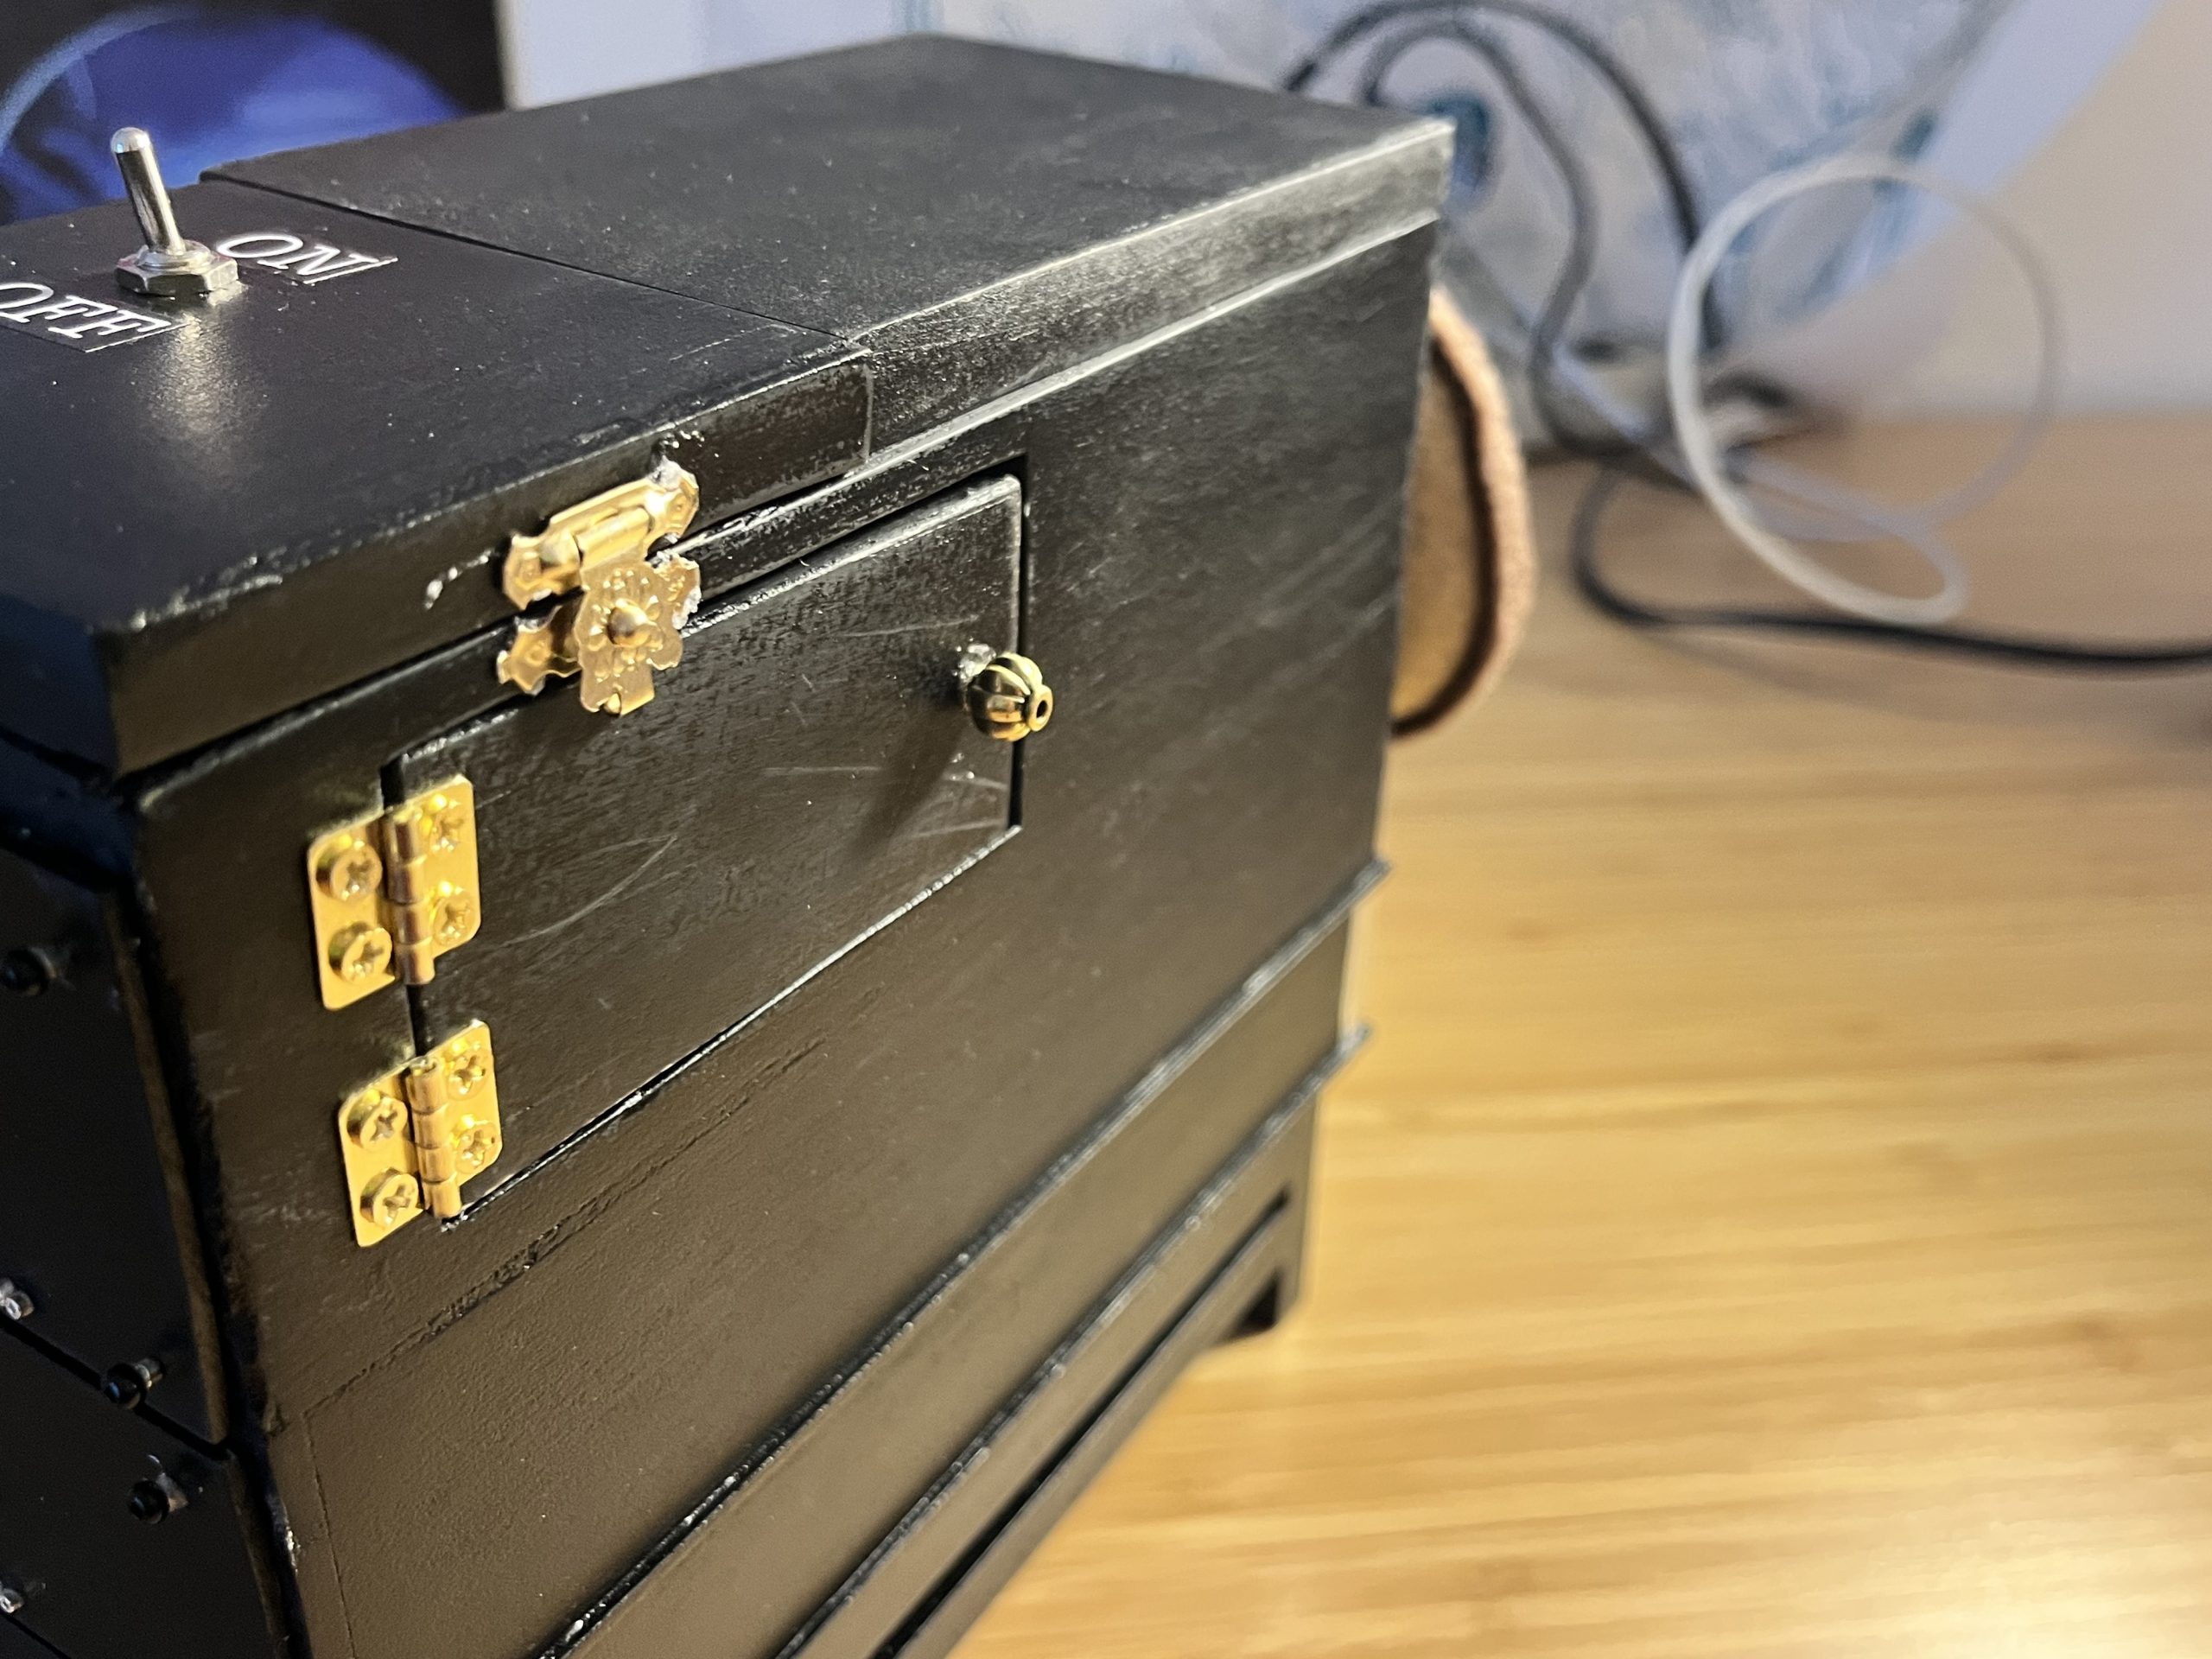
Here you can also see the battery door. I mounted the battery pack on the door so it’s easy to replace the batteries. I also put a fancy bead on the door as a fancy door handle, and a latch to hold the switch lid.
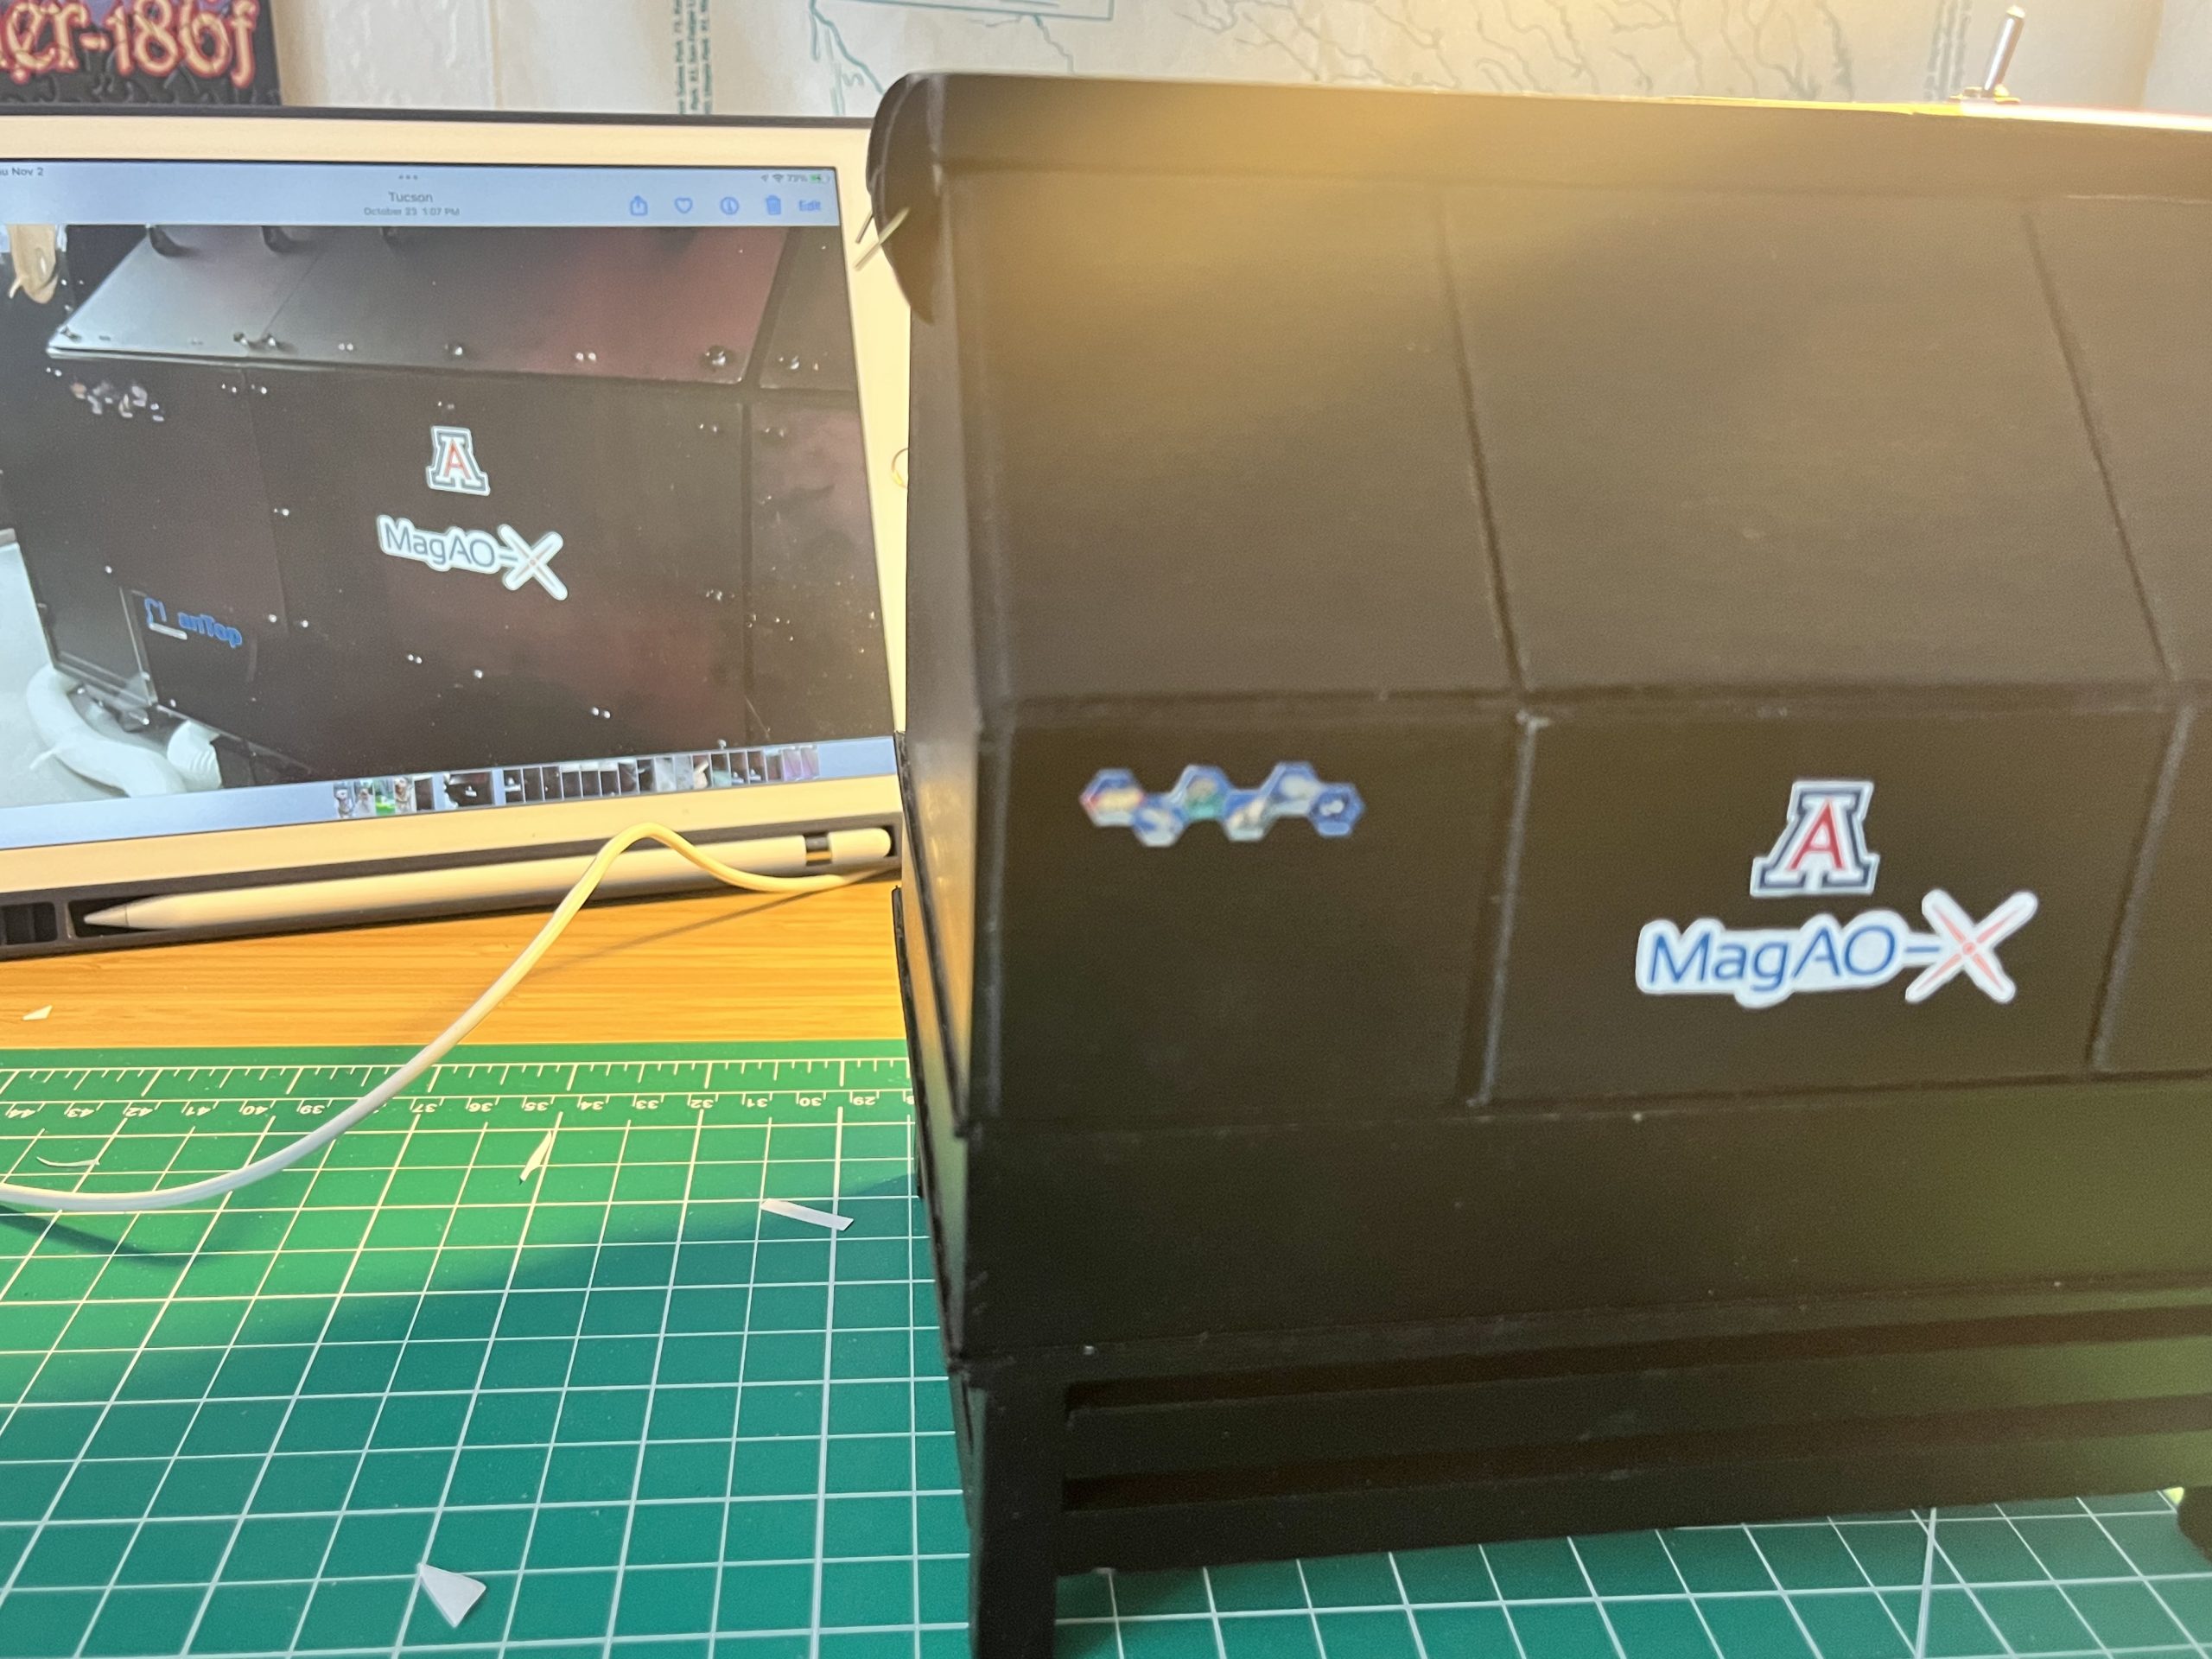
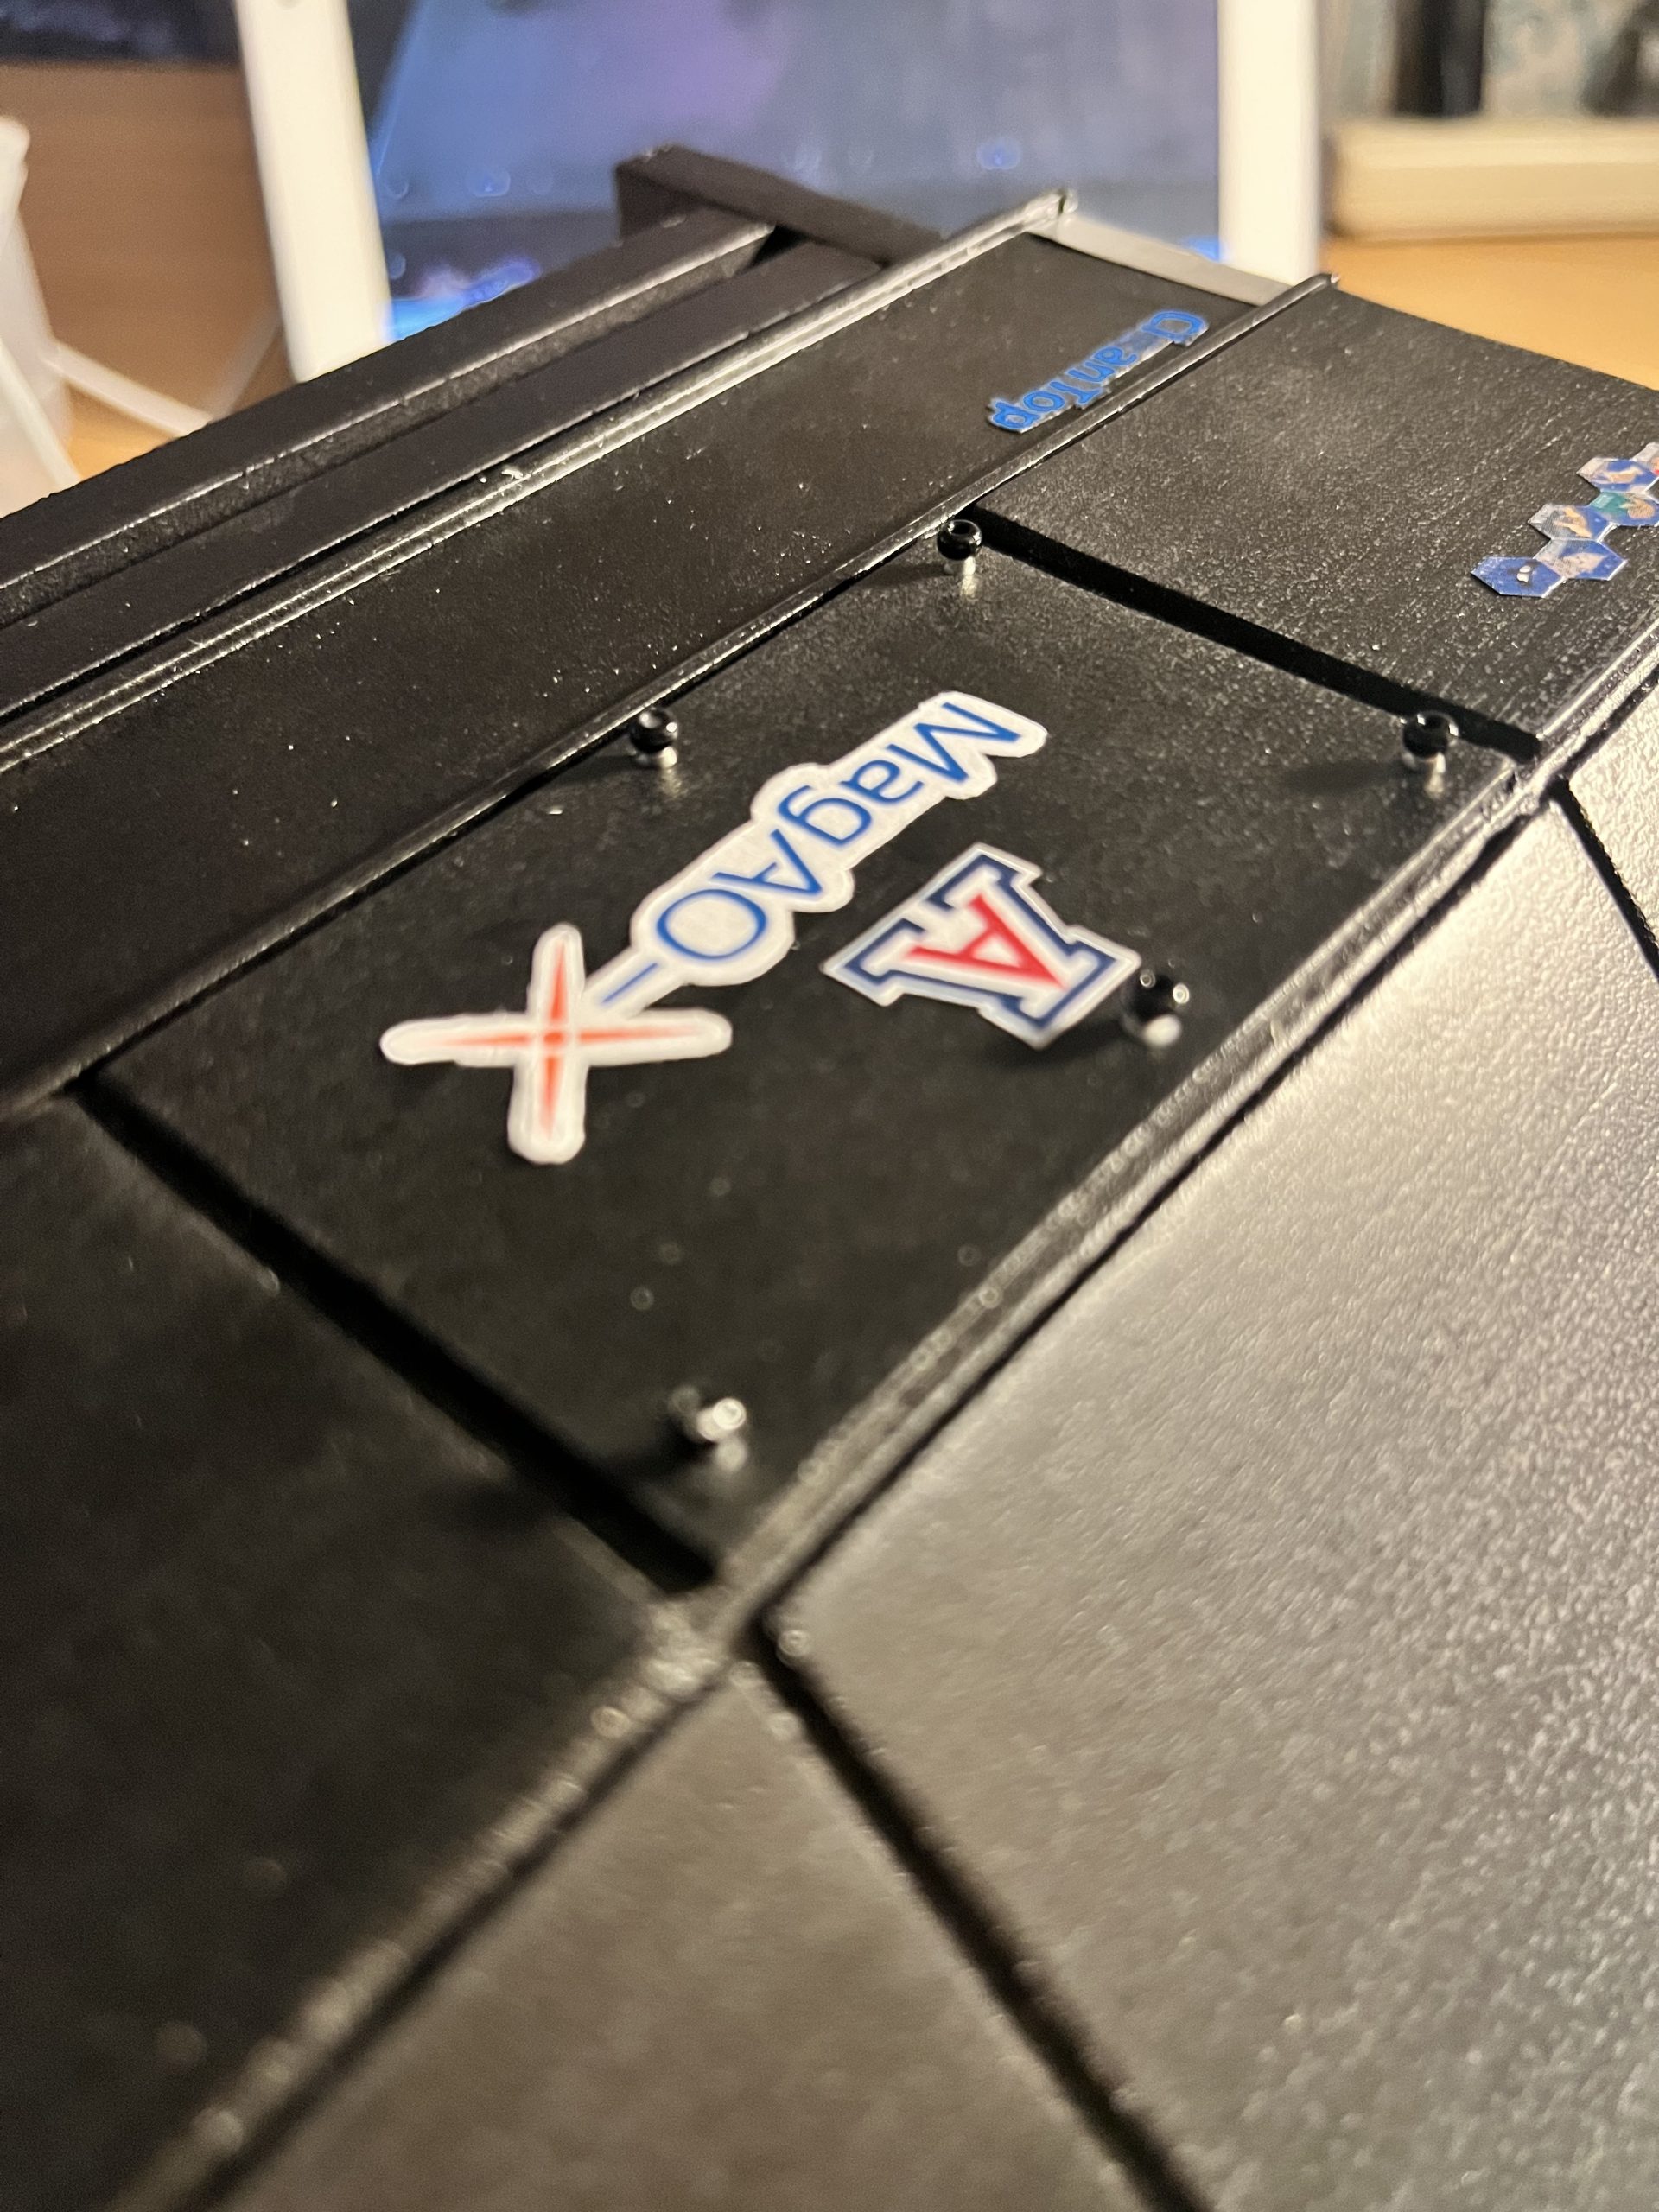
Next it was time for the details. I printed all the logos in secret using the office printer cause I don’t have a color printer. I painstakingly cut them out with an exacto knife trying to replicate the curves and white borders of the real stickers, then stuck them on with Mod Podge. At the time I was making this, the “Clean Top” sticker on MagAO-X was missing the e so I blacked it out with marker! (Now the whole thing is almost gone). I also glued little pieces of foil on the corners of the air table to mimic the corner bumpers, and cut circles out of gold craft foam for the eye piece port on the side.
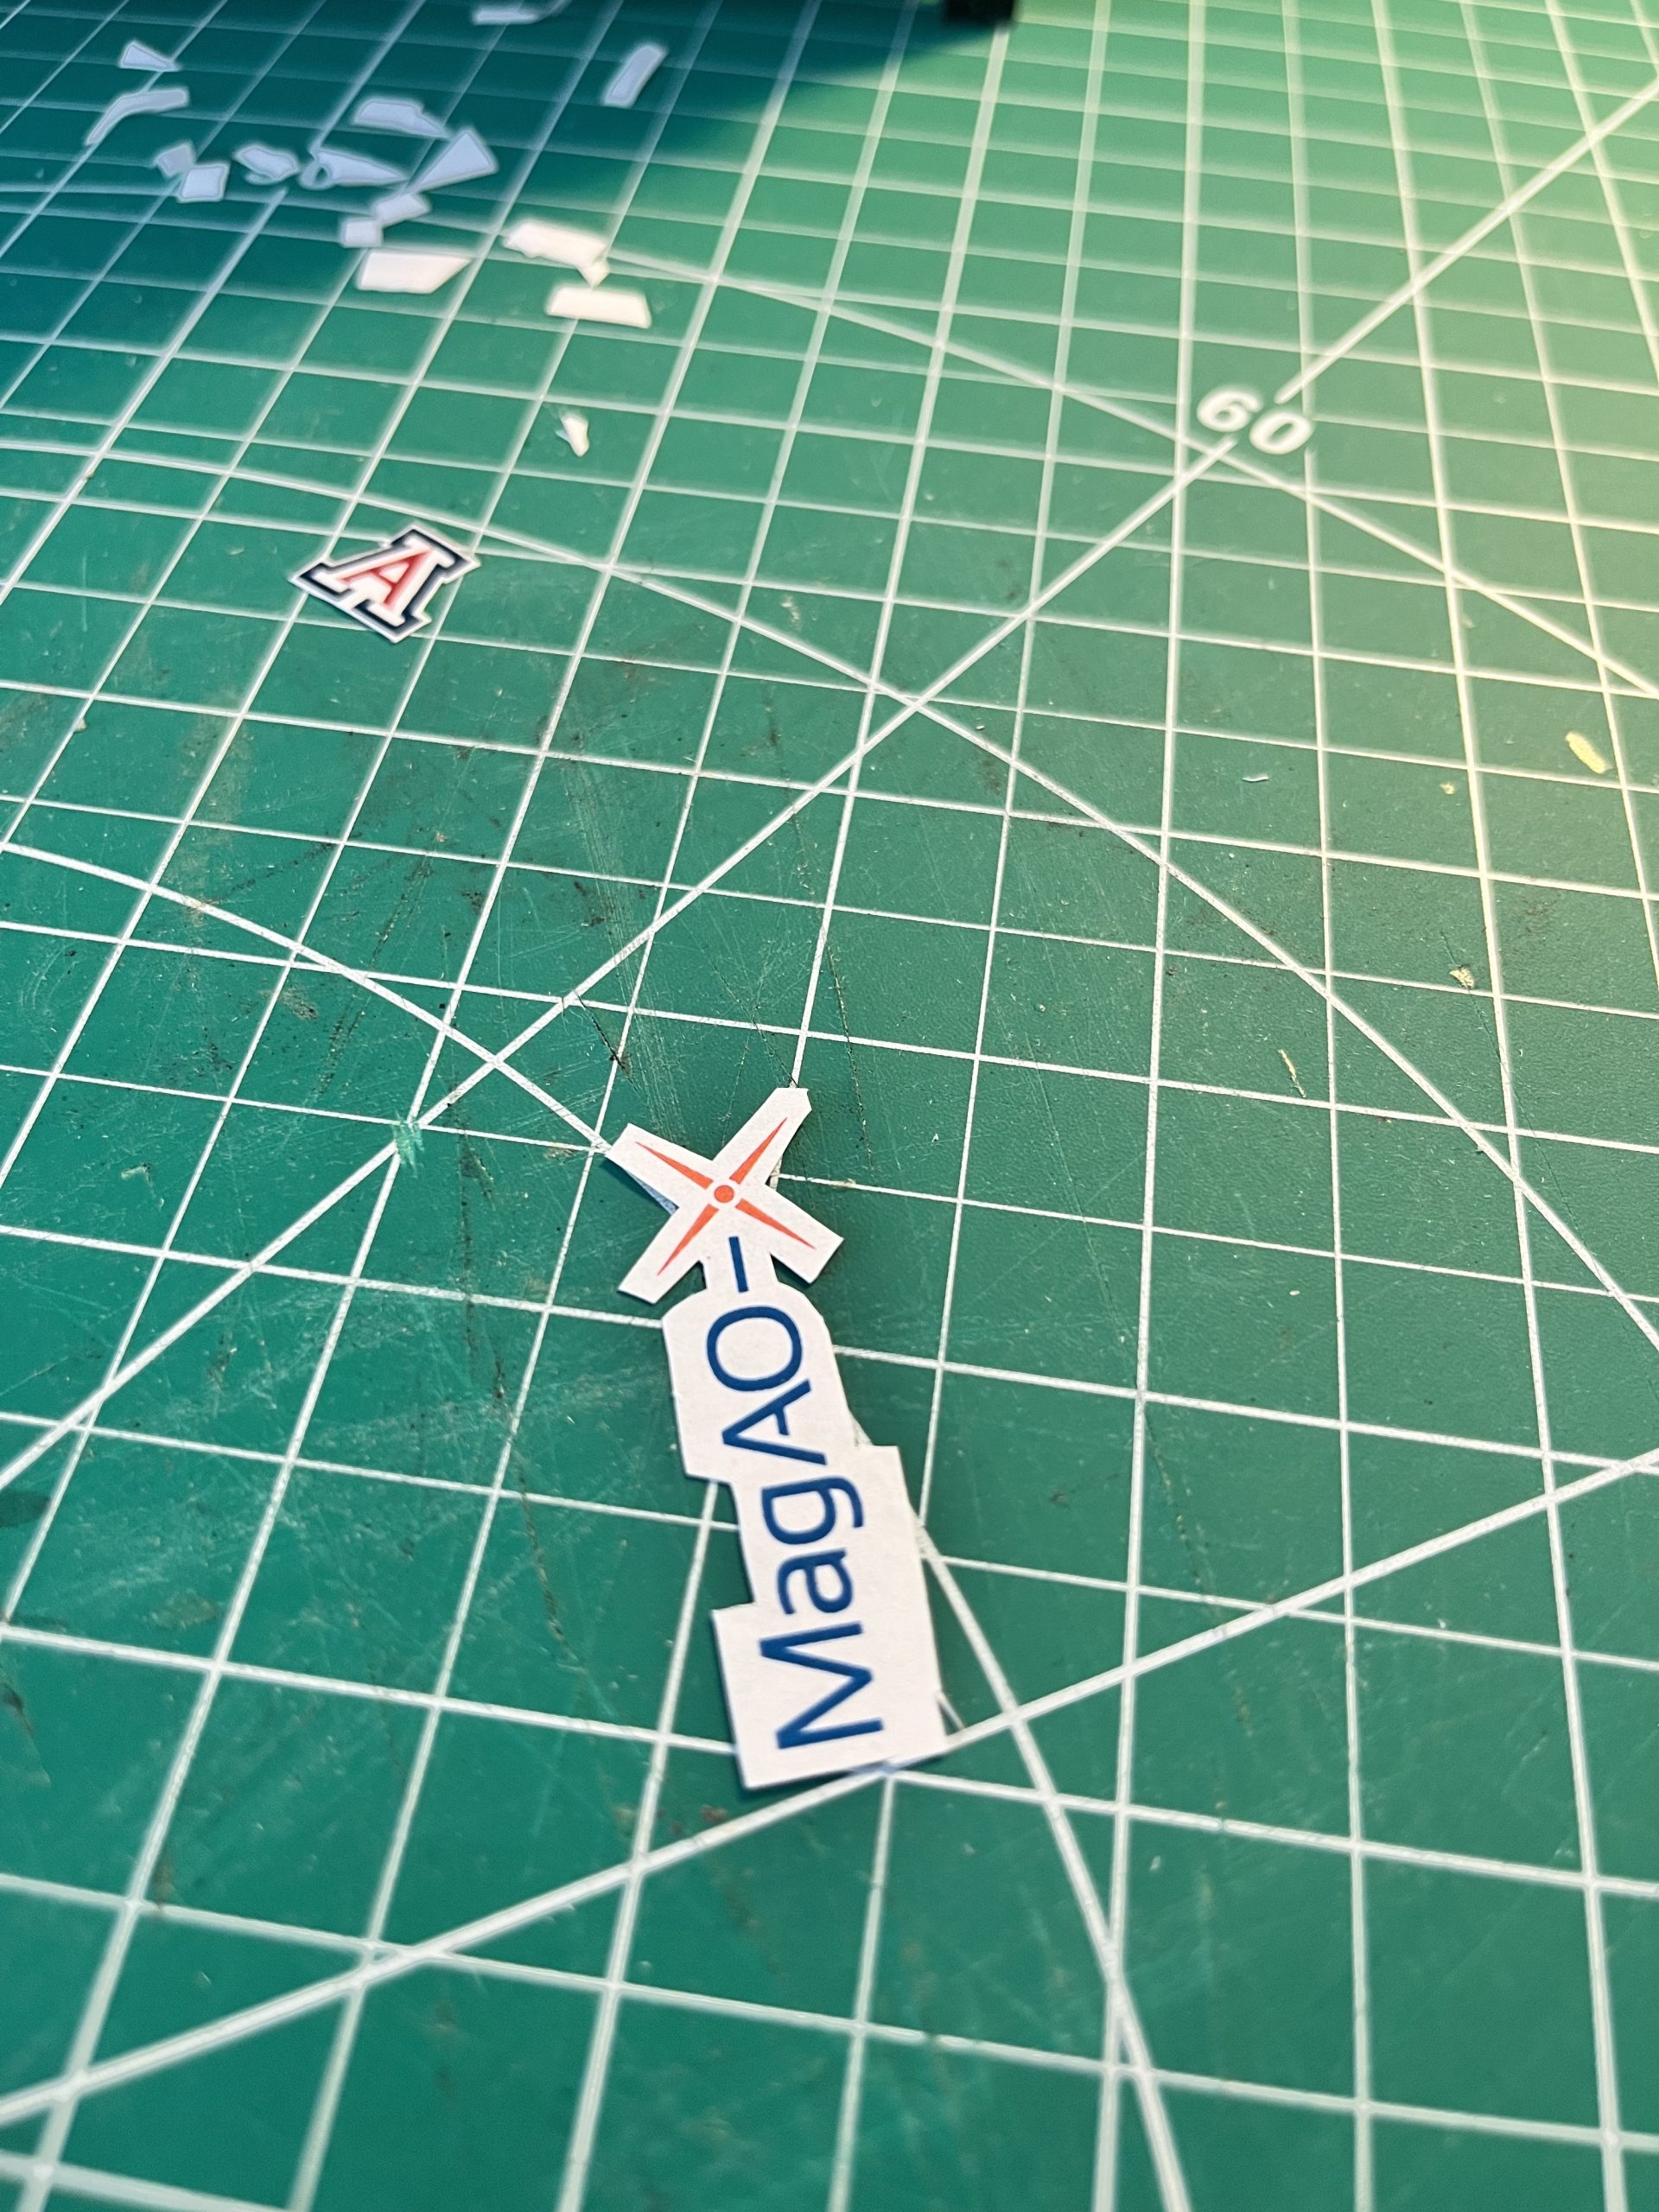
Adding the stickers with a reference photo in the background:
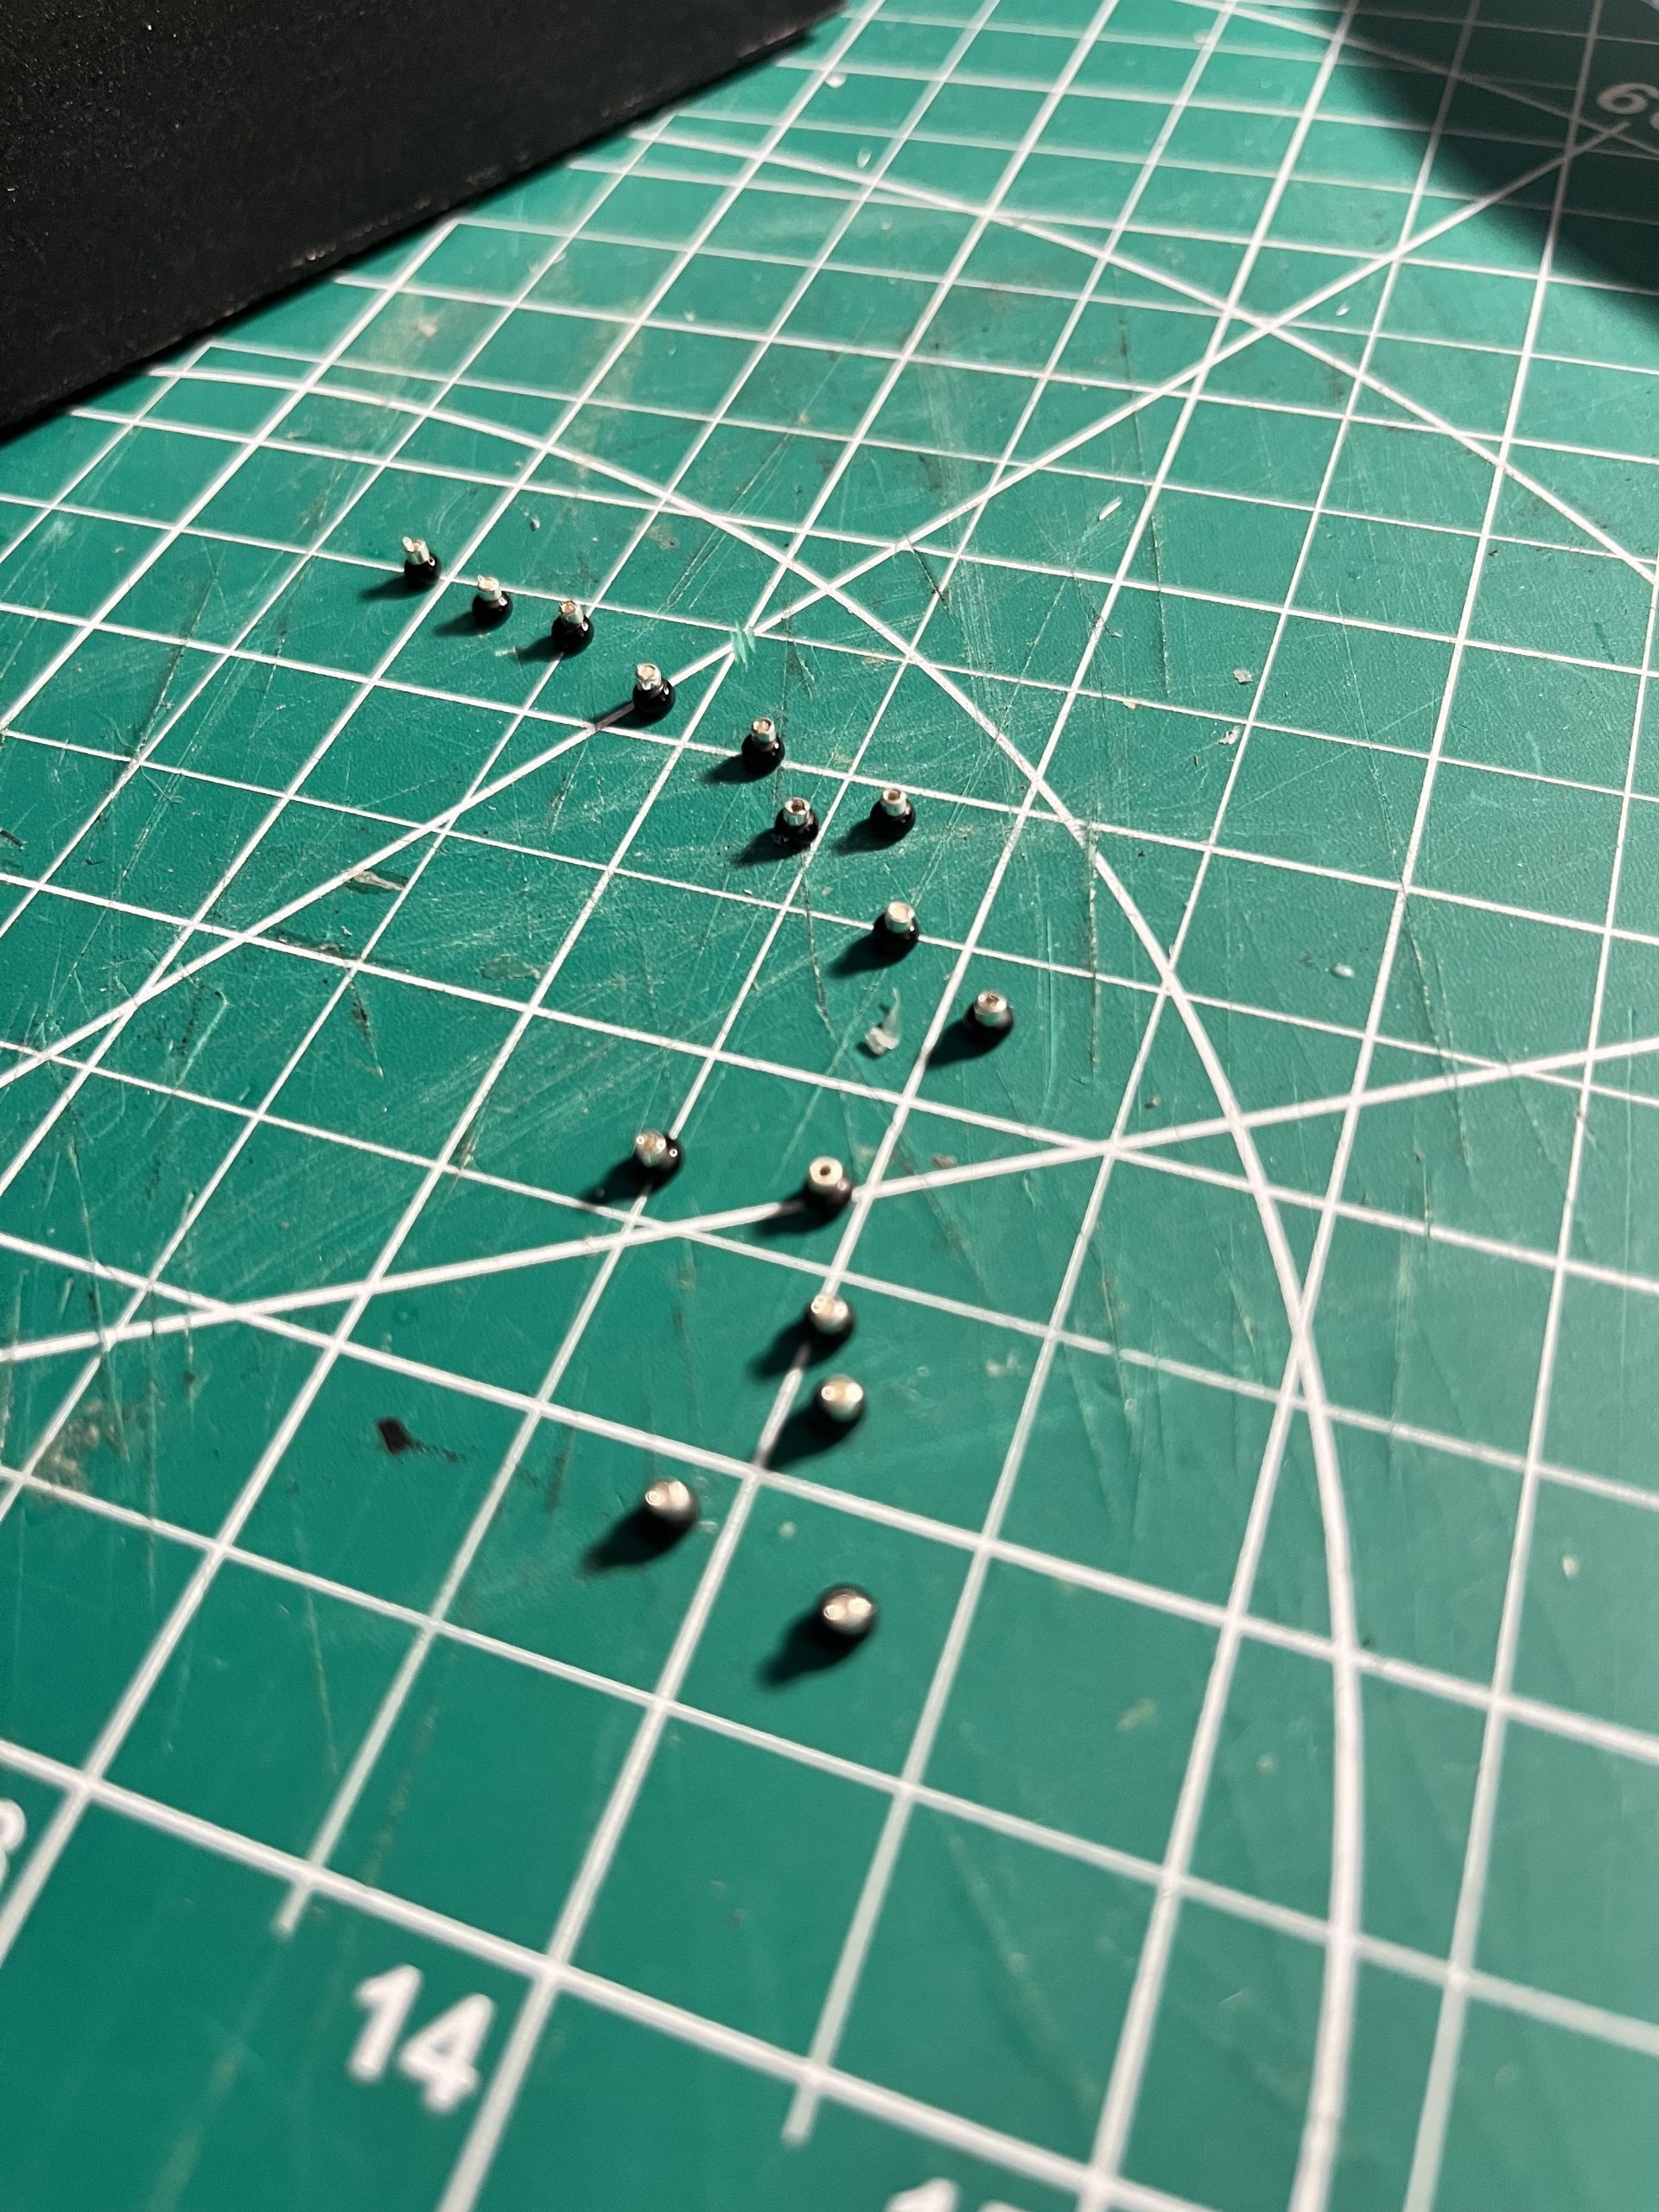
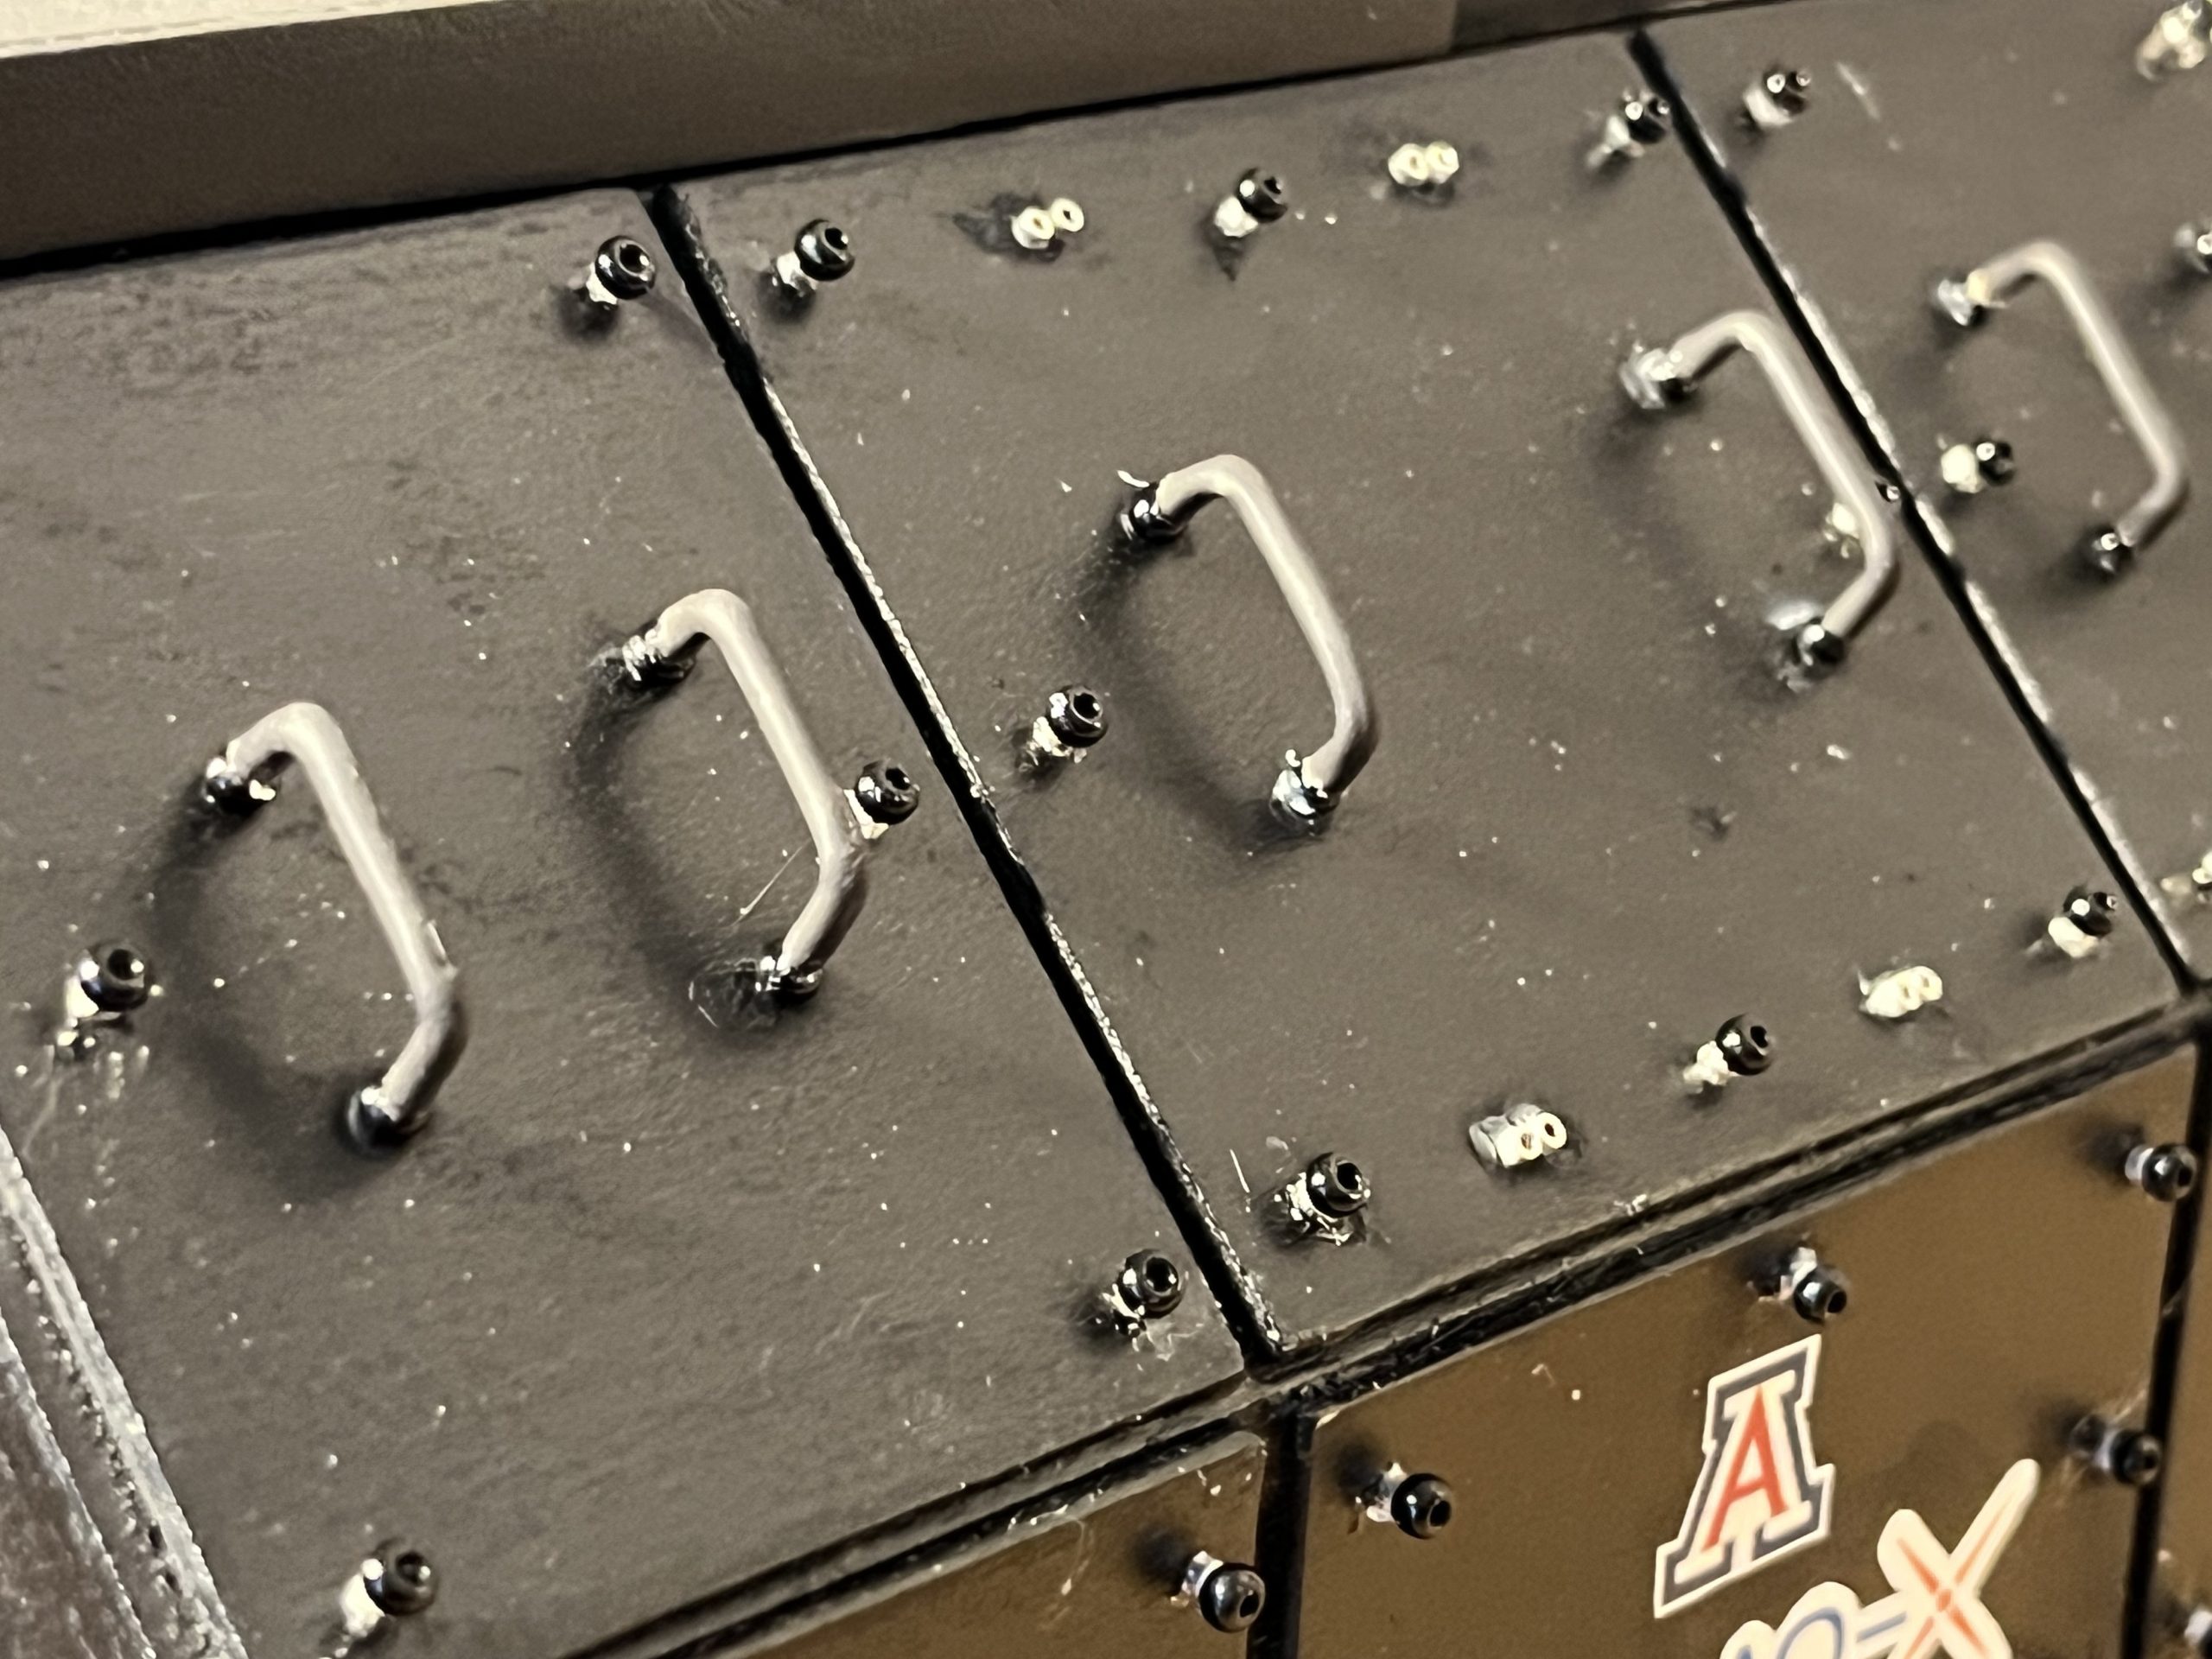
For the panel clamps, I used beads. I found some large-ish black beads and small silver beads or close to the right size (I did measure them!) and glued them together, then glued them to the panels in the right place. This was a huge pain in the ass and I had to try a few different glues to find the one that made them actually stay stuck. I also used the small silver beads for the panel support screws.
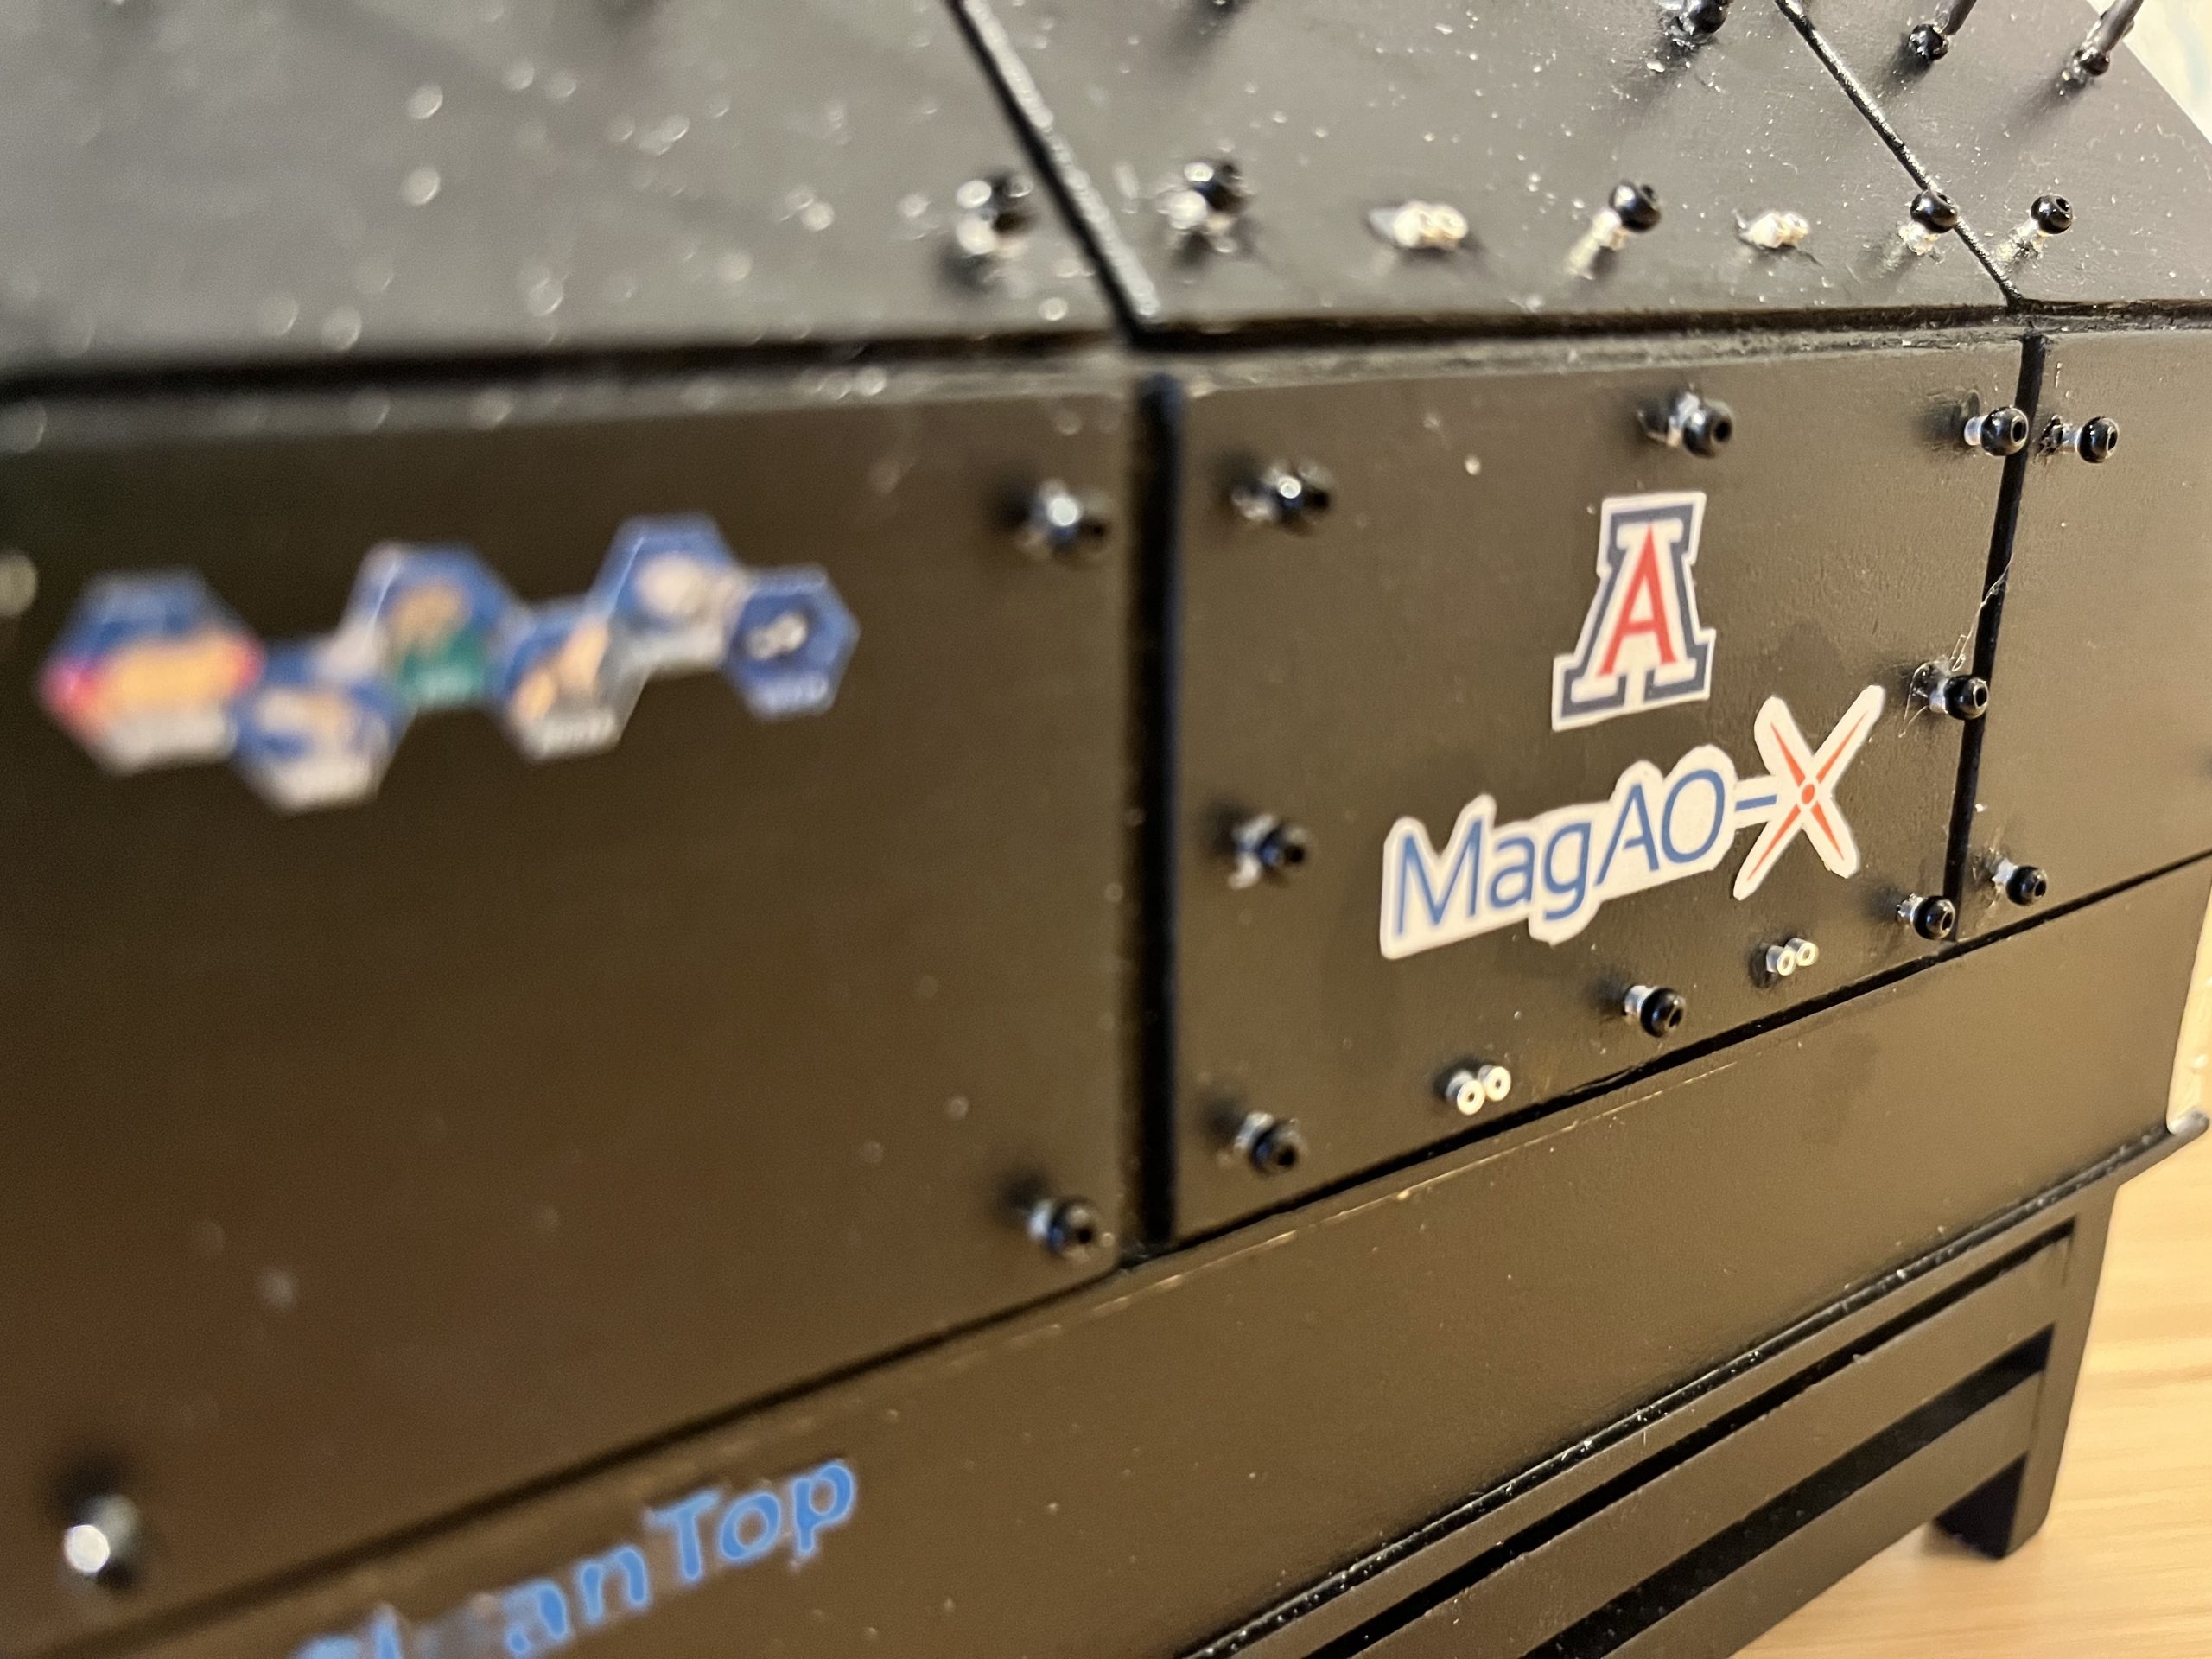
For the handles I used a thick crafting wire, bent to the right size and shape, and covered it with electrical heat shrink tubing which shrinks to the size of the wire. I glued some black beads to the wire to help them stick to the panels.
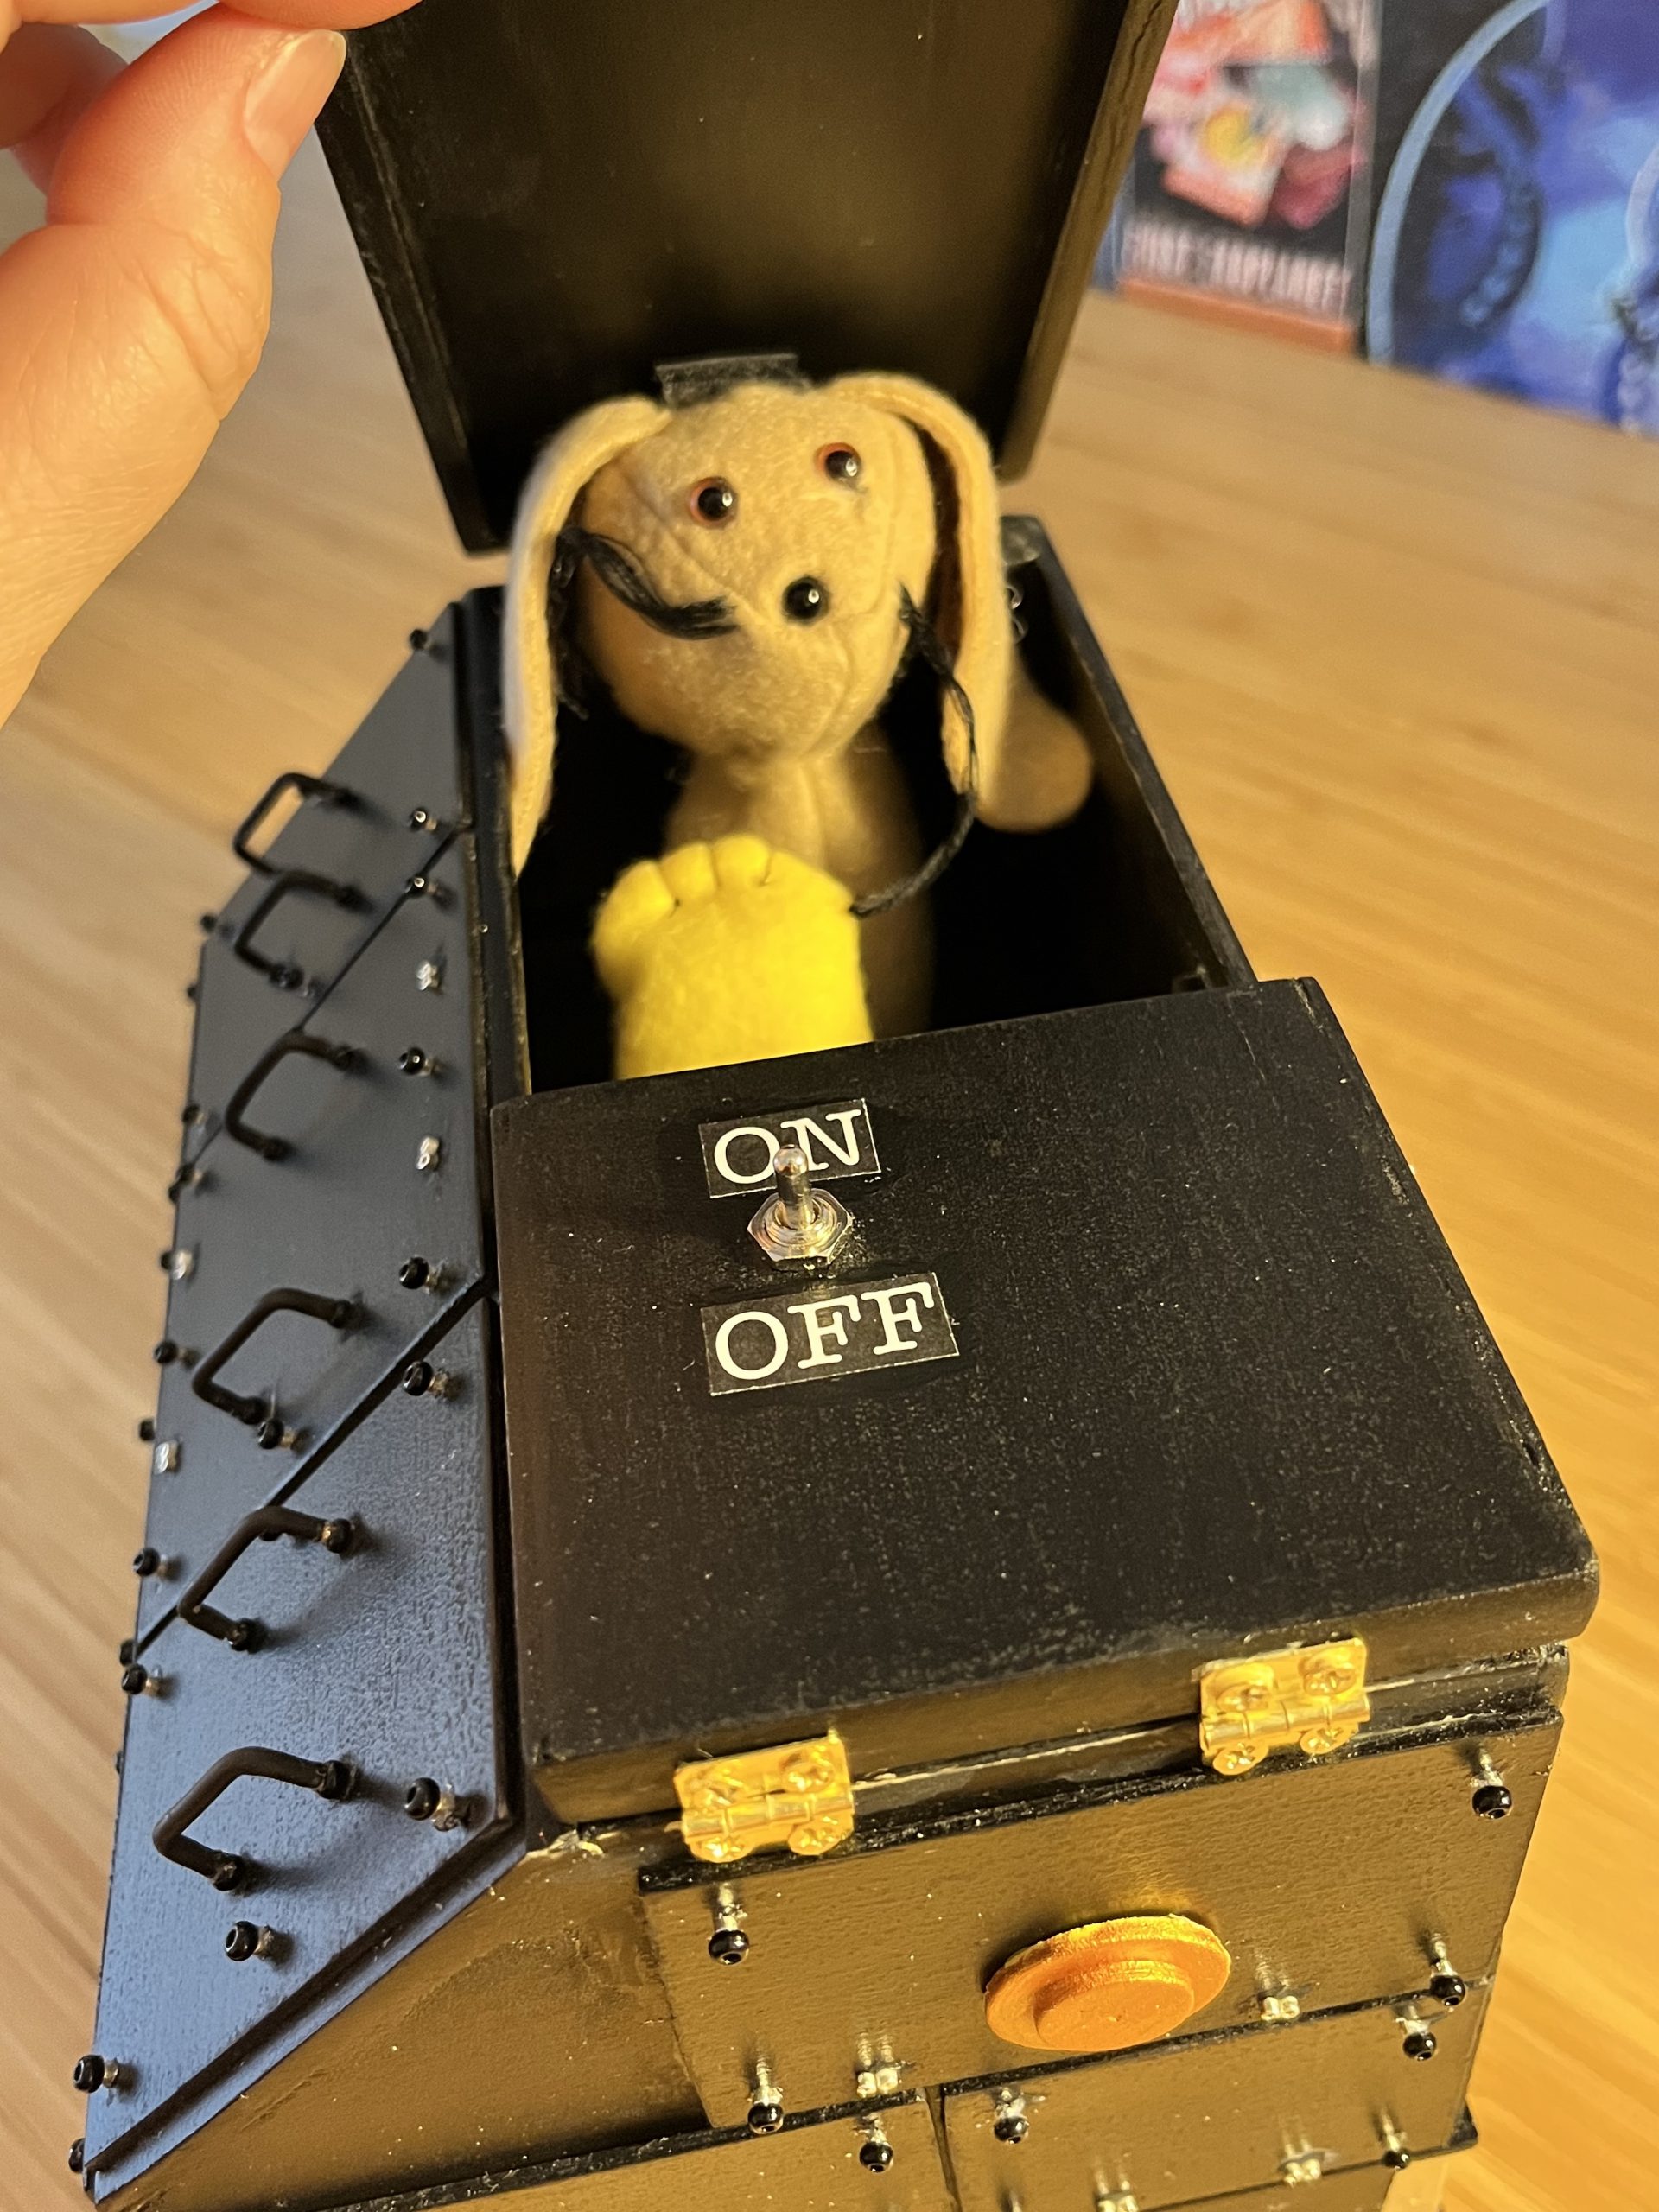
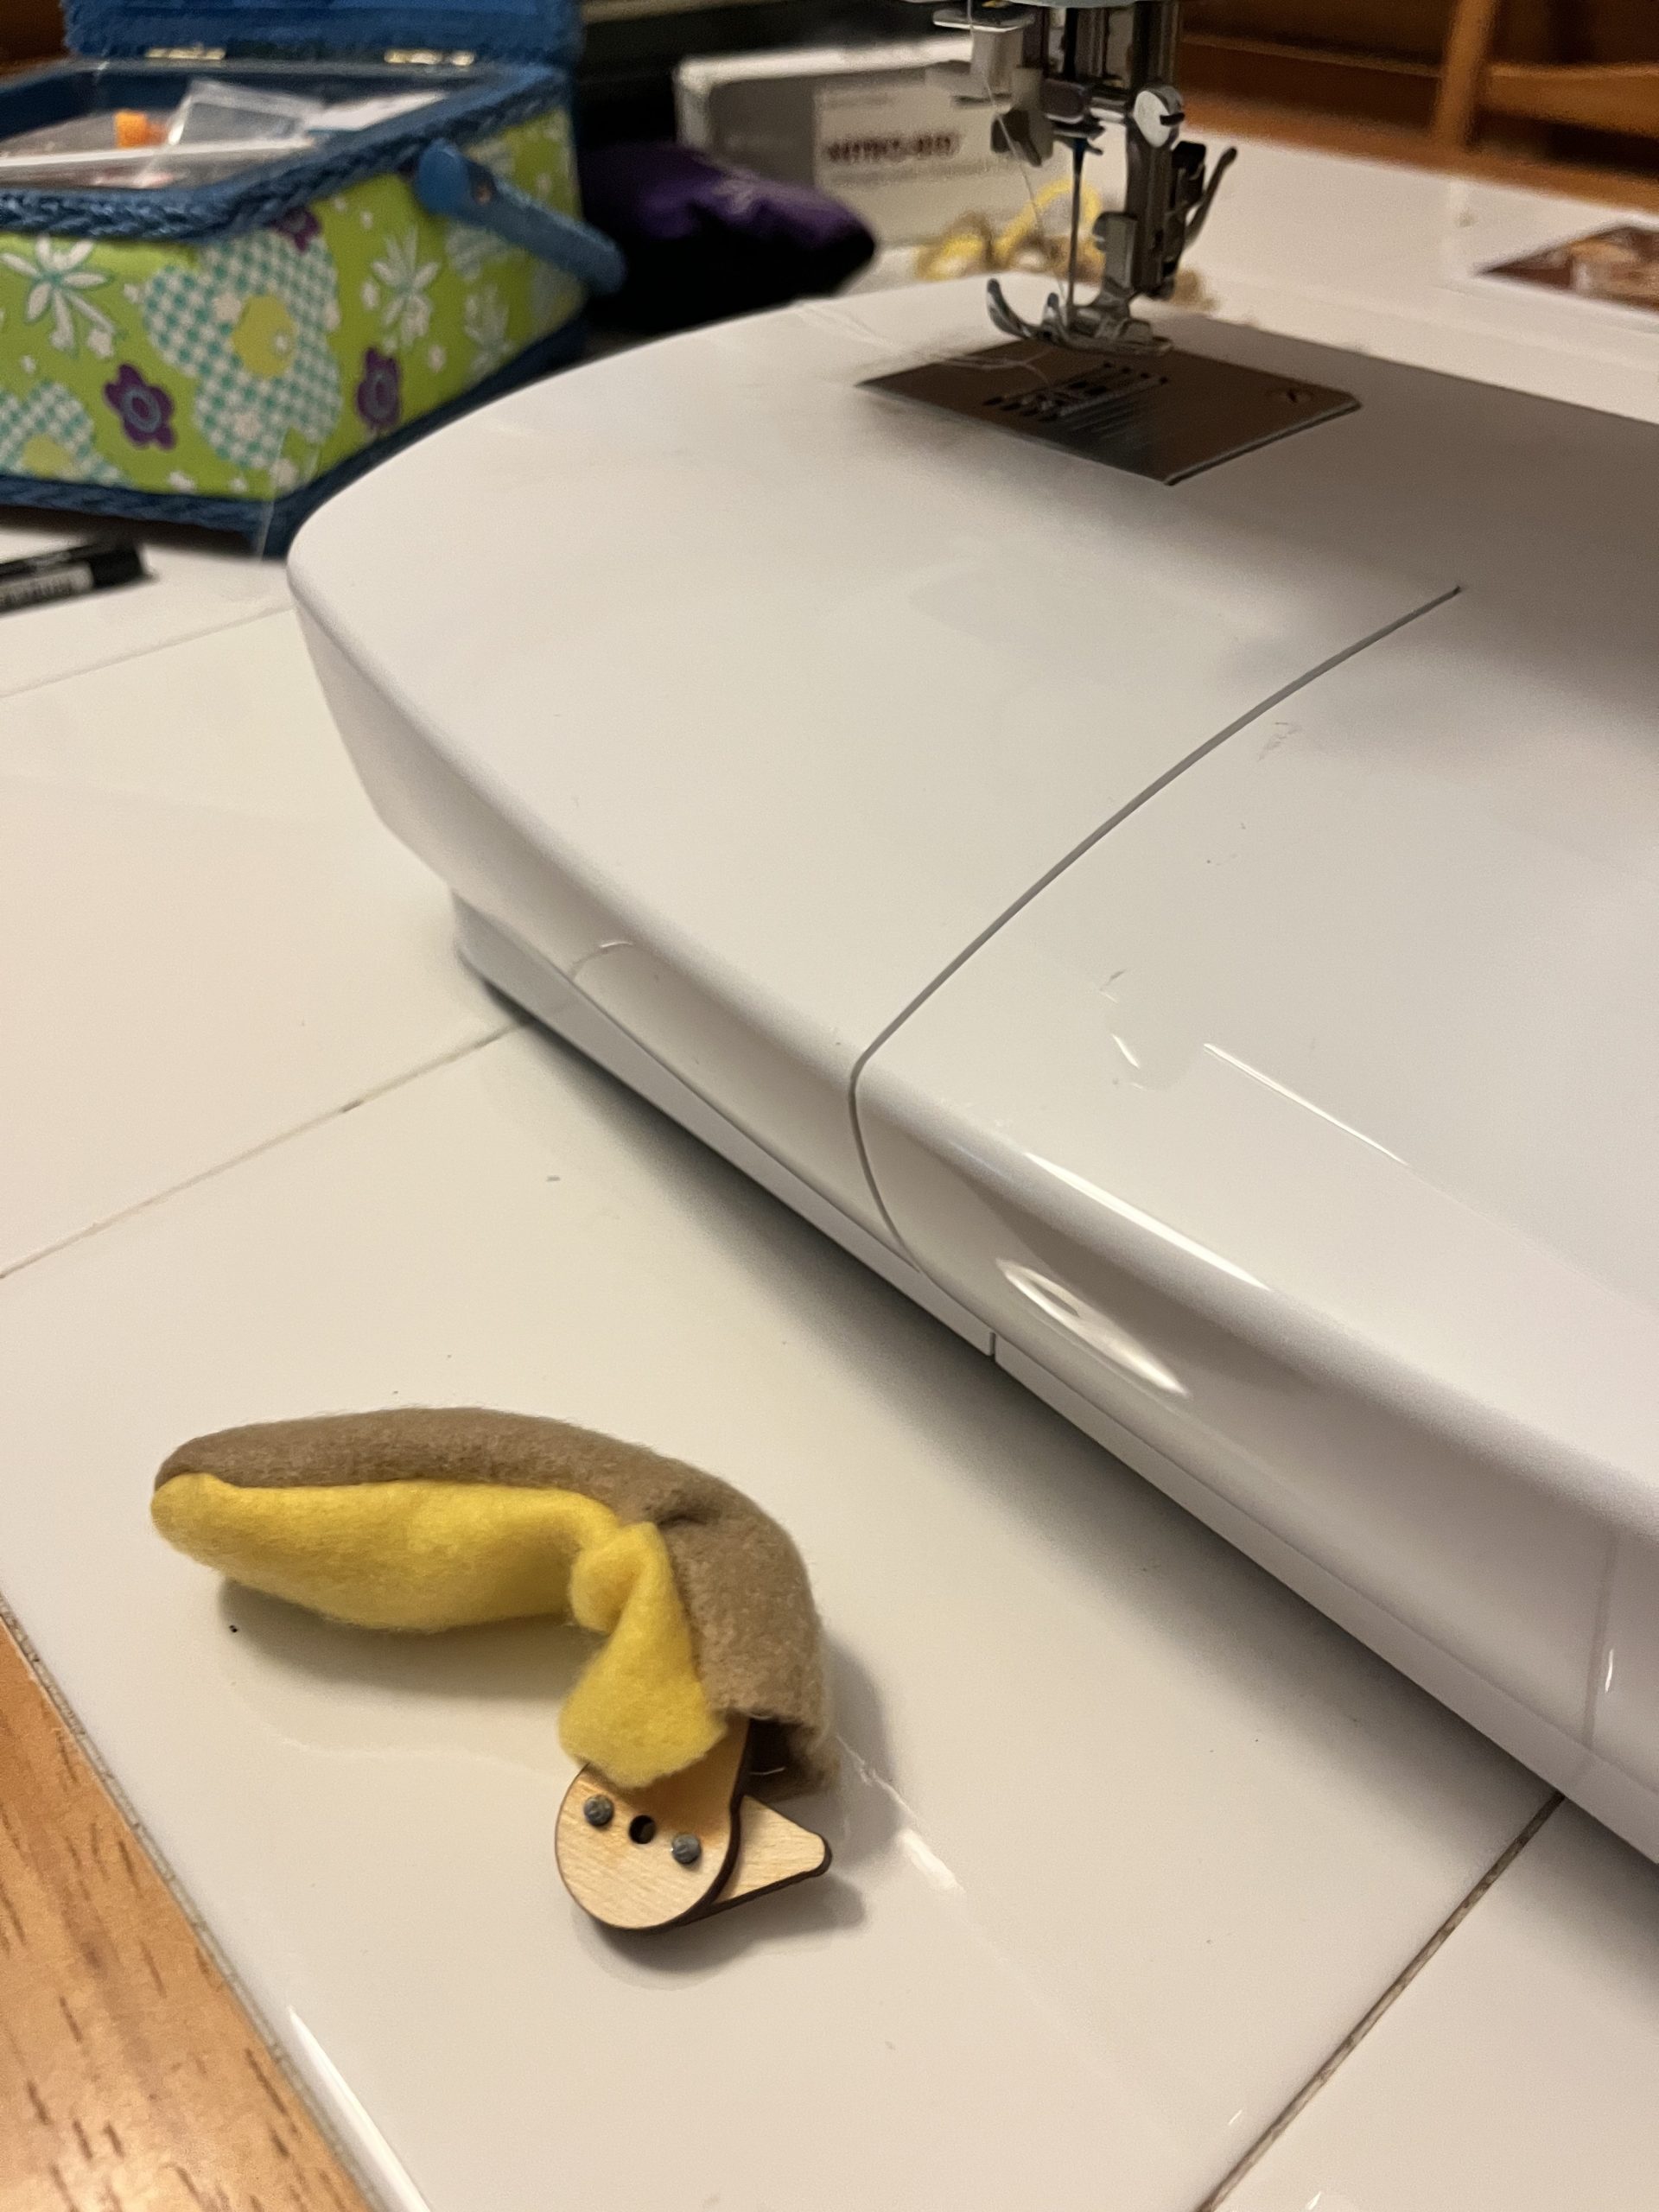
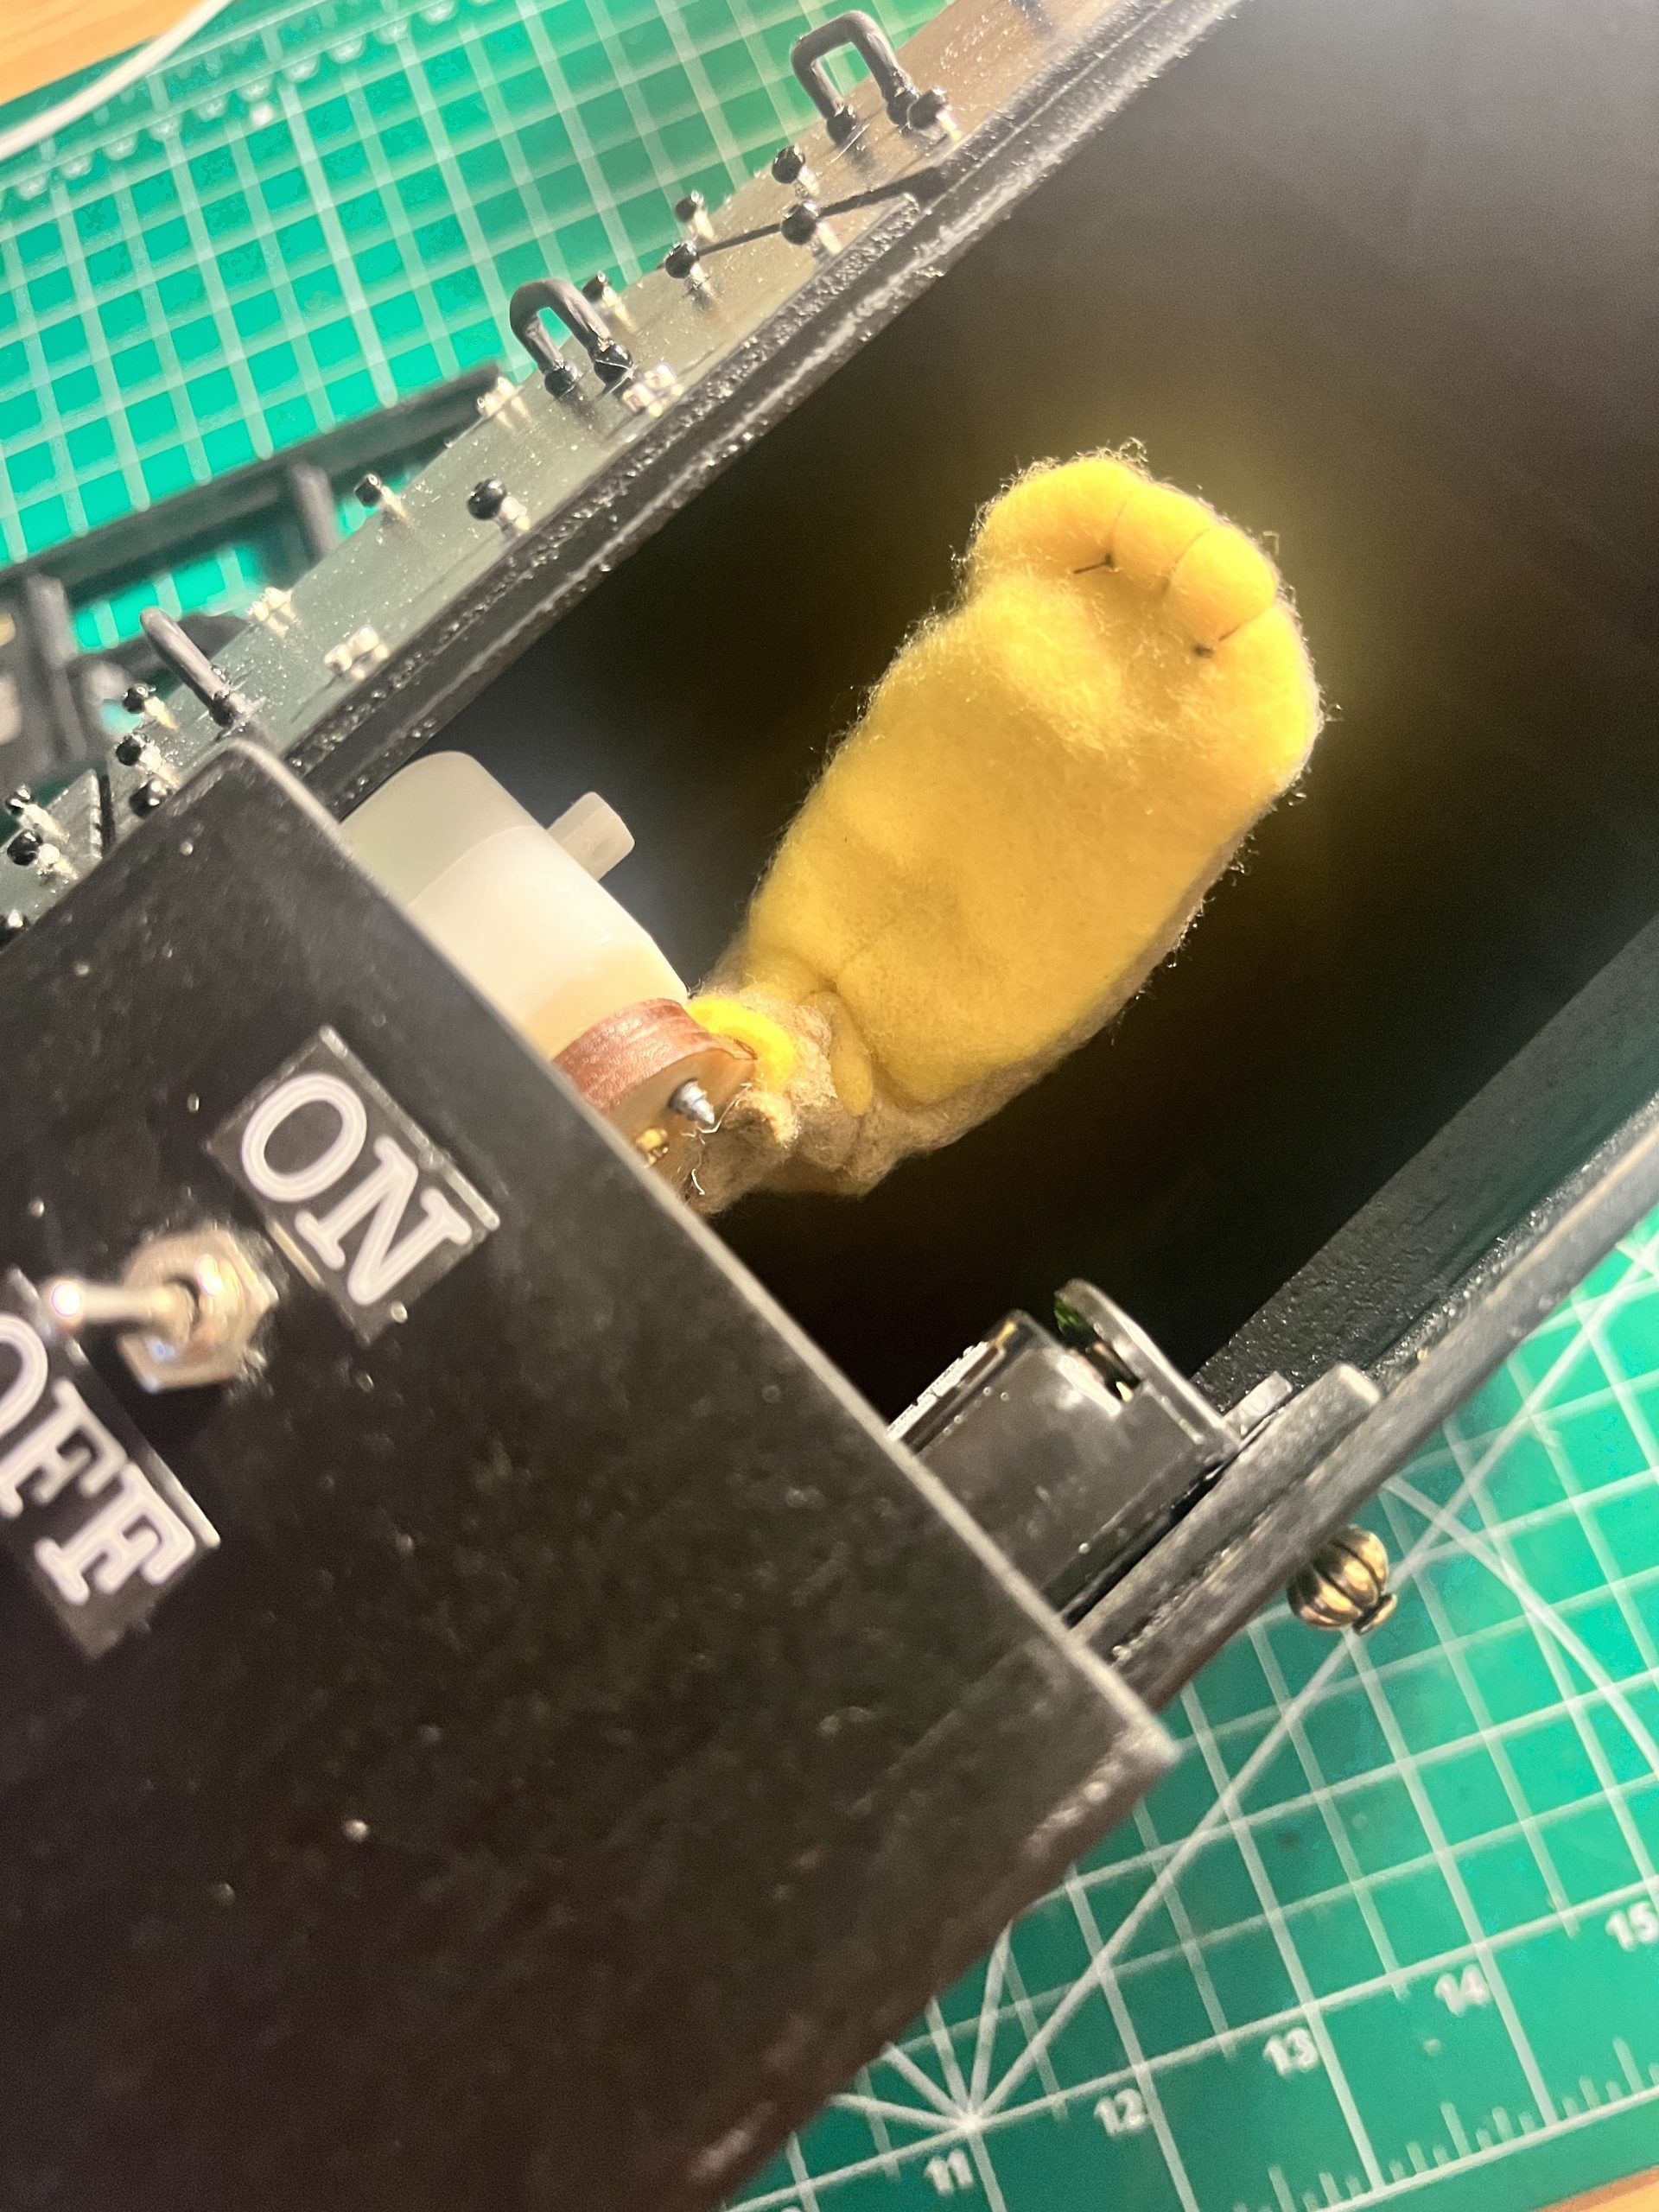
Finally it was time for the vizz. I used brown and yellow fleece and sewed a little paw, which I stuffed a little bit and slid over the arm. I made toes by hand sewing little imprints with black thread. I had to make sure that the end of the arm still hit the switch, which involved moving the paw around a bit to find just the right spot. I then used fabric glue to glue the end of the fleece to the wood arm and used some yarn to tie it down for good measure.
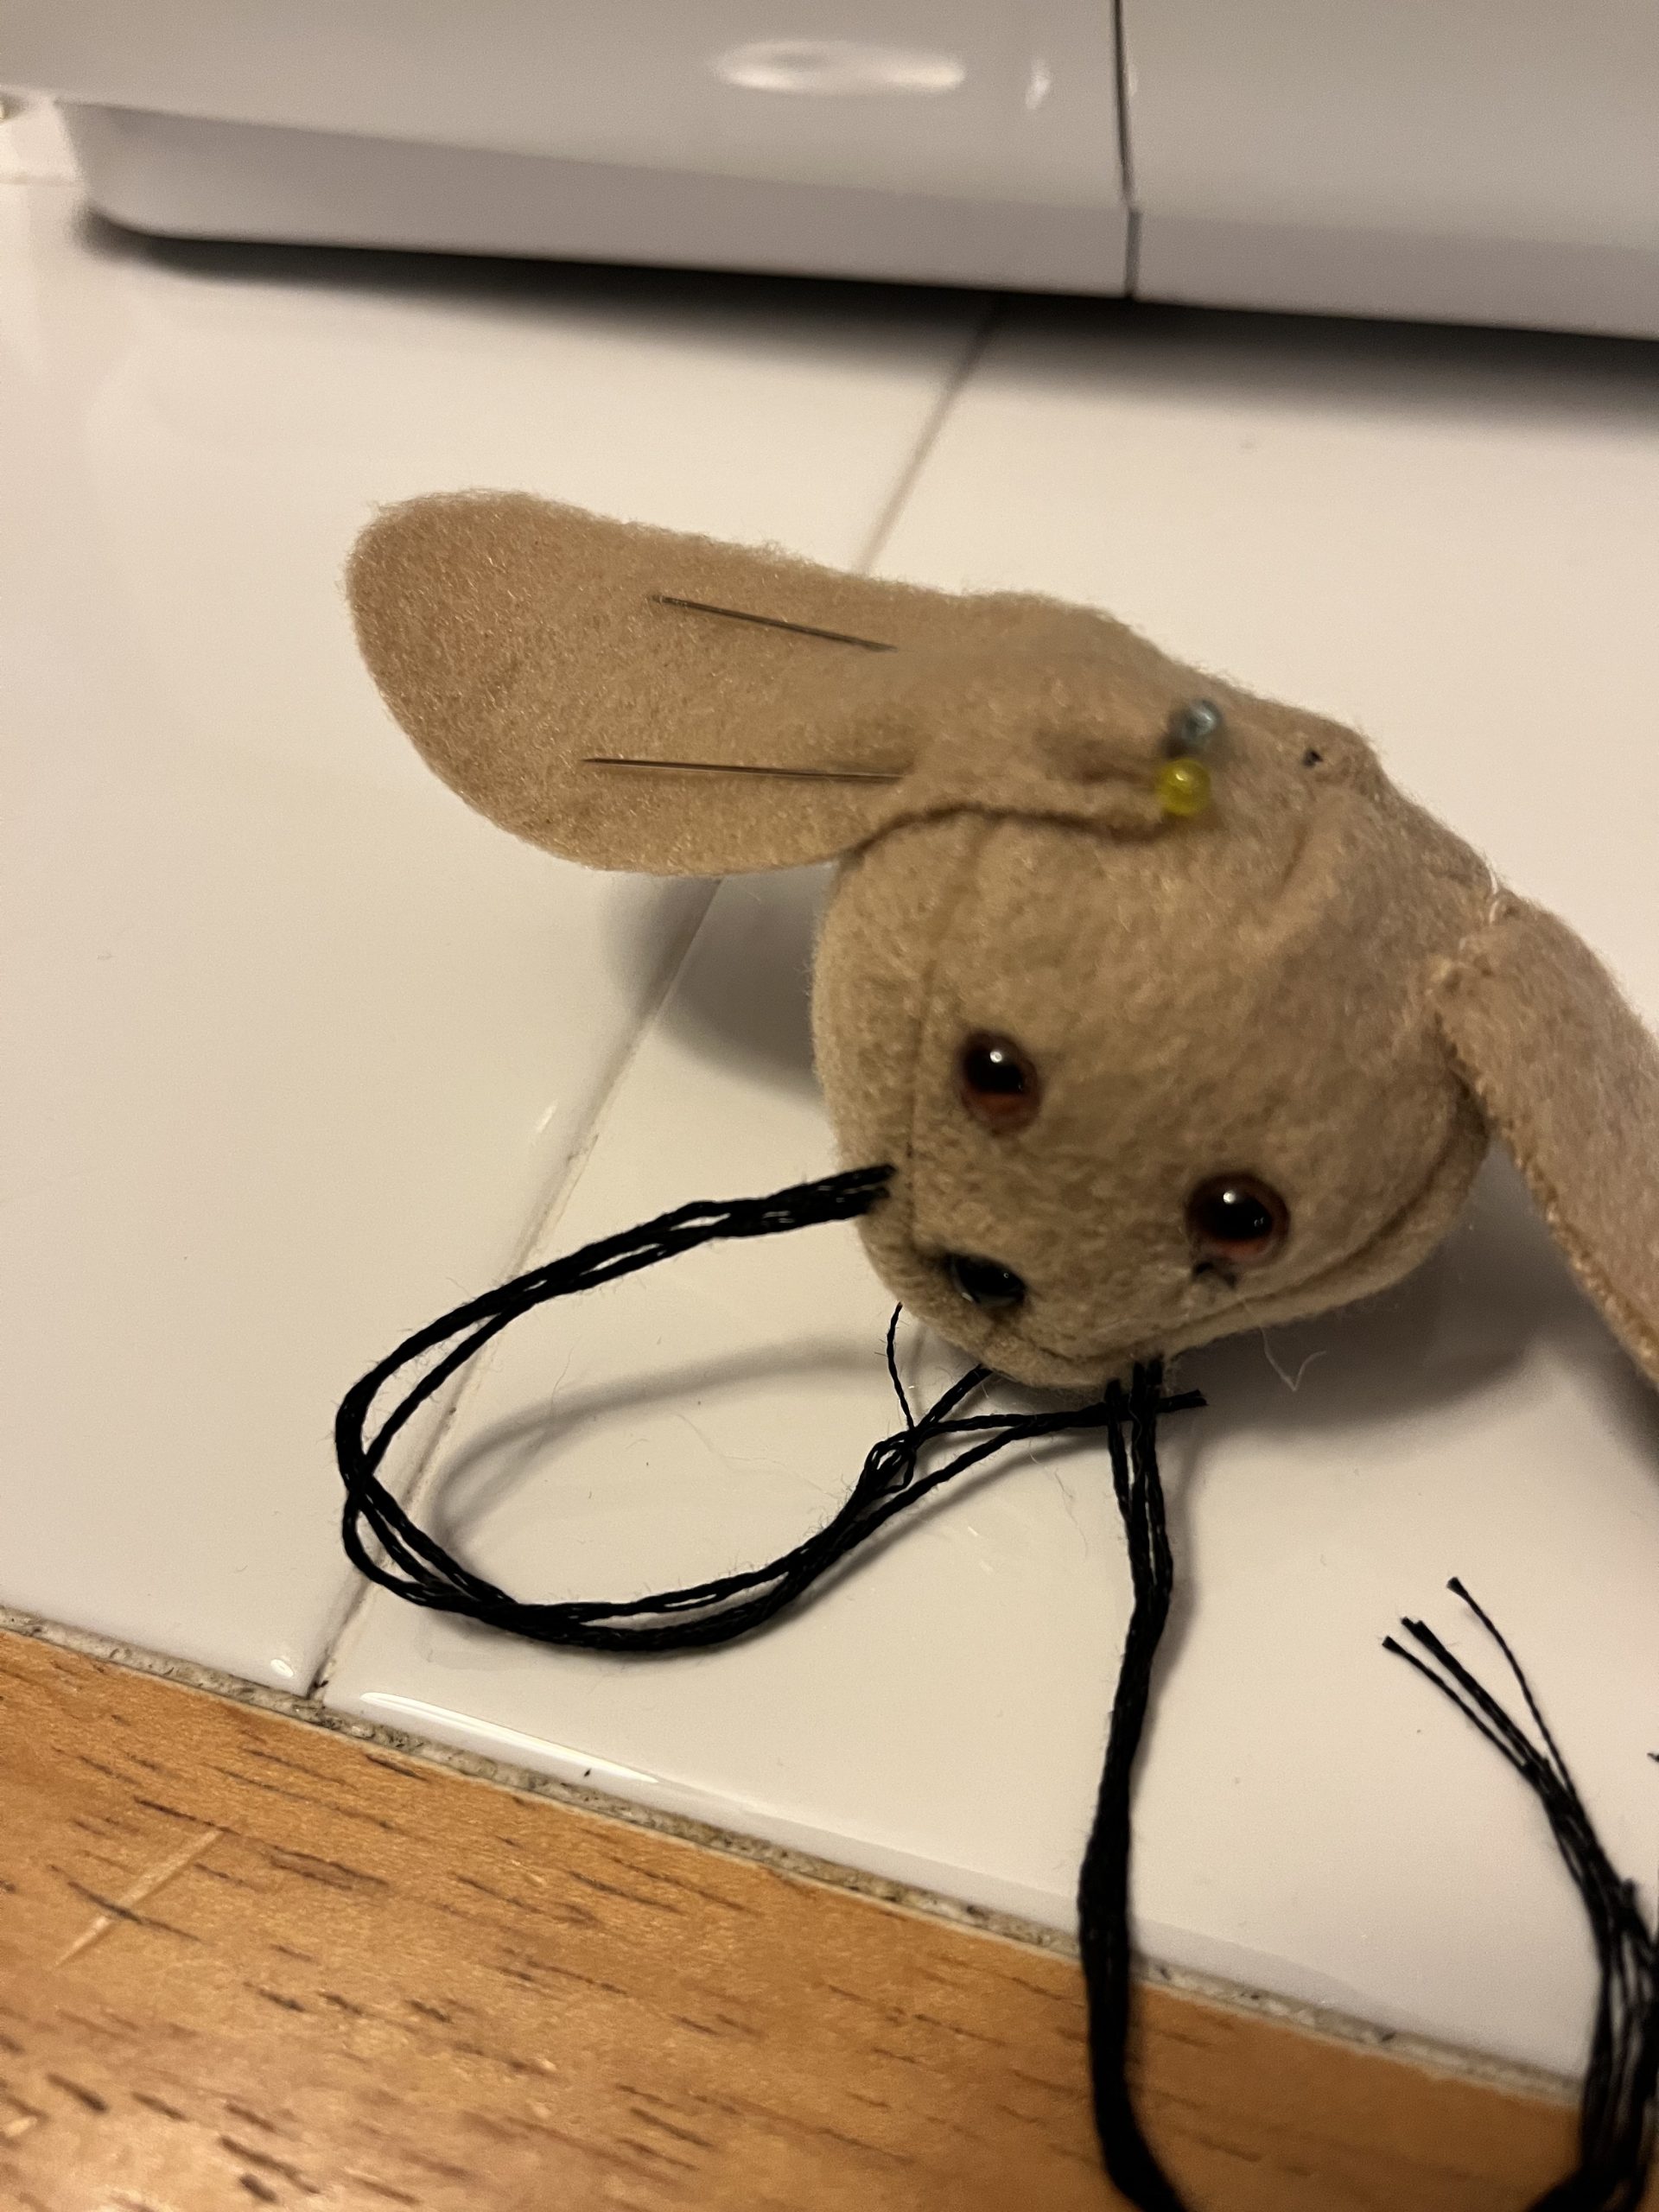
The head took several tries. I got several rabbit patterns off etsy that had potentially suitable heads and tried to scale them to the correct size. It took several trial and errors on the best pattern and the right size. Once I had a suitable one I put little eyes and nose and whiskers, then made ears of just single pieces of fleece and hand sewed them on.
I put a little piece of velcro on the head and the bottom of the lid so that that head comes up when you activate the switch. I also attached a loosely stuffed fleece tube to the bottom of the head as a suggestion of a body.
Finally I sewed a little tail out of the brown fleece and glued a little strip of a darker brown fleece as the stripe down the tail. I glued and sewed the end shut and put a little piece of velcro on the top and under the hinge on the side of the box so it looked like a vizzy tail hanging out the side, but it won’t interfere with the hinge.
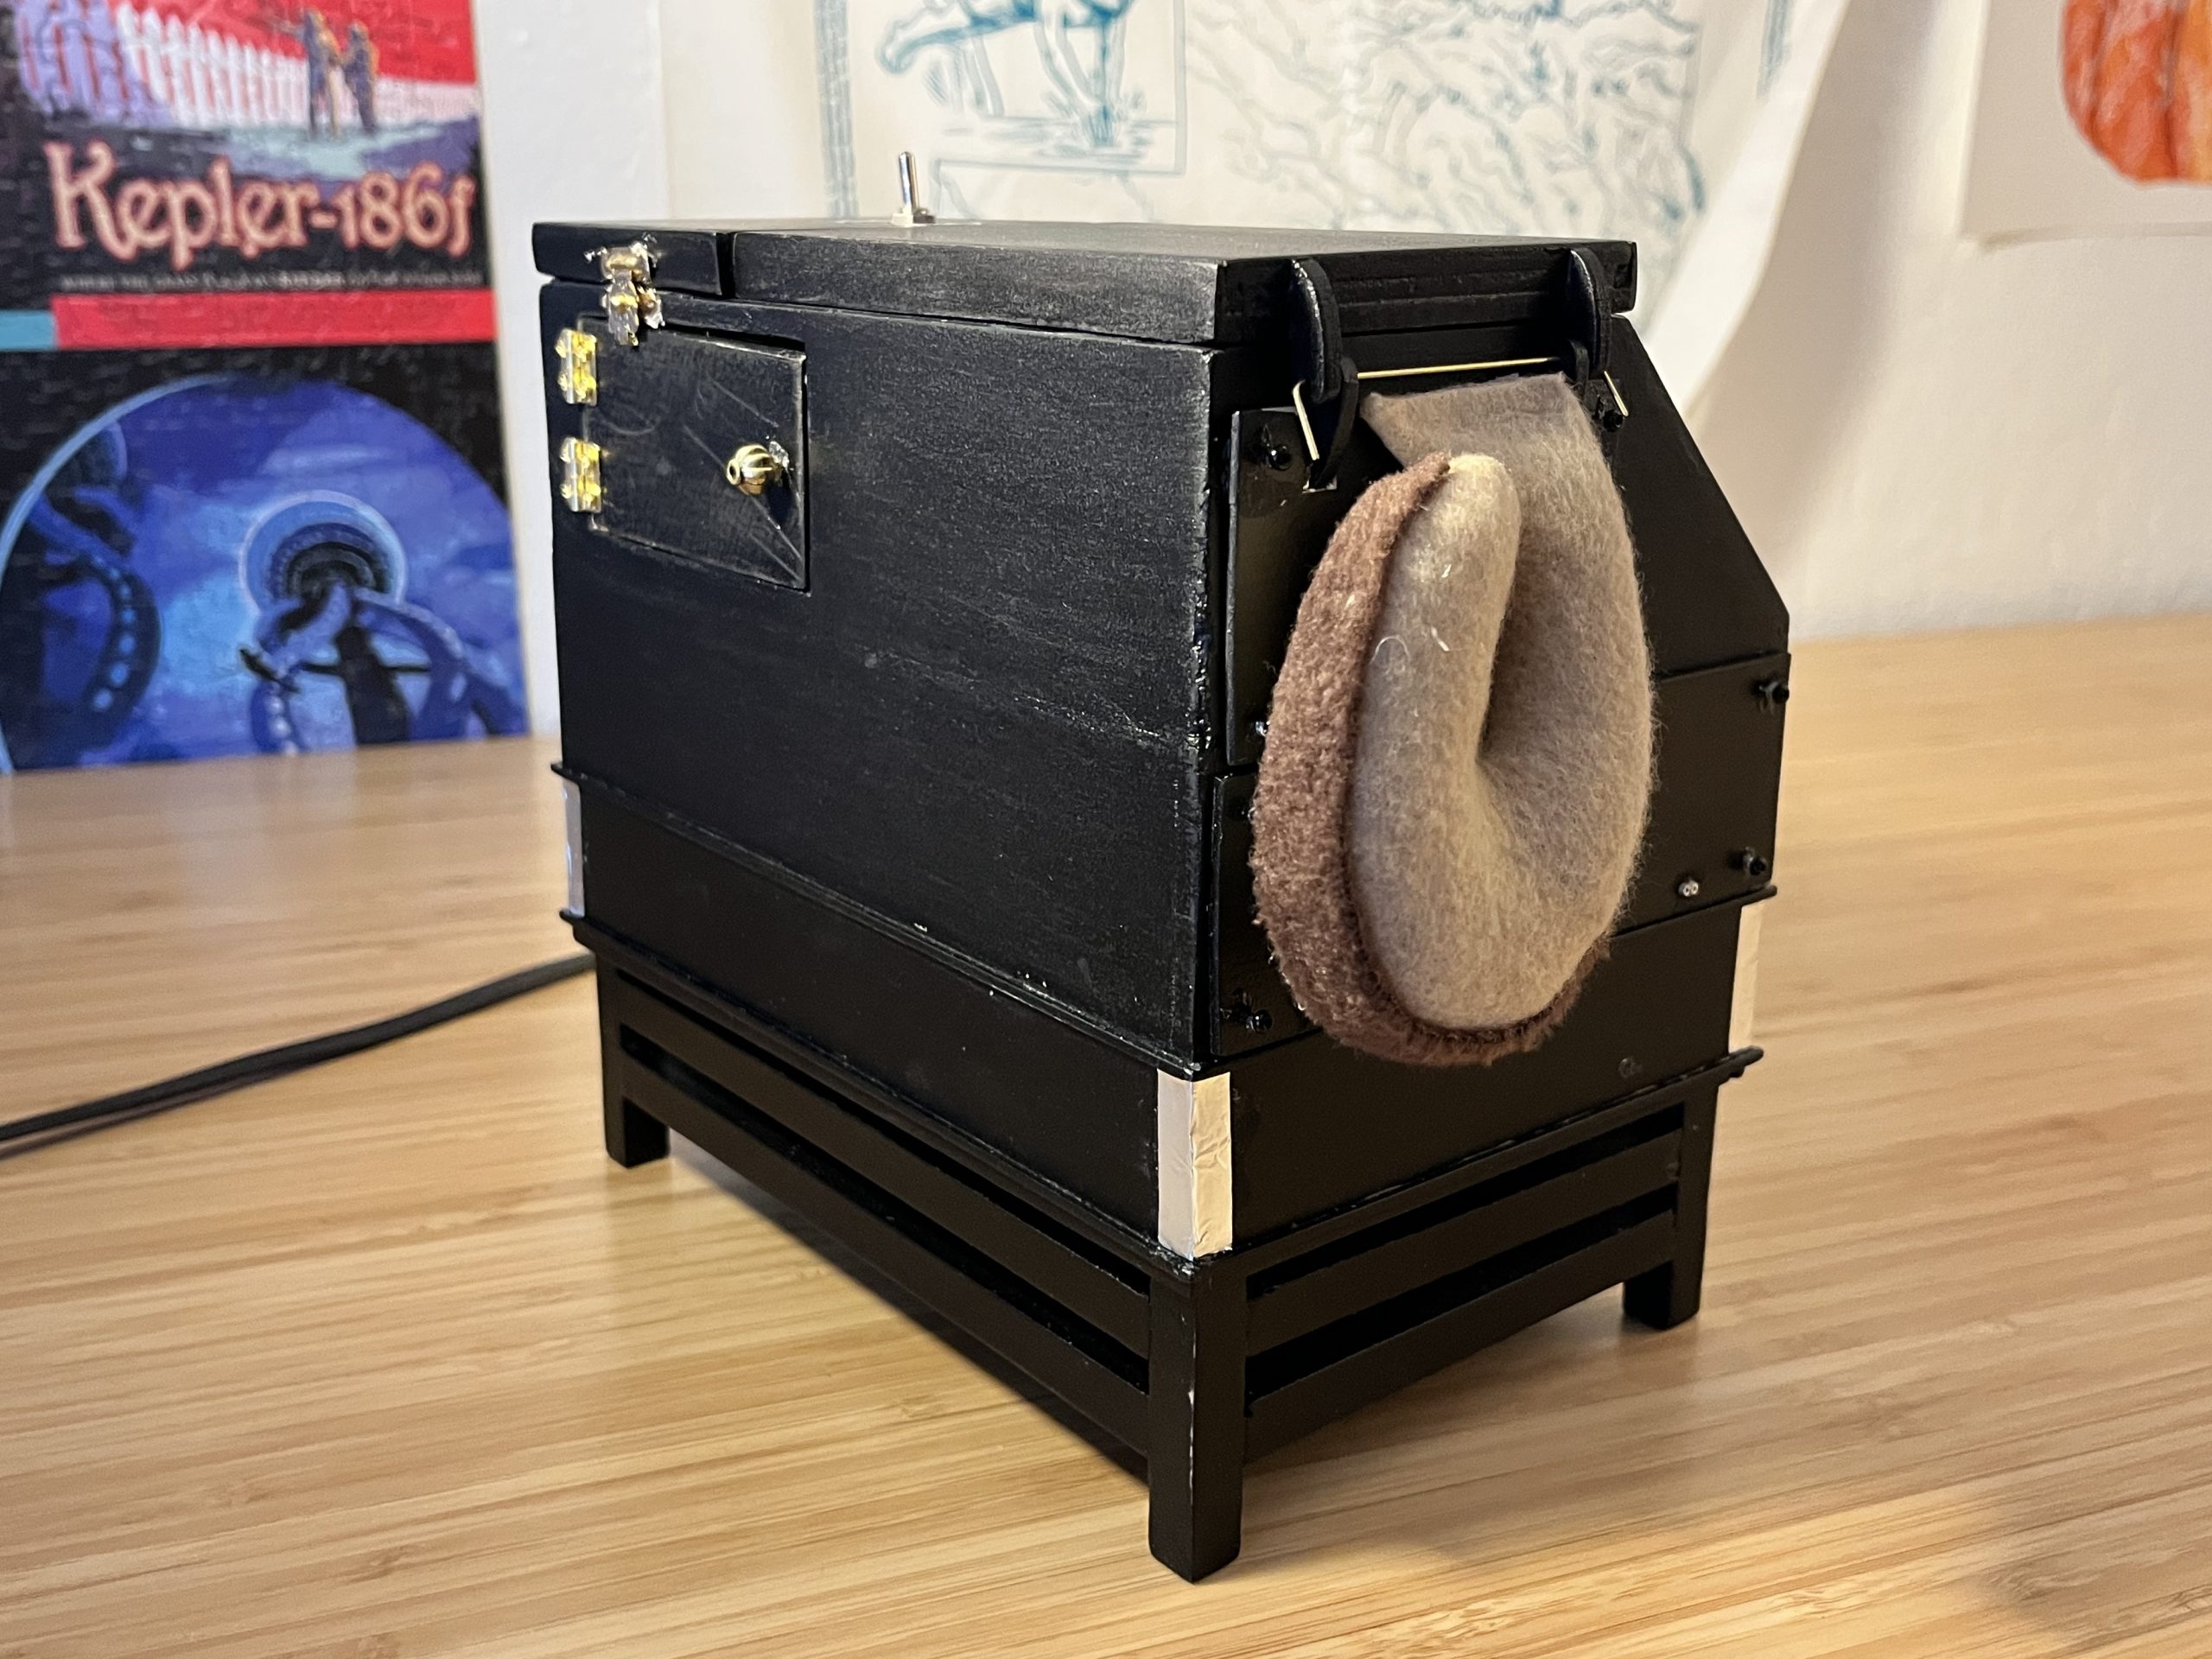
That’s it! All done. The MagAO-X Useless Box.