You probably didn’t notice this post in your feed reader on Sunday. However, I urge you not to worry about timestamps. Time no longer has any meaning, after all.
Even though Eurovision 2020 is canceled, you may still watch the entrants yourself. A couple of them are even worth sharing as songs of the day. (I’d put them all in one post, but I’m saving them for when all other sources of Songs of the Day are tapped out.)
The Song of the Day is, or perhaps was, Think About Things by Daði Freyr (a.k.a Daði & Gagnamagnið).
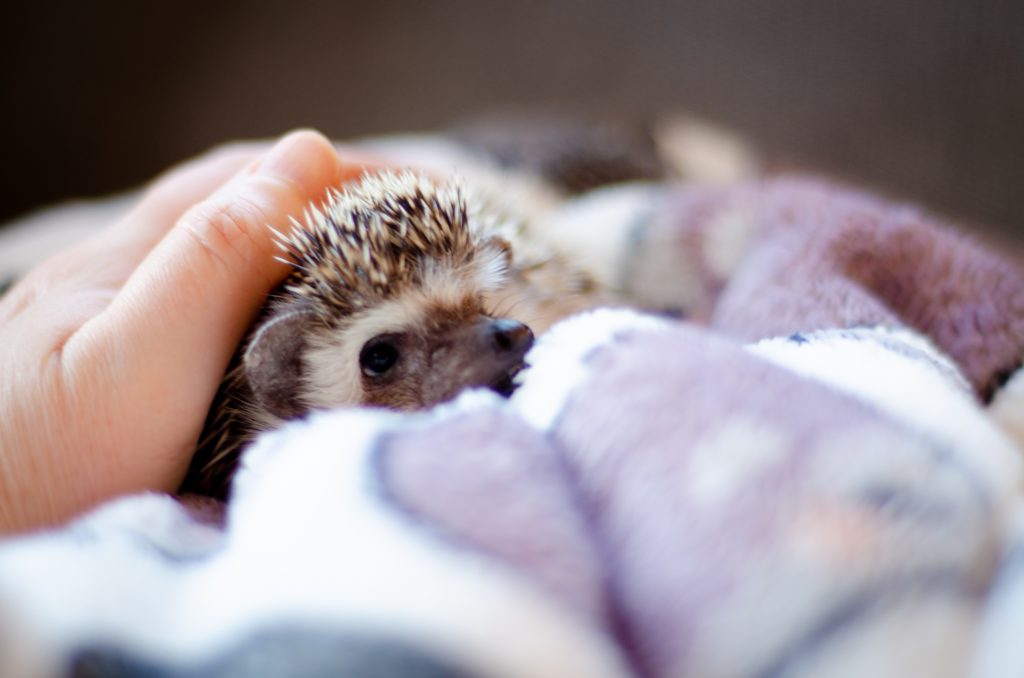
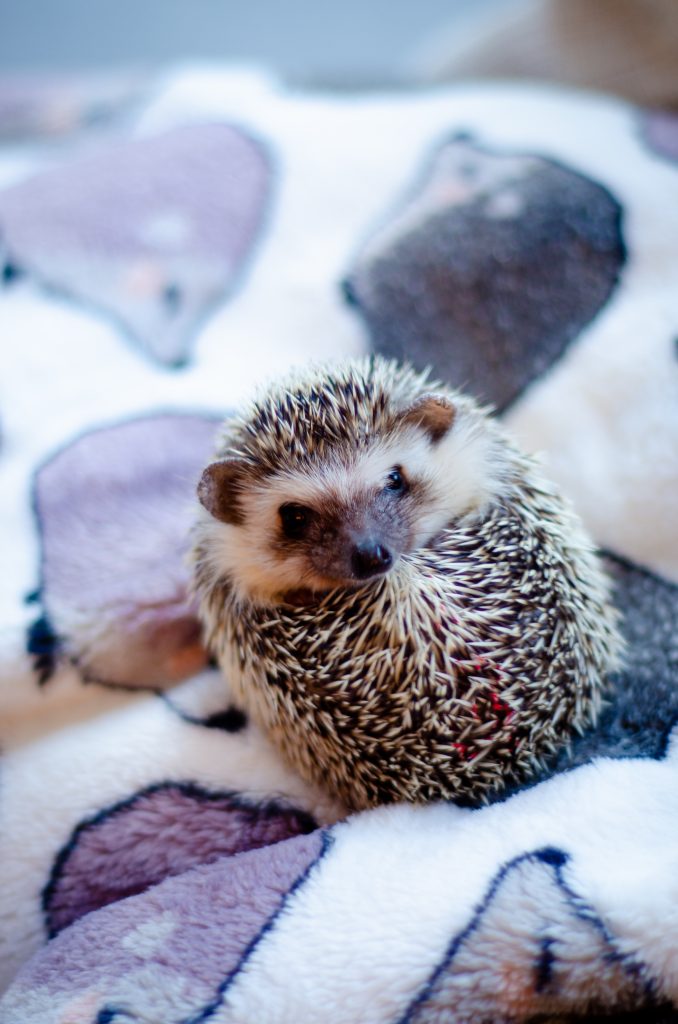
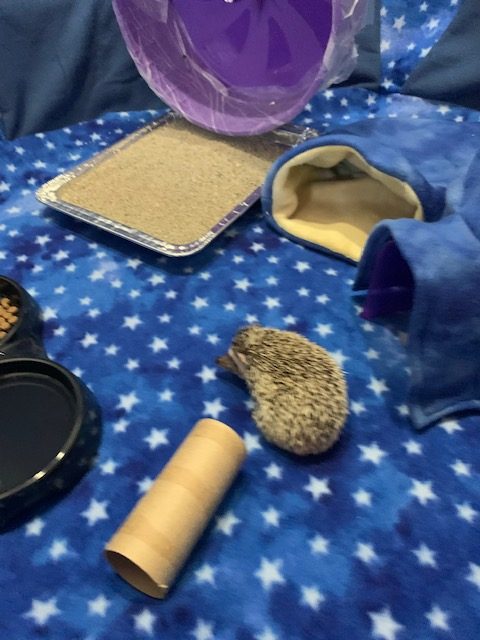
There has been a request for baby hedgehog update photos. The people want MOAR HEDGE. Here’s the glamor shots:
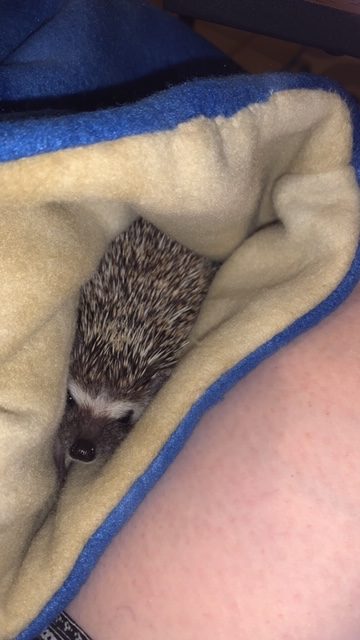
This one is tough to photograph! She is very jittery when out in the open, and immediately begins to look for a place to hide. I hope she mellows a bit as she ages! But when she’s snug in her sack I can poke her and pet her and pull on her legs and she’s cool with all of it.
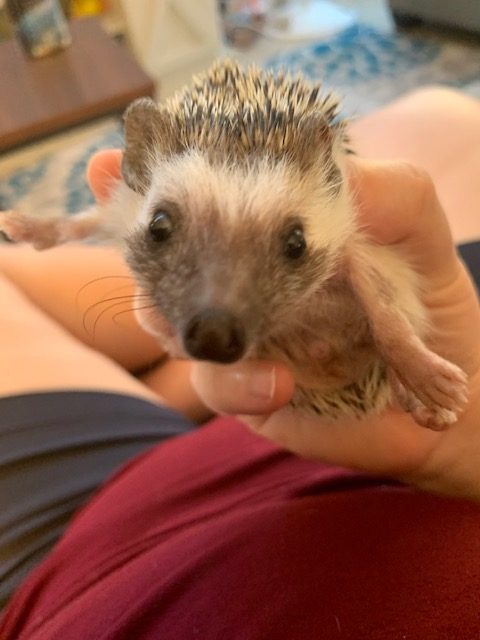
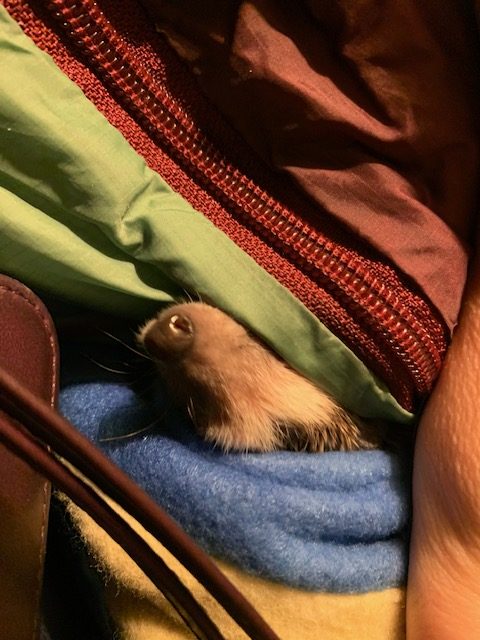
Here is an outtake:
Gimmeouttahere
(Note – the red on her rear end is dog nail polish, left over from being in a litter with lots of babies, which the breeder marked to tell them apart)
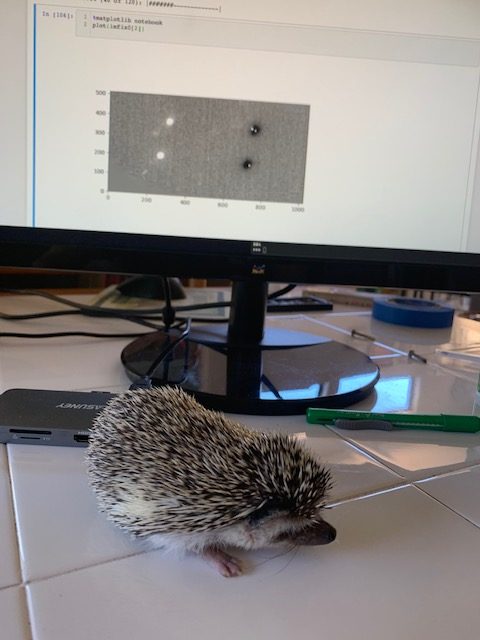
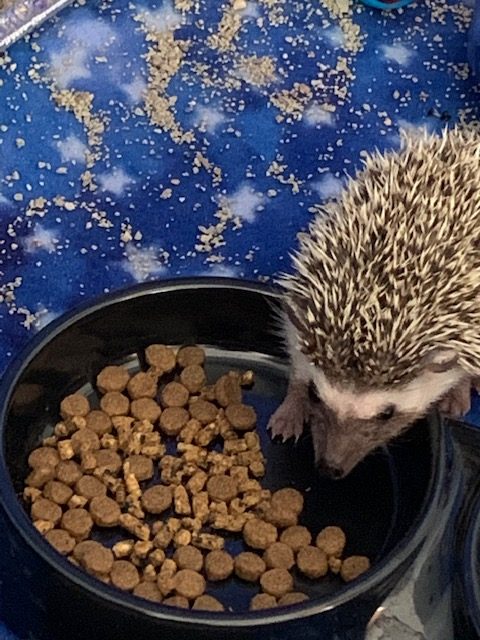
And here’s some iPhone pics from a day in the life:
Star and stars
Hedge-collage
Another update is that I made that fleece lining for the kiddie pool, because the paper bedding was terrible. The fleece is nice and washable, but she keeps it clean and uses the litter. It is of course star themed.
Om nom nom
She takes dust baths in the litter all the time, and it is beyond adorable. Apologies for the darkness and poor quality of this video, but if I turn on the light she spooks and stops, and I had to try to record it.
Hedgie dust bath
I have a night vision camera on it’s way to me, so stay tuned for some night time spying videos on what hedgies do all night.
The song of the day is an earworm that has been flying around a subset of this group for weeks now (ever since we did a Eurovision night…). I’ll forget about it for days then someone will say “I have SKIBIDI in my head” and then it takes over my head. There is some debate amongst us as to which video is the superior version, but I can’t get enough of the ridiculous walk/dance in this one. If you stay tuned the other version just may show up as song of the day in the near future.
So, for your viewing pleasure, I now give you, SKIBIDI. You’re welcome.
The days have cooled down a bit, no more peaking above 100F. I’m enjoying being able to keep my blinds open while I work in the daytime. Once it becomes consistent days of being above 100F, then the blinds have to be closed at all times.
One of my quarantine purchases has been getting a bicycle trainer. It attaches to the rear tire and transforms my bicycle into a stationary bicycle, perfect for indoor exercise. With quarantine approaching 2 months, it’s about time I stopped using that as my excuse for not exercising. Please excuse my messy apartment…
The best part is that the whole contraption folds up, making more room in my apartment when not in use.
With a bike trainer, you can adjust the resistance at the back. I usually cycle with my bike on higher gears and a bit of resistance, which means after 30 minutes I’m sweaty and ready to get off the bike. The best part of exercising is that I feel I have earned my meals. Or at least that’s what I tell myself to convince myself that exercising is important.
SONG OF THE DAY
I was digging through my music library recently and pretty much rediscovered Beirut. I first heard of Beirut about 8 years ago, when my friend sent me songs and we would listen to them together. He’s a postdoc now at NIST. I look forward to visiting him in Colorado in the future and we can listen to Beirut together again. Here’s one of my favorite tracks by Beirut:
One of the things I have been pursuing with little success through my PhD is trying to keep plants alive to their first birthday (or sometimes their half-birthday). I usually do well enough in the cooler months, but with summer comes me traveling, intense heat, and the monsoons that months of progress go kaput. To add insult to injury, strong winds have blown off off a succulent plant from my balcony not once, but TWICE.
July 2019: Aldo picking up fallen plant
March 2020: fallen plant from balcony
At one point, I had given up on becoming a plant parent that I bought a chocolate silicone mold with succulent shapes. If I can’t grow a plant, I’ll make a “plant” out of matcha chocolate. Except I learned that sharp corners in chocolate molds are regions where air bubbles like to form, no matter how many times I tap the mold to push the air bubbles up. Even with chocolate, something I have some level of confidence, I cannot make plants look great! Talk about additional insult to injury.
I tried a few times, but my succulent matcha chocolates don’t look so happy.
On one of my shopping trips around the start of quarantine, I noticed that green onions were not as readily available (they are now though!). Luckily for me, I already had a pack of green onions from Trader Joe’s beforehand. They come with their roots attached, which let me to my next thoughts – can I regrow them and if so, is it low enough maintenance for my incompetence? After reading through a few food blogs, I found the simplest way to regrow green onions was to keep the white base part with the roots, put them in a glass of water, and set them by the window for sunlight. So I did that – put them in mason jars on my kitchen windowsill that faces west. I switch the water in the glass daily in the early afternoon, when the sun starts to shine towards the kitchen window.
And you know what? After 4 days of this, the green onions started to grow!!
Green onions, day 4 in water by windowsill
After consulting with MagAO-X DM whisperer and #1 plant parent, Kyle Van Gorkom, I resolved to try out potting the green onions in soil. I decided to experiment with this by transferring half of the green onions to potted soil outdoors and comparing it with the other half in a mason jar indoors. I would say I was trying to be a scientist, but the reality is that I didn’t want to bother microwaving the soil to kill the gnats.
Outdoor green onions,day 1 indoor/outdoor experiment (day 7 total)
After 10 days, I compared both green onions and they pretty much grew like weeds! They’re so beautiful! I chopped them off and ate them with cold soba noodles for lunch. I sampled both the green onions from outside and inside and they both pretty much taste the same: oniony.
Green onions, Day 10 indoor/outdoor (day 17 total)
Prepping onions for lunch
Cold soba noodles and iced tea for lunch
It’s been 30 days (37 days total) since this green onion experiment began. I’ve gotten 2 harvests from each of the green onion sets. I’ve also extended it to include some leek, which was used when making bone broth. The mason jar set isn’t looking as brilliant as before, so it’s likely time to retire it and bring on a fresh batch from the market. The outdoor plant is starting to wilt a bit, I’m assuming from the weather heating up. When this experiment started, the weather was still in the 70-80F range, but it’s in the high 90’s these days. I had one onion dry up considerably, meaning I need to adjust the watering. I may need to start increasing watering everyday from every other day. I’m also thinking of pulling out a couple dried out onions to transplant the leeks.
Green onions, day 30. Indoor top, outdoor bottom. Look how long the roots grew!
To turn full circle on this post, I want to post another achievement: remember the succulent that fell off the balcony back in March? They got re-potted over a month ago when I started the green onion experiment. I’m proud to say that they’re thriving well and have not fallen off the balcony after being transferred to a heavier pot.
The poor traumatized succulent has been revived!
SONG OF THE DAY This post has been brought to you by the color green. Green is roughly in the 500-550 nm wavelength range. Therefore, today’s song is I’m Gonna Be (500 Miles) by The Proclaimers:
According to wikipedia, there are 22 species of venomous snakes in Arizona. One of these snakes that is shared between AZ and my hometown in Texas is the Western Diamondback Rattlesnake. If you’ve never seen one in the wild, it looks like this:
Image credit: me
If you’ve never seen one in the wild, you are like me 2 hours ago. I went for a little hike this afternoon and stumbled upon this guy in my path right before I got back to my car. Fortunately, I saw him before I was upon him, even though he was off the trail when I first saw him and was a bit hidden. So we managed to stay a respectful distance from each other. Here he is blending in well to the desert flora:
So it’s rattler season in AZ folks, watch where you step on the trail.
Update: I have acquired a hedgie-cam and can now spy on my animal while I’m asleep, which is when they’re most active. Last night I caught her pushing the toilet paper roll on her head, which is a classic hedgehog move. Enjoy:
The song of the day, for no particular reason, is Ok Go’s The One Moment.